
It’s only been forever since I started this guitar case layout, but I’ve finally got one going in it. This has been my first attempt at building a layout from scratch, and I have learned quite a bit. Most importantly, the fine size of everything makes the biggest difference in operation because the tolerance of all the parts fitting together is key.
Firstly, cutting the piece of foam down to size (just under four feet by nearly one and a half feet) was mildly harder than I thought. I measured the guitar case interior with some leeway. The leather that encases the exterior of the wooden hand-made case bunches and bundles up inside, so I had to allow for that to snuggly and safely fit against the surface of the foam without tearing it up every time I pulled the foam out or placed it in. I didn’t have my foam cutting wire on hand when I started, so I took a micro butane torch to a steak knife. I heated the knife nearly to glowing hot and slowly sliced through the foam. It took several tries because the metal cooled quickly in the coolness of my basement, and maintaining an even cut after starting and stopping several times was tougher than I expected. I am definitely going to keep my foam cutting tool handier in the future.
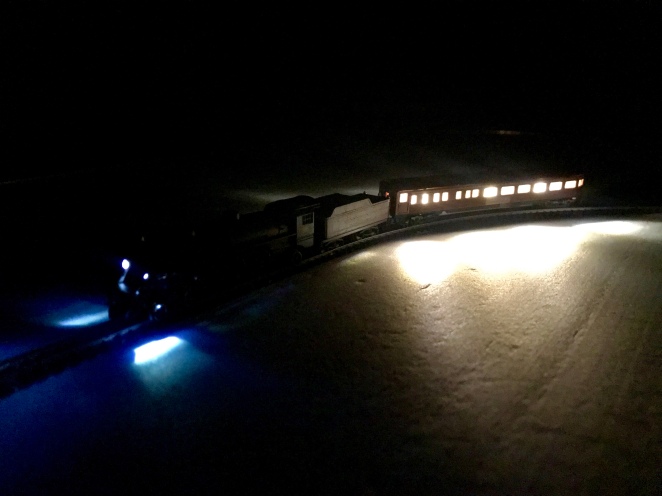
This is the Marklín track pinned down for an initial test. The locomotive is a Marklín Pennsylvania 4-6-2 Pacific.

Forward
 Reverse

I temporarily fastened the pieces of sectional track (which I would later regret) with tiny office supply pins so I could see and mark where to make holes for power leads. The Marklïn track I used snapped together at the ends, and I thought that would work to my advantage. However, I the track didn’t quite fit on the foam with enough clearance between the train and the frame of the case. I had to lightly squeeze and flex the track into a tighter diameter, and the snaps didn’t want to hold very well. I made it work and pinned everything down into the foam until I had the clearance and shape I wanted. I connected my Rokuhan transformer to a single set of leads to test electrical continuity. The locomotive ran decently, but there were so many inconsistencies in electrical flow and rail height that I decided to try soldering each piece of track together. That helped, with the continuity, but the rail height was still a big problem. I decided to pull it all out and start over with Micro Train Lines Flex track.
I cut some green and finely textured construction paper to glue onto the foam. I chose to use the construction paper because this is layout is going to be mobile, and I don’t want to invest too much time and effort into something only to have it broken right away. The paper looks nice enough for its intended purpose, and all I want is for this to be a fun layout. After spreading Elmer’s glue down along the perimeter of the paper and foam base and letting it dry overnight, I soldered the flext track piece by piece as I pinned it down to the foam through the paper. That worked much better all around, and I was happy with my track laying.
Ballasting was an exciting adventure. I have a ballasting tool made specifically for Z scale. It fits neatly around the rails and spreads ballast right up along them. What I didn’t realize was how easily the fine ballast would be picked up by the open locomotive gears and stick in the gearbox. I spend some extra time scraping ballast from between the rails with my solder scraper. What a chore! I’m going to modify that tool to not spread nearly so much between the rails. LESSON LEARNED.
…to be continued!

Enjoyed your site.Nice photos Hope you are well and wonder if your still in Dallas area? I’ve got an unfinished N-Scale track layout challenge if you are interested in helping. I’ve got more time now. Thanks for earlier help.finding transformer wire.
LikeLike
I’d love to help, but I moved back home to Illinois in November.
LikeLike