Narrowing Things Down

I’ll post more about my suspended layout, later, but I want to mention some other things I’ve been doing of late.

Primarily, I’ve been working with HOn3 narrow gauge steam locomotives.  Bill is a cliet from the Detroit, Michigan, area, and he has had me busy upgrading his Blackstone steam locomotives with KeepAlive.  Blackstone is a division of SoundTraxx, and it specializes in American narrow gauge model railroading.  They are also known for their quality of live, recorded sound.  All Blackstone steam locomotives are equipped with DCC Tsunami sound and DC/DCC compatibility, but they are not equipped with KeepAlive.  Bill has had me upgrading his locomotives with Tsunami 2 and SoundTraxx’s trademarked CurrentKeeper.  The CurrentKeeper stores electrical energy that suppliments power to the decoder when the locomotive and tender cross dead spots, dirty spots, or “imperfect” trackwork.  Depending on the size of the locomotive, the sophistication of its motor, and whatever else may be going on with the locomotive, the CurrentKeeper can maintain power for eight to twenty-five seconds.  It’s pretty great.  I once timed it with the locomotive simply idling.  There were no head- or back lamps lit, no sounds sounding, no motor moving; it was pure idle and die.  I timed 25.66 seconds after I removed it from the rails and before it finally died.  It’s pretty great!

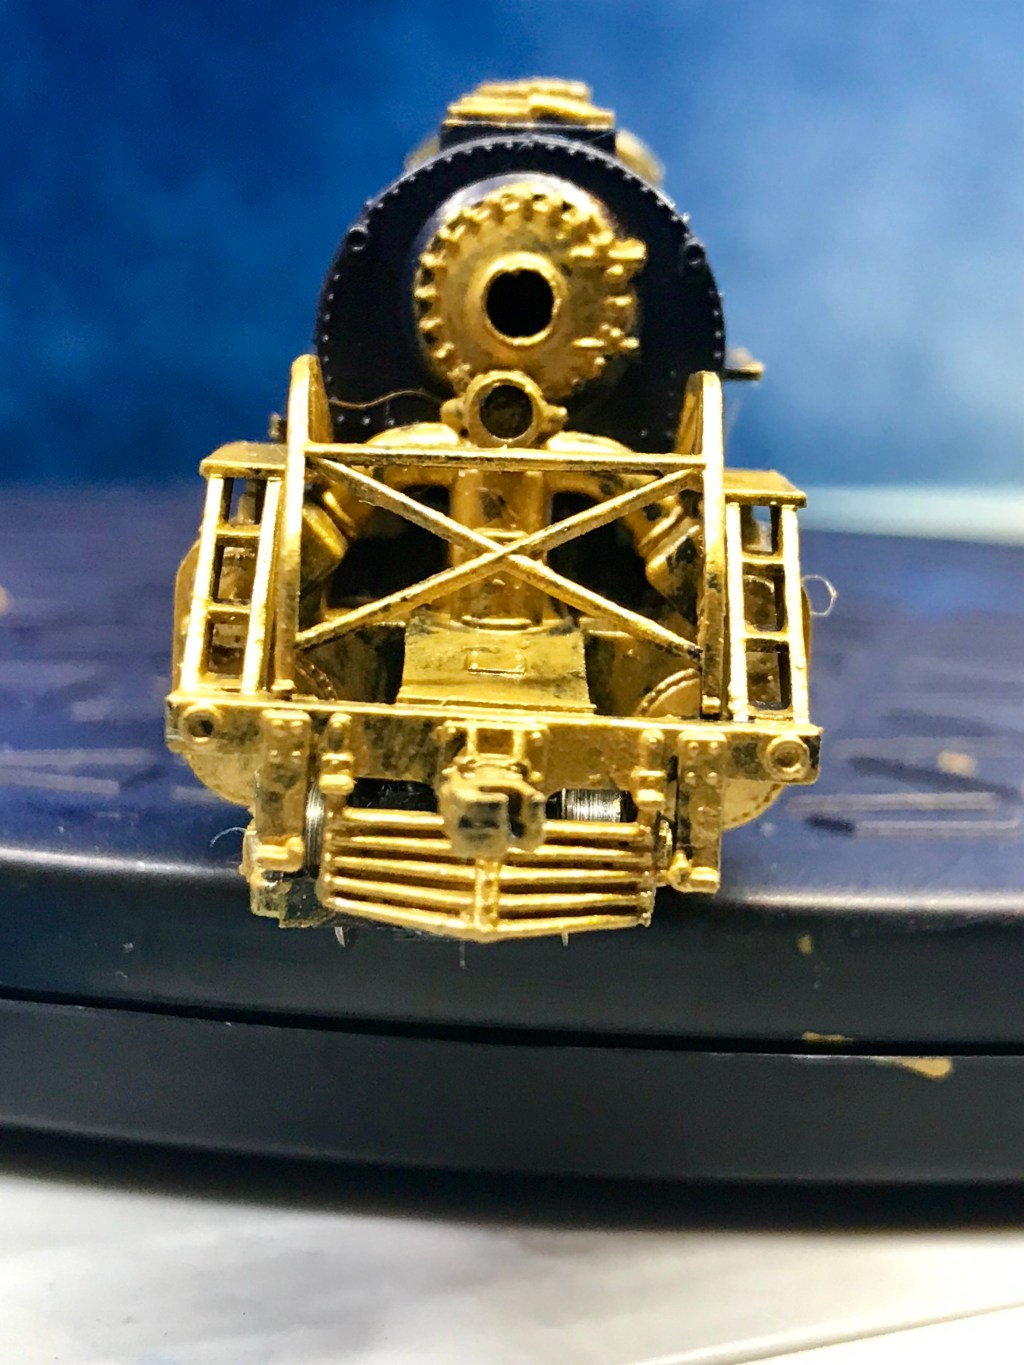
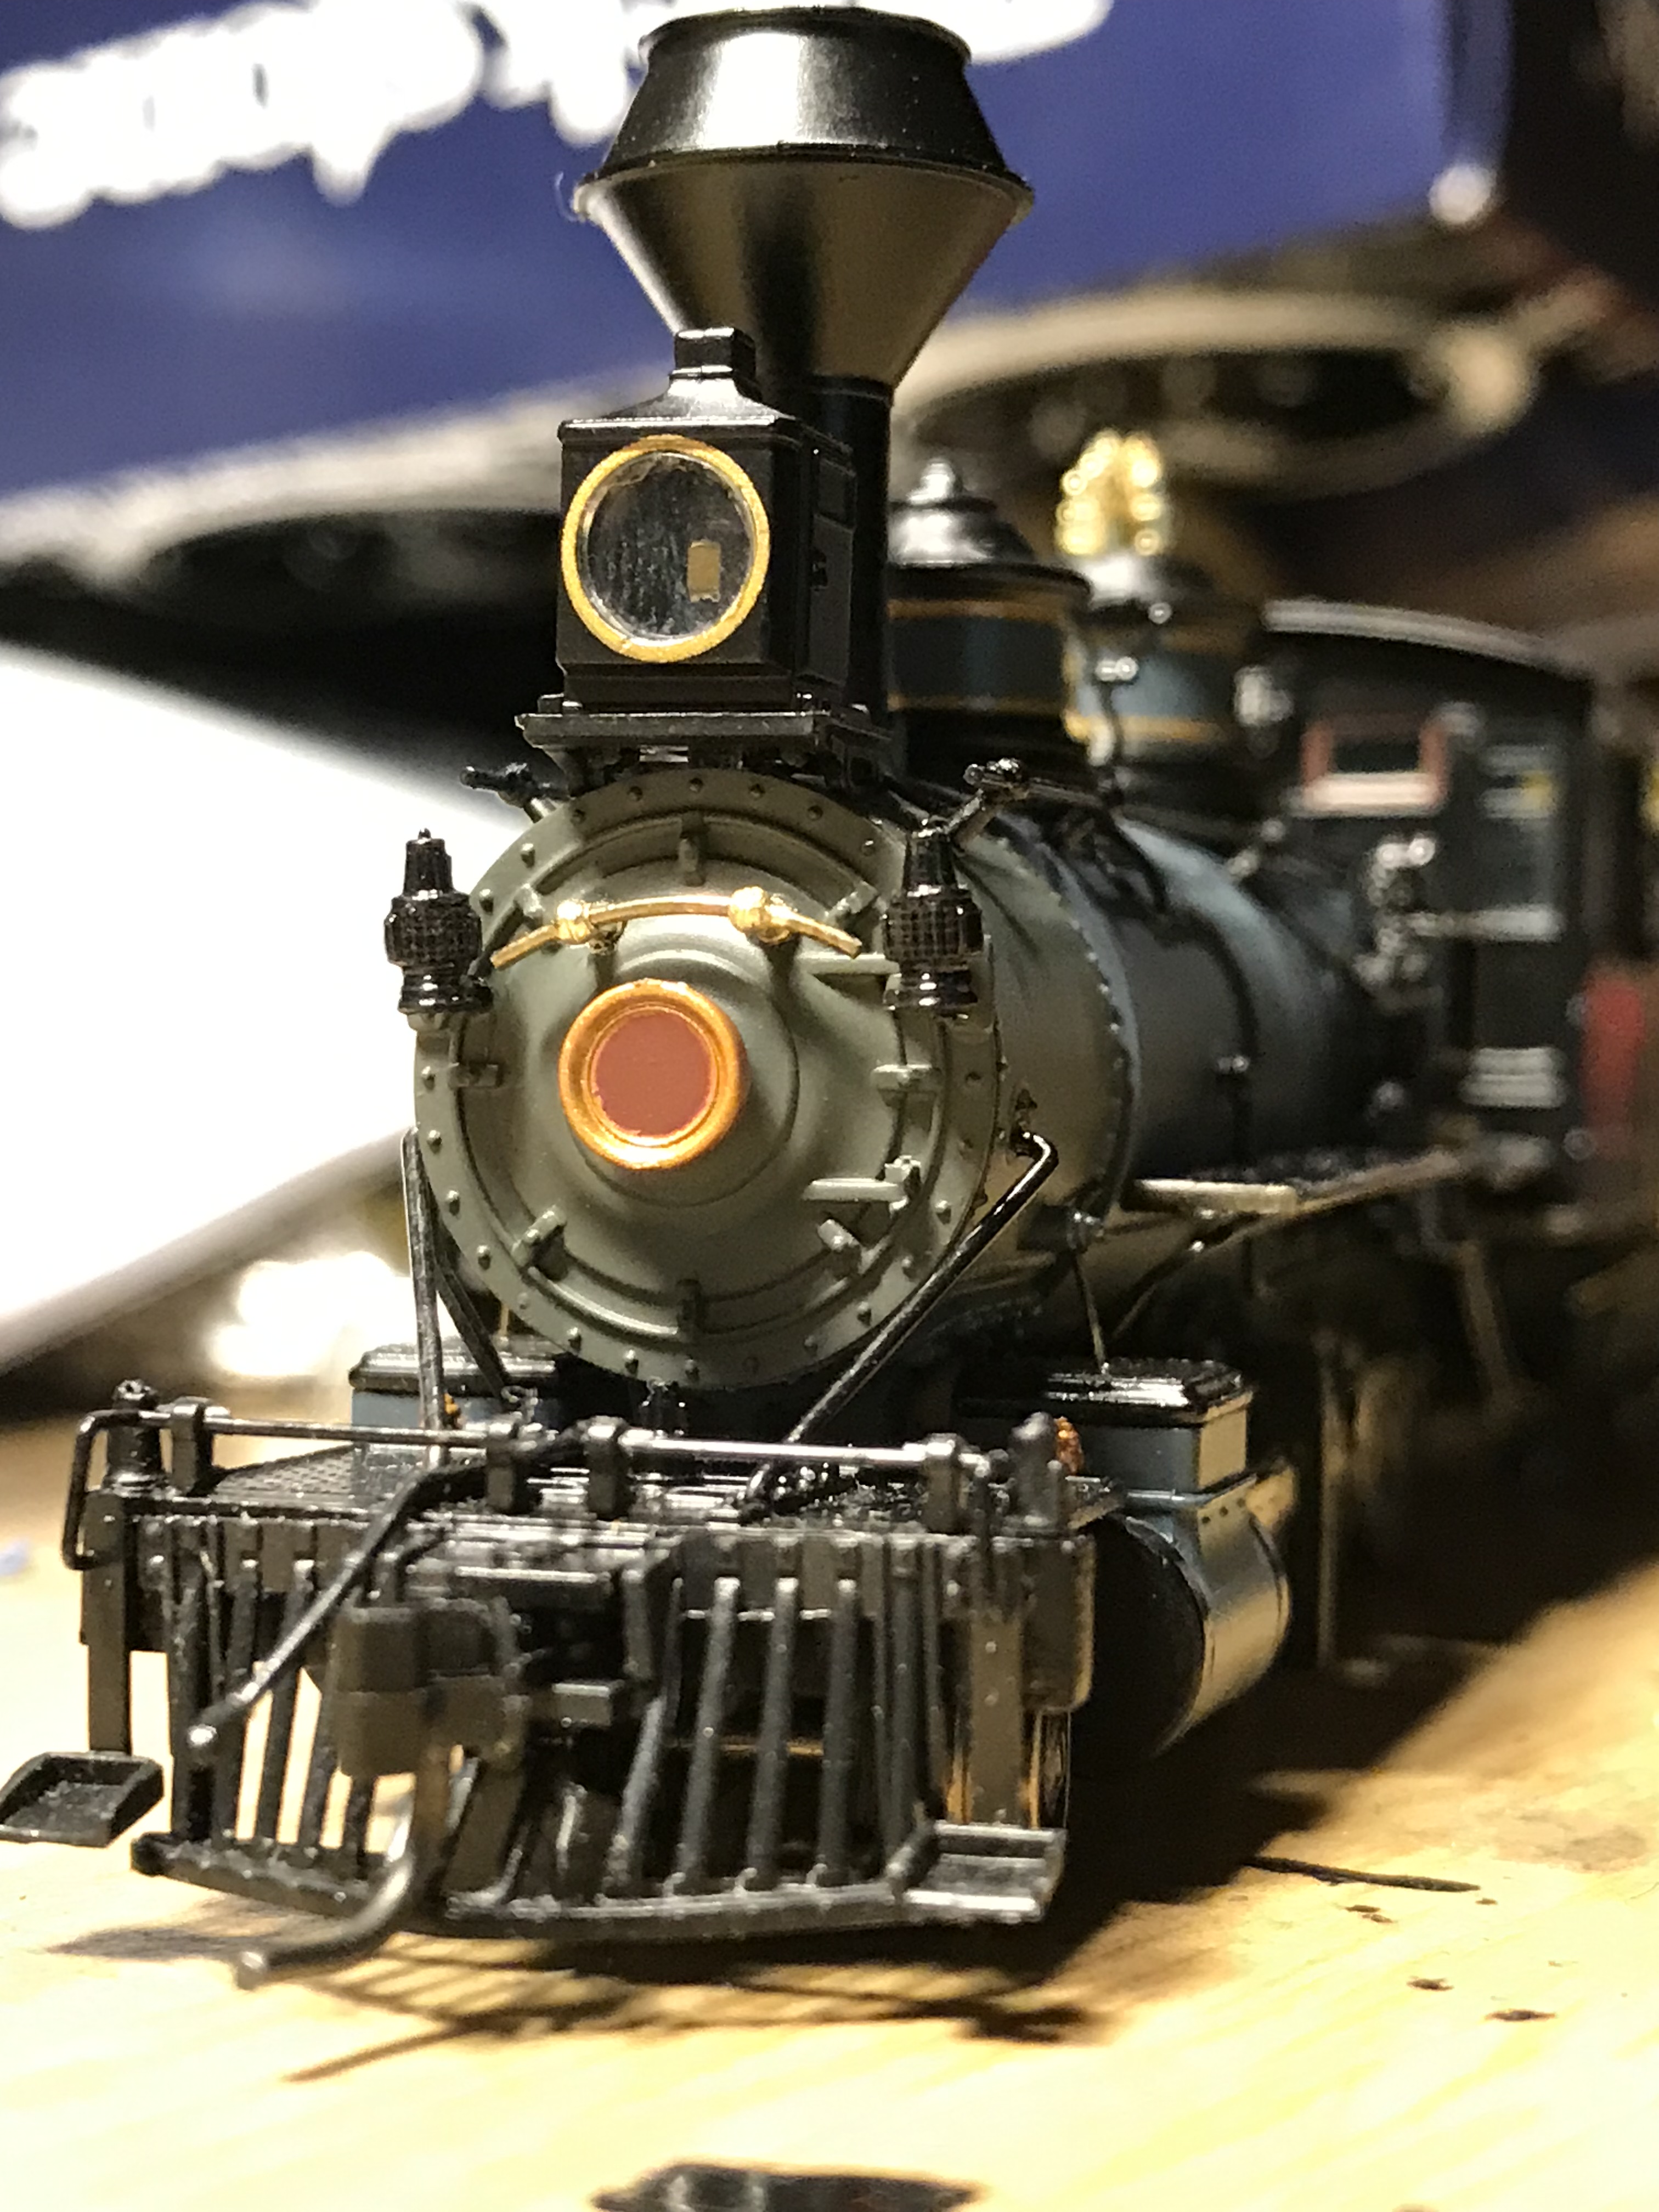
Below is a Blackstone C-19 steamer.  It had no original number so I called it “Lil’ Blue”.img_6582img_6581img_6580img_6567

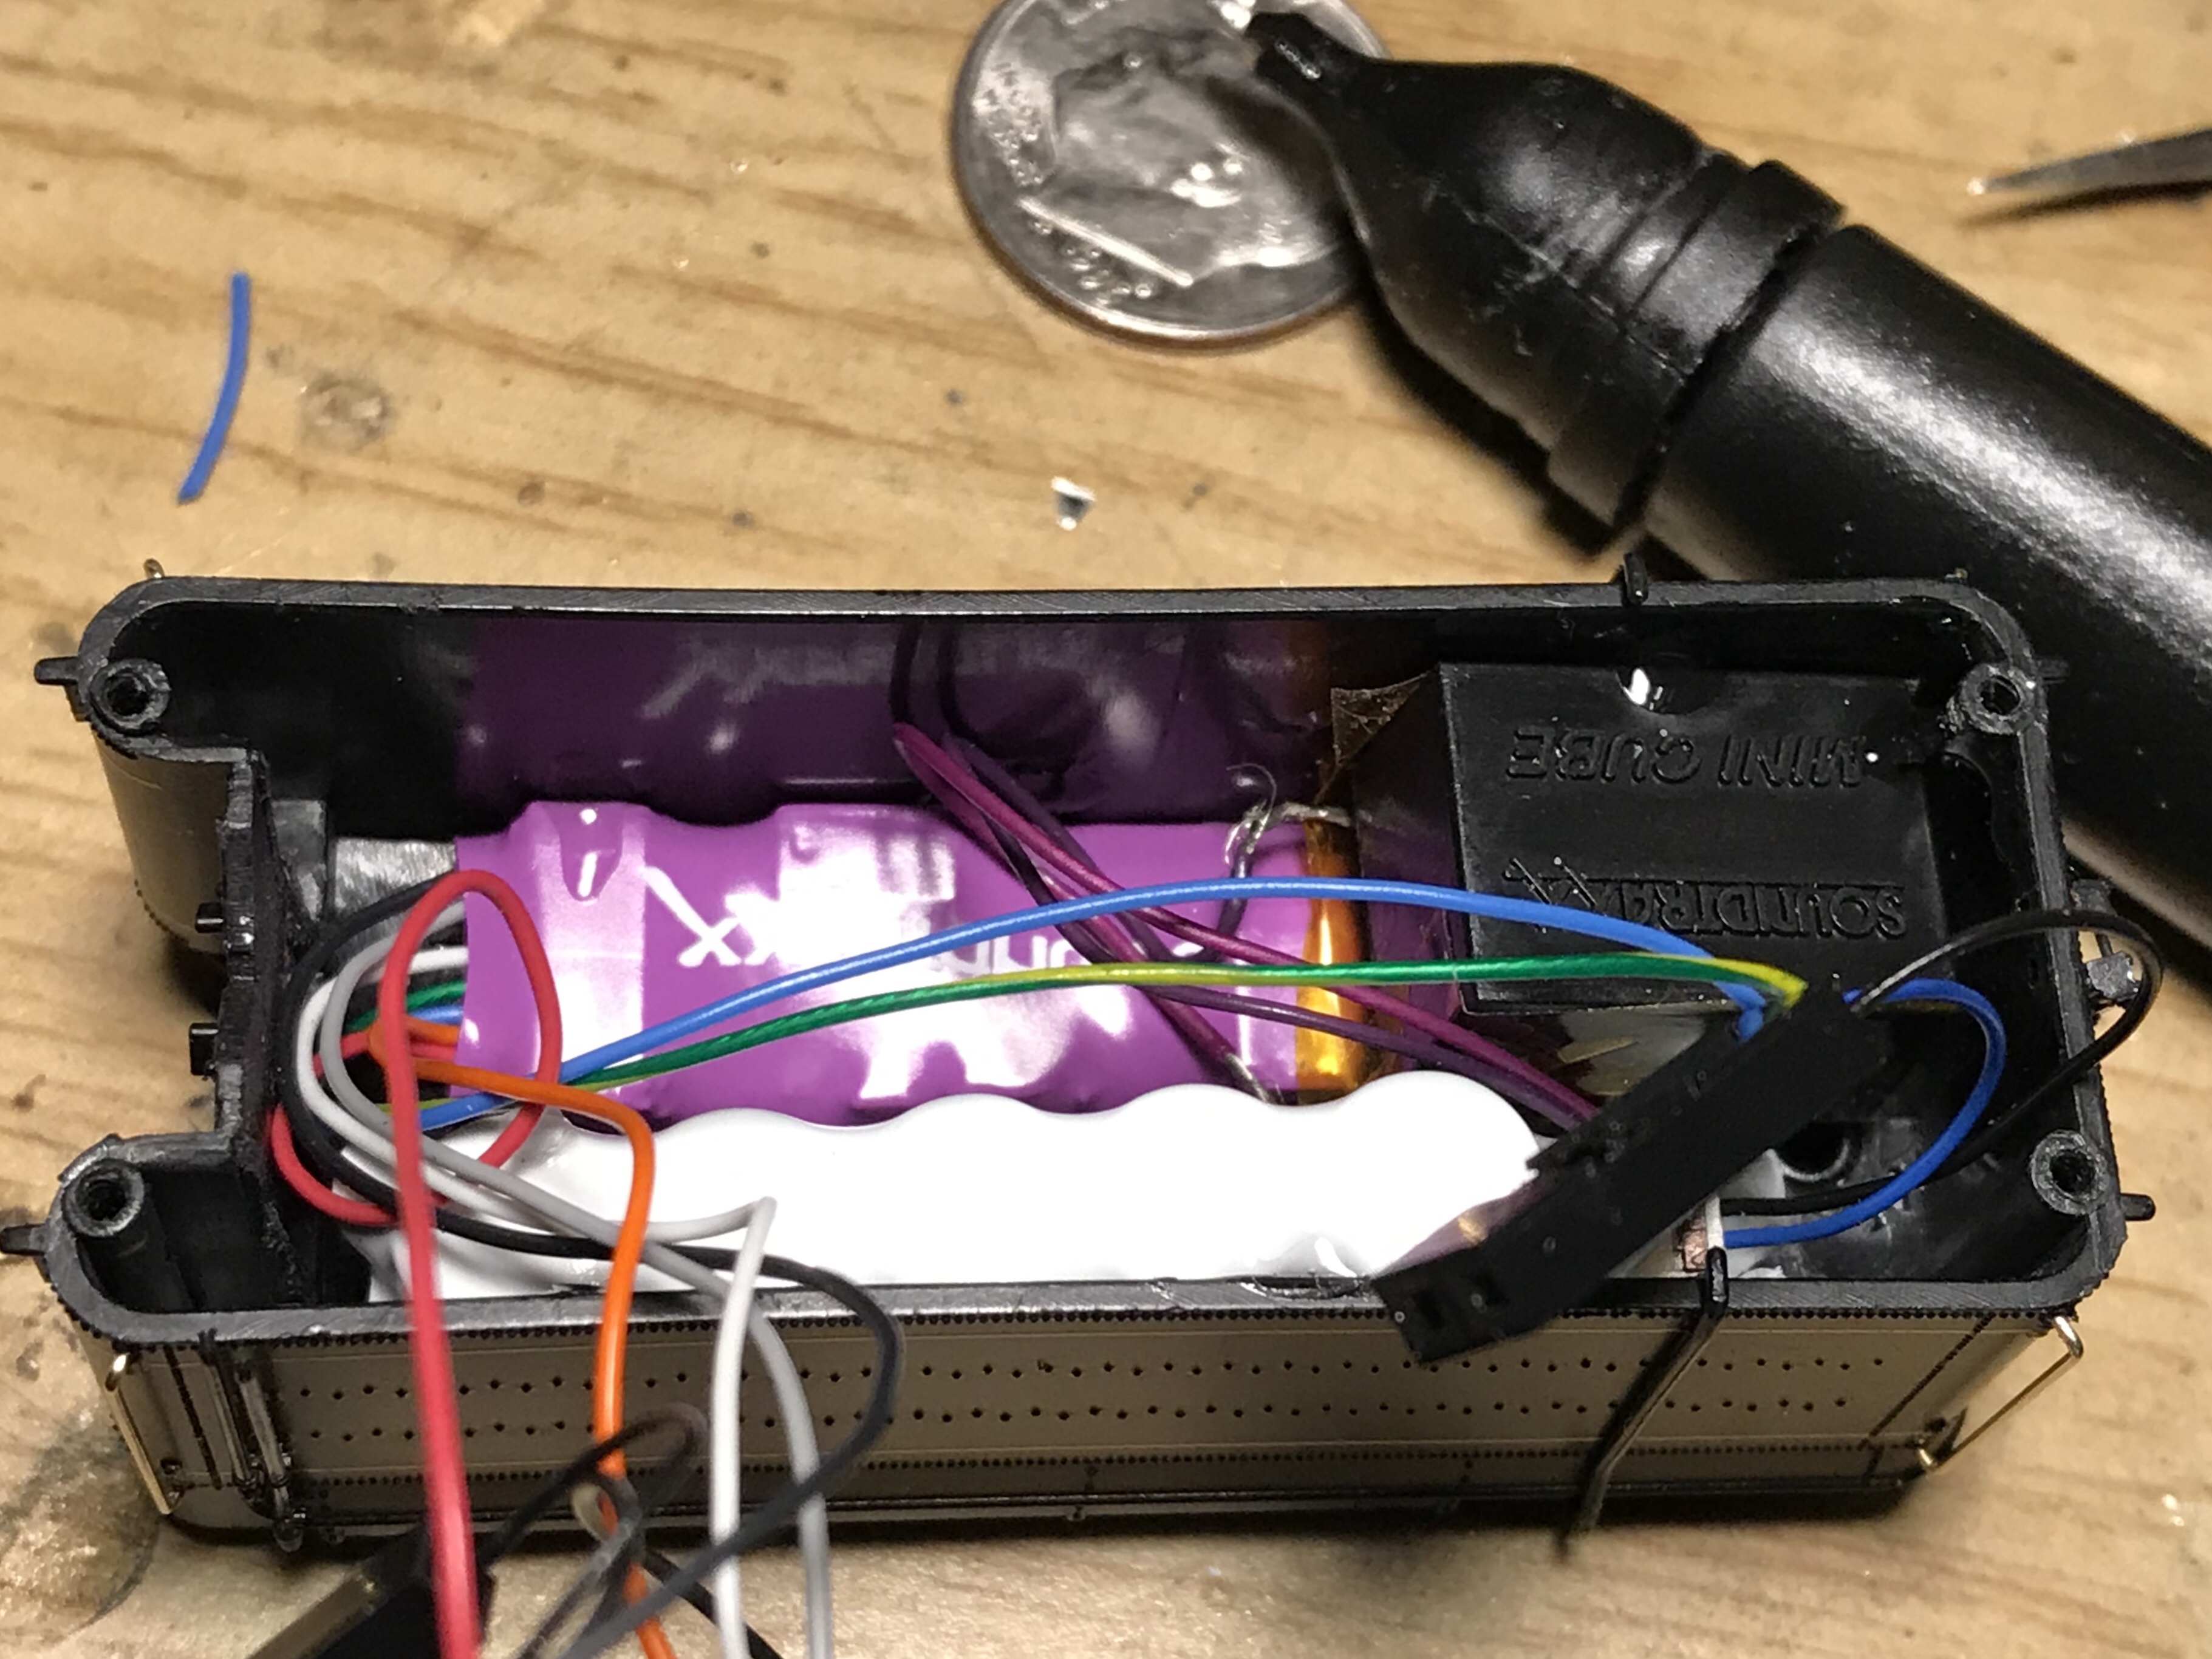
Rather than keep all the wires in one housing block, I separate the rail-pickups.  This is more compactable and less confusing in the longrun.img_6568img_6569

I use Dupont crimp-style wire connectors to avoid soldering and possibly burning right through the tiny wire.  I also paint the connector housing with white-out and label the wires individually so I know what is where.img_6570

C-19’s are pretty small, even for narrow gauge, so I am limited to how I can fit everything into one space.img_6573img_6566

The original wires are all black, so I requested a wiring diagram from SoundTraxx.img_6572

This stuff is AMAZING!!  It’s a  welding gel that hardens and cures when exposed to UV light.  It cures and hardens in about five seconds, so it’s great for temporary placeholding (coupler assembly) and permenant placeholding (loose wires).img_6574

Between HOn3 upgrades, I installed DCC in an HO Rivarrossi 2-6-6-6 Allegheny articulated steam locomotive.  One of my fellow model train club (Crawford County Model Railroaders) members asked me to install this for him.  It’s one of his abolute favorite locomotives, and he wanted to be sure it would be done correctly.  I installed a Train Control Systems Wow101-KA-Steam decoder.  TCS is known for their superior slow and fine motor control and their “Goof-Proof” warranty.  I’ve always been very pleased with TCS’s products and customer service.  The finished installation sounds fantastic, and their audio-assist programming feature in their larger, higher-end decoders is a beautufily designed consumer-friendly tool.  They also offer multiple designs of KeepAlive.

Fun fact about the Allegheny:  it was more powerful than the Big Boy by 1,210 HP!!!


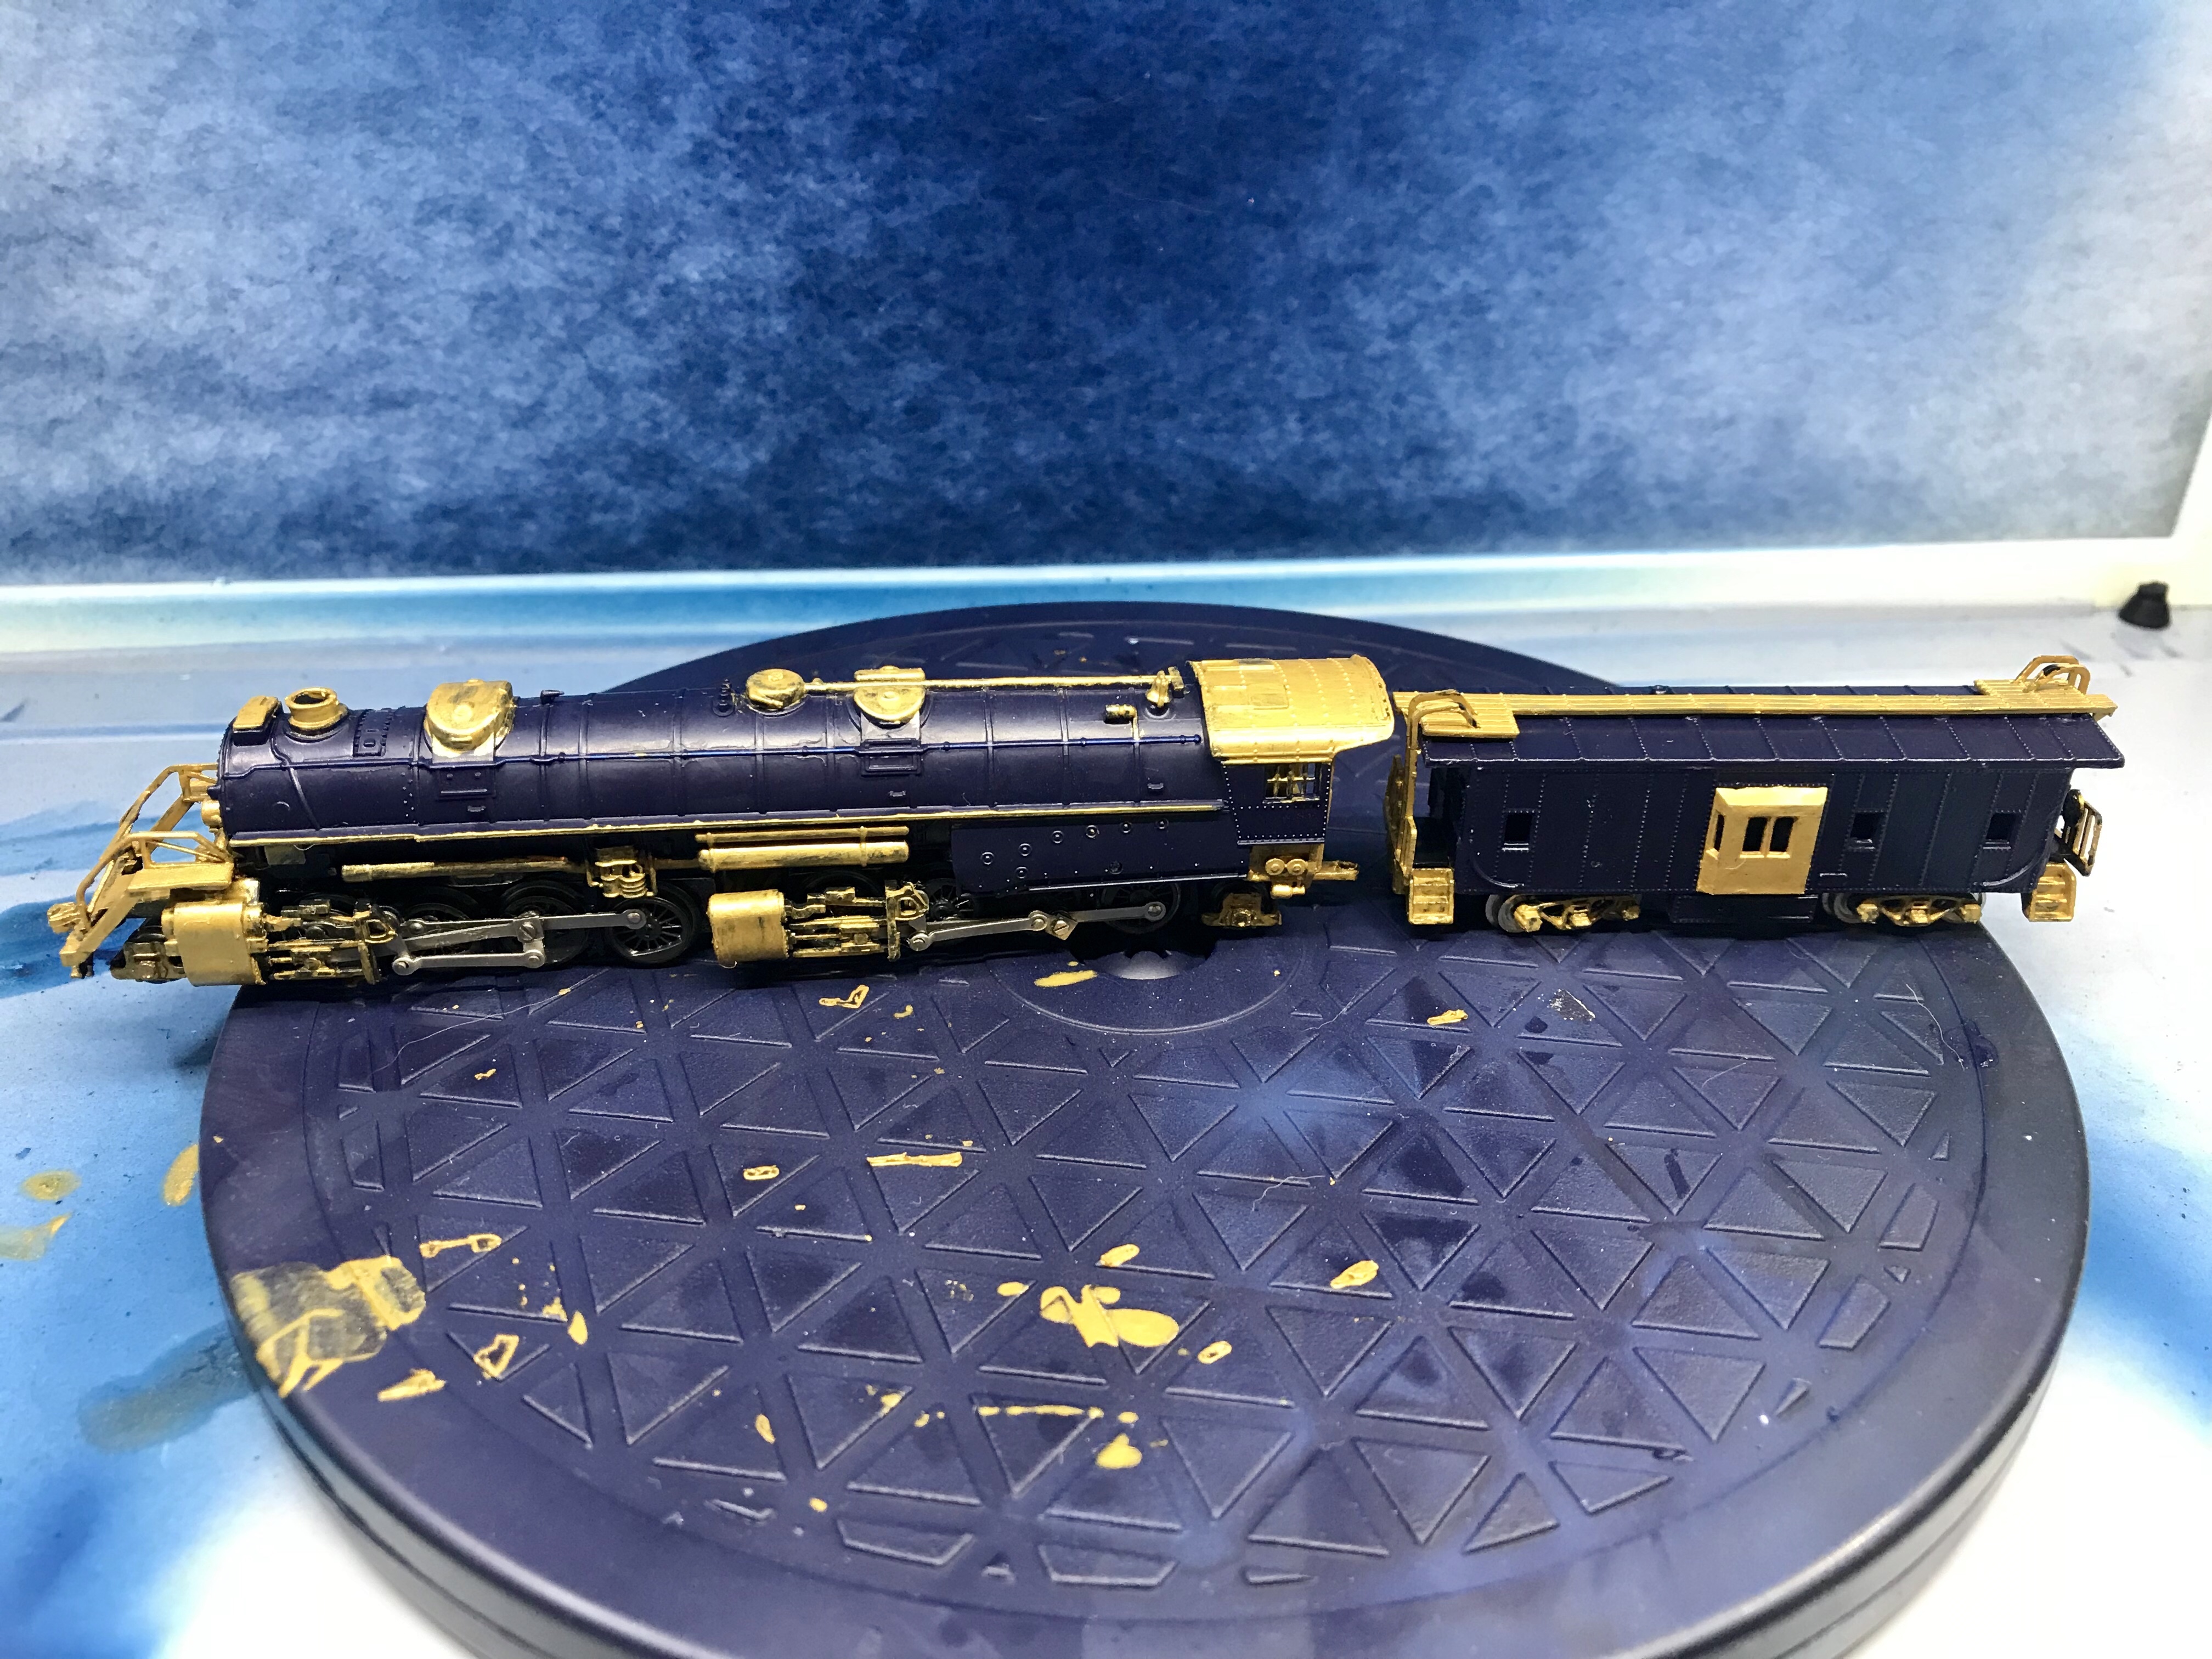
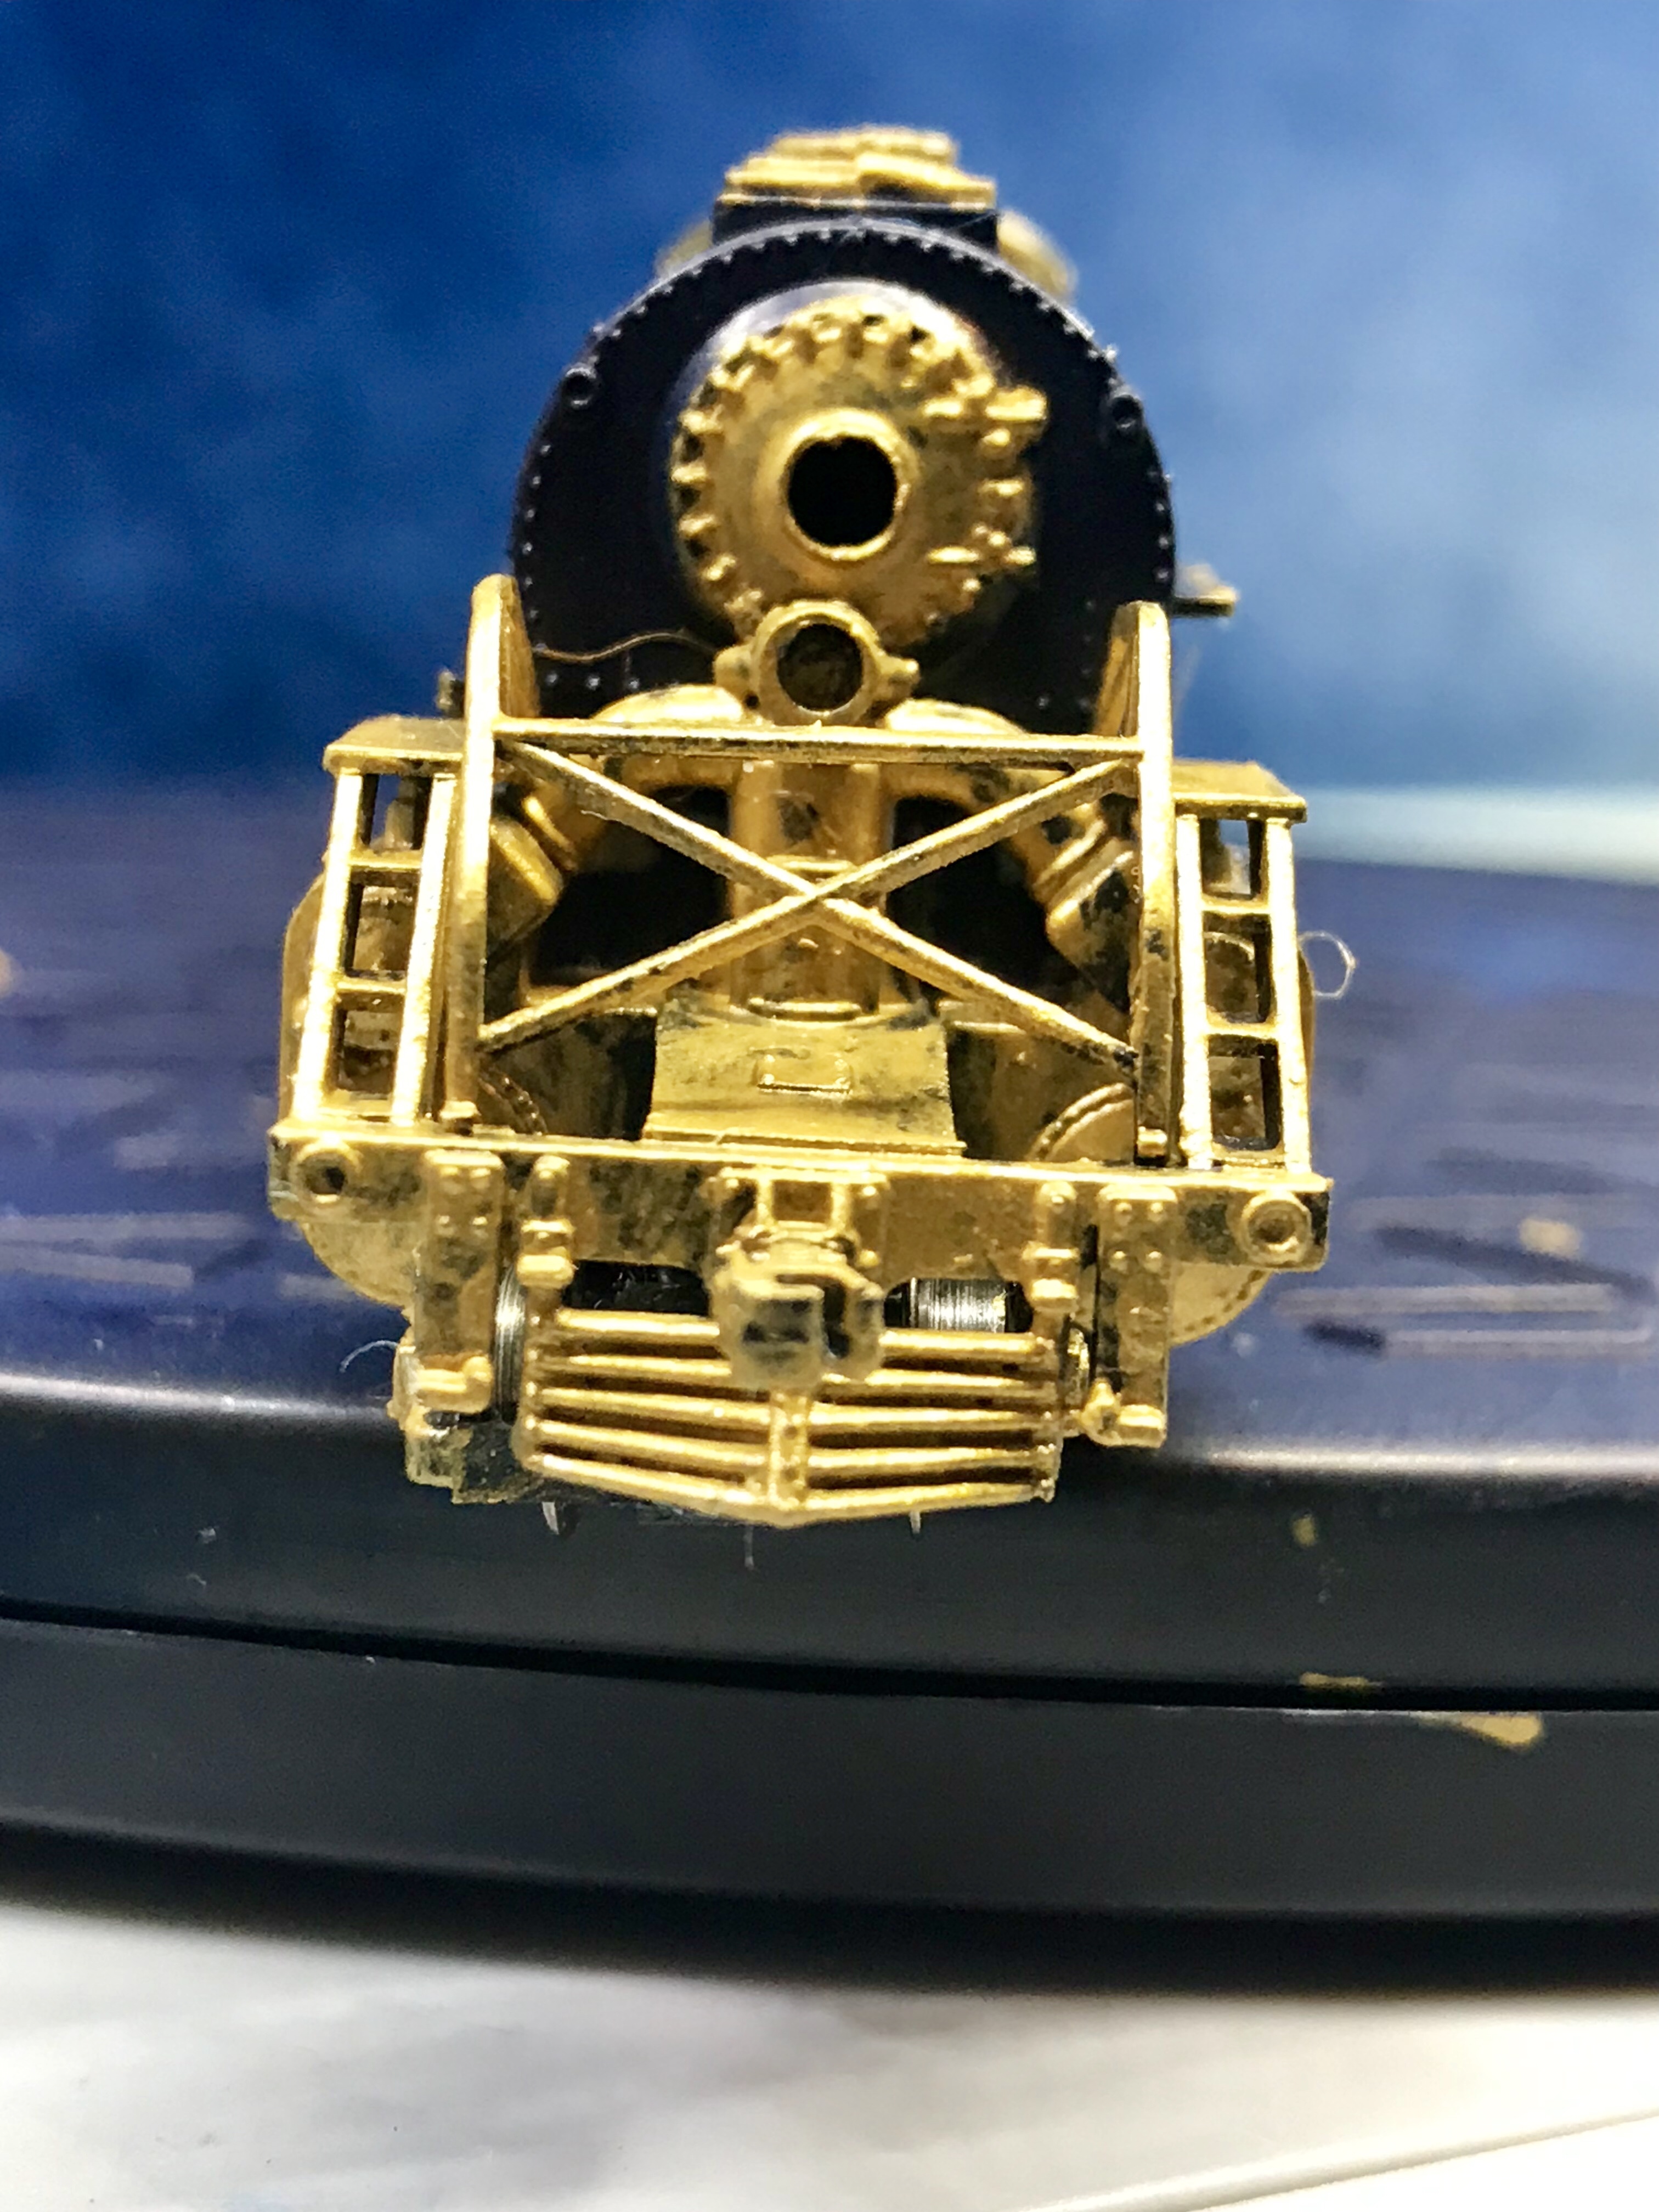
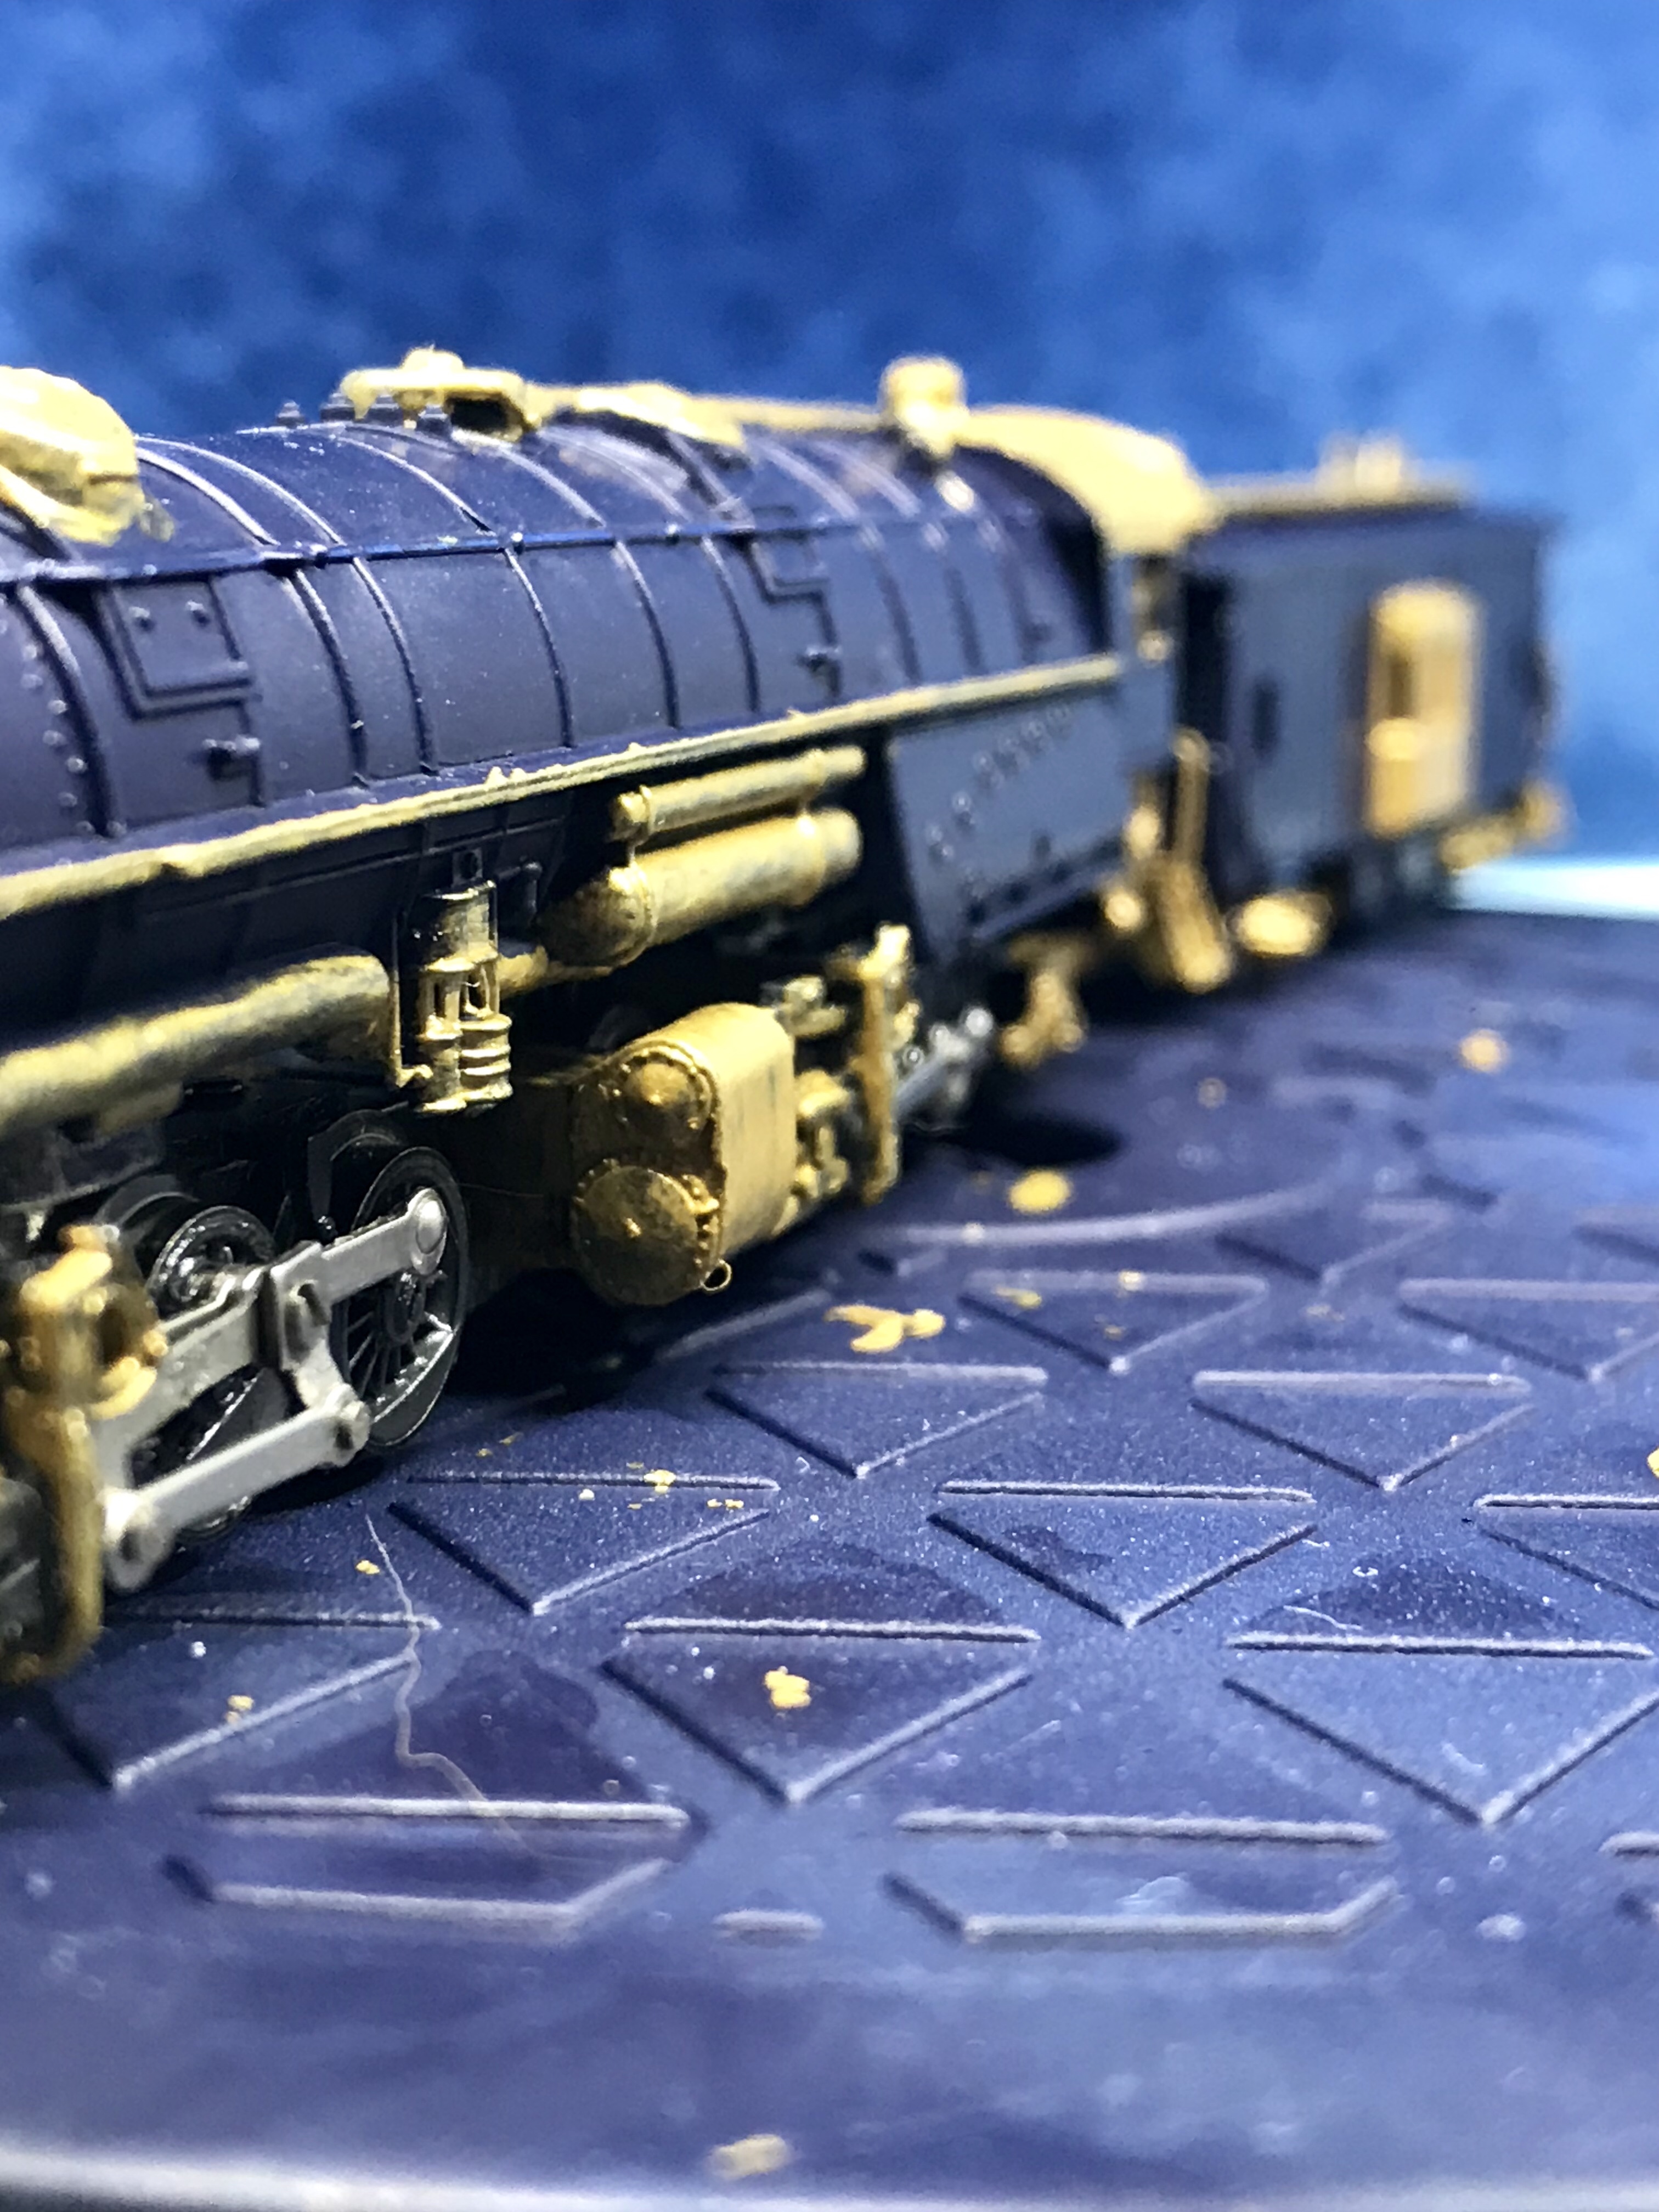
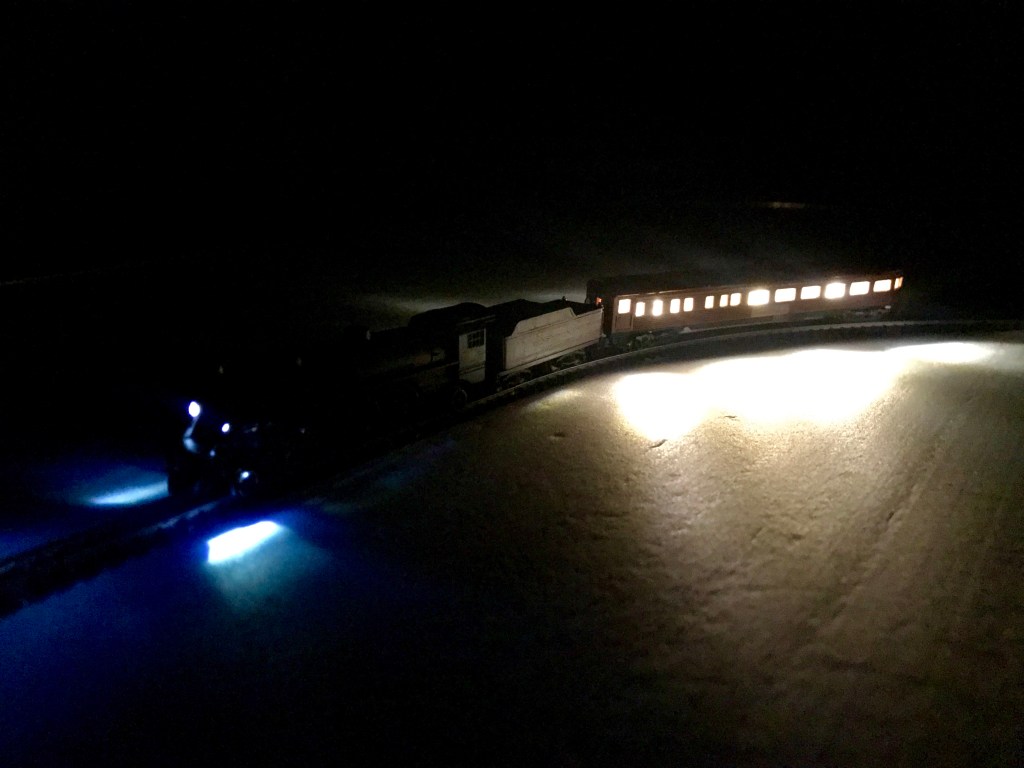
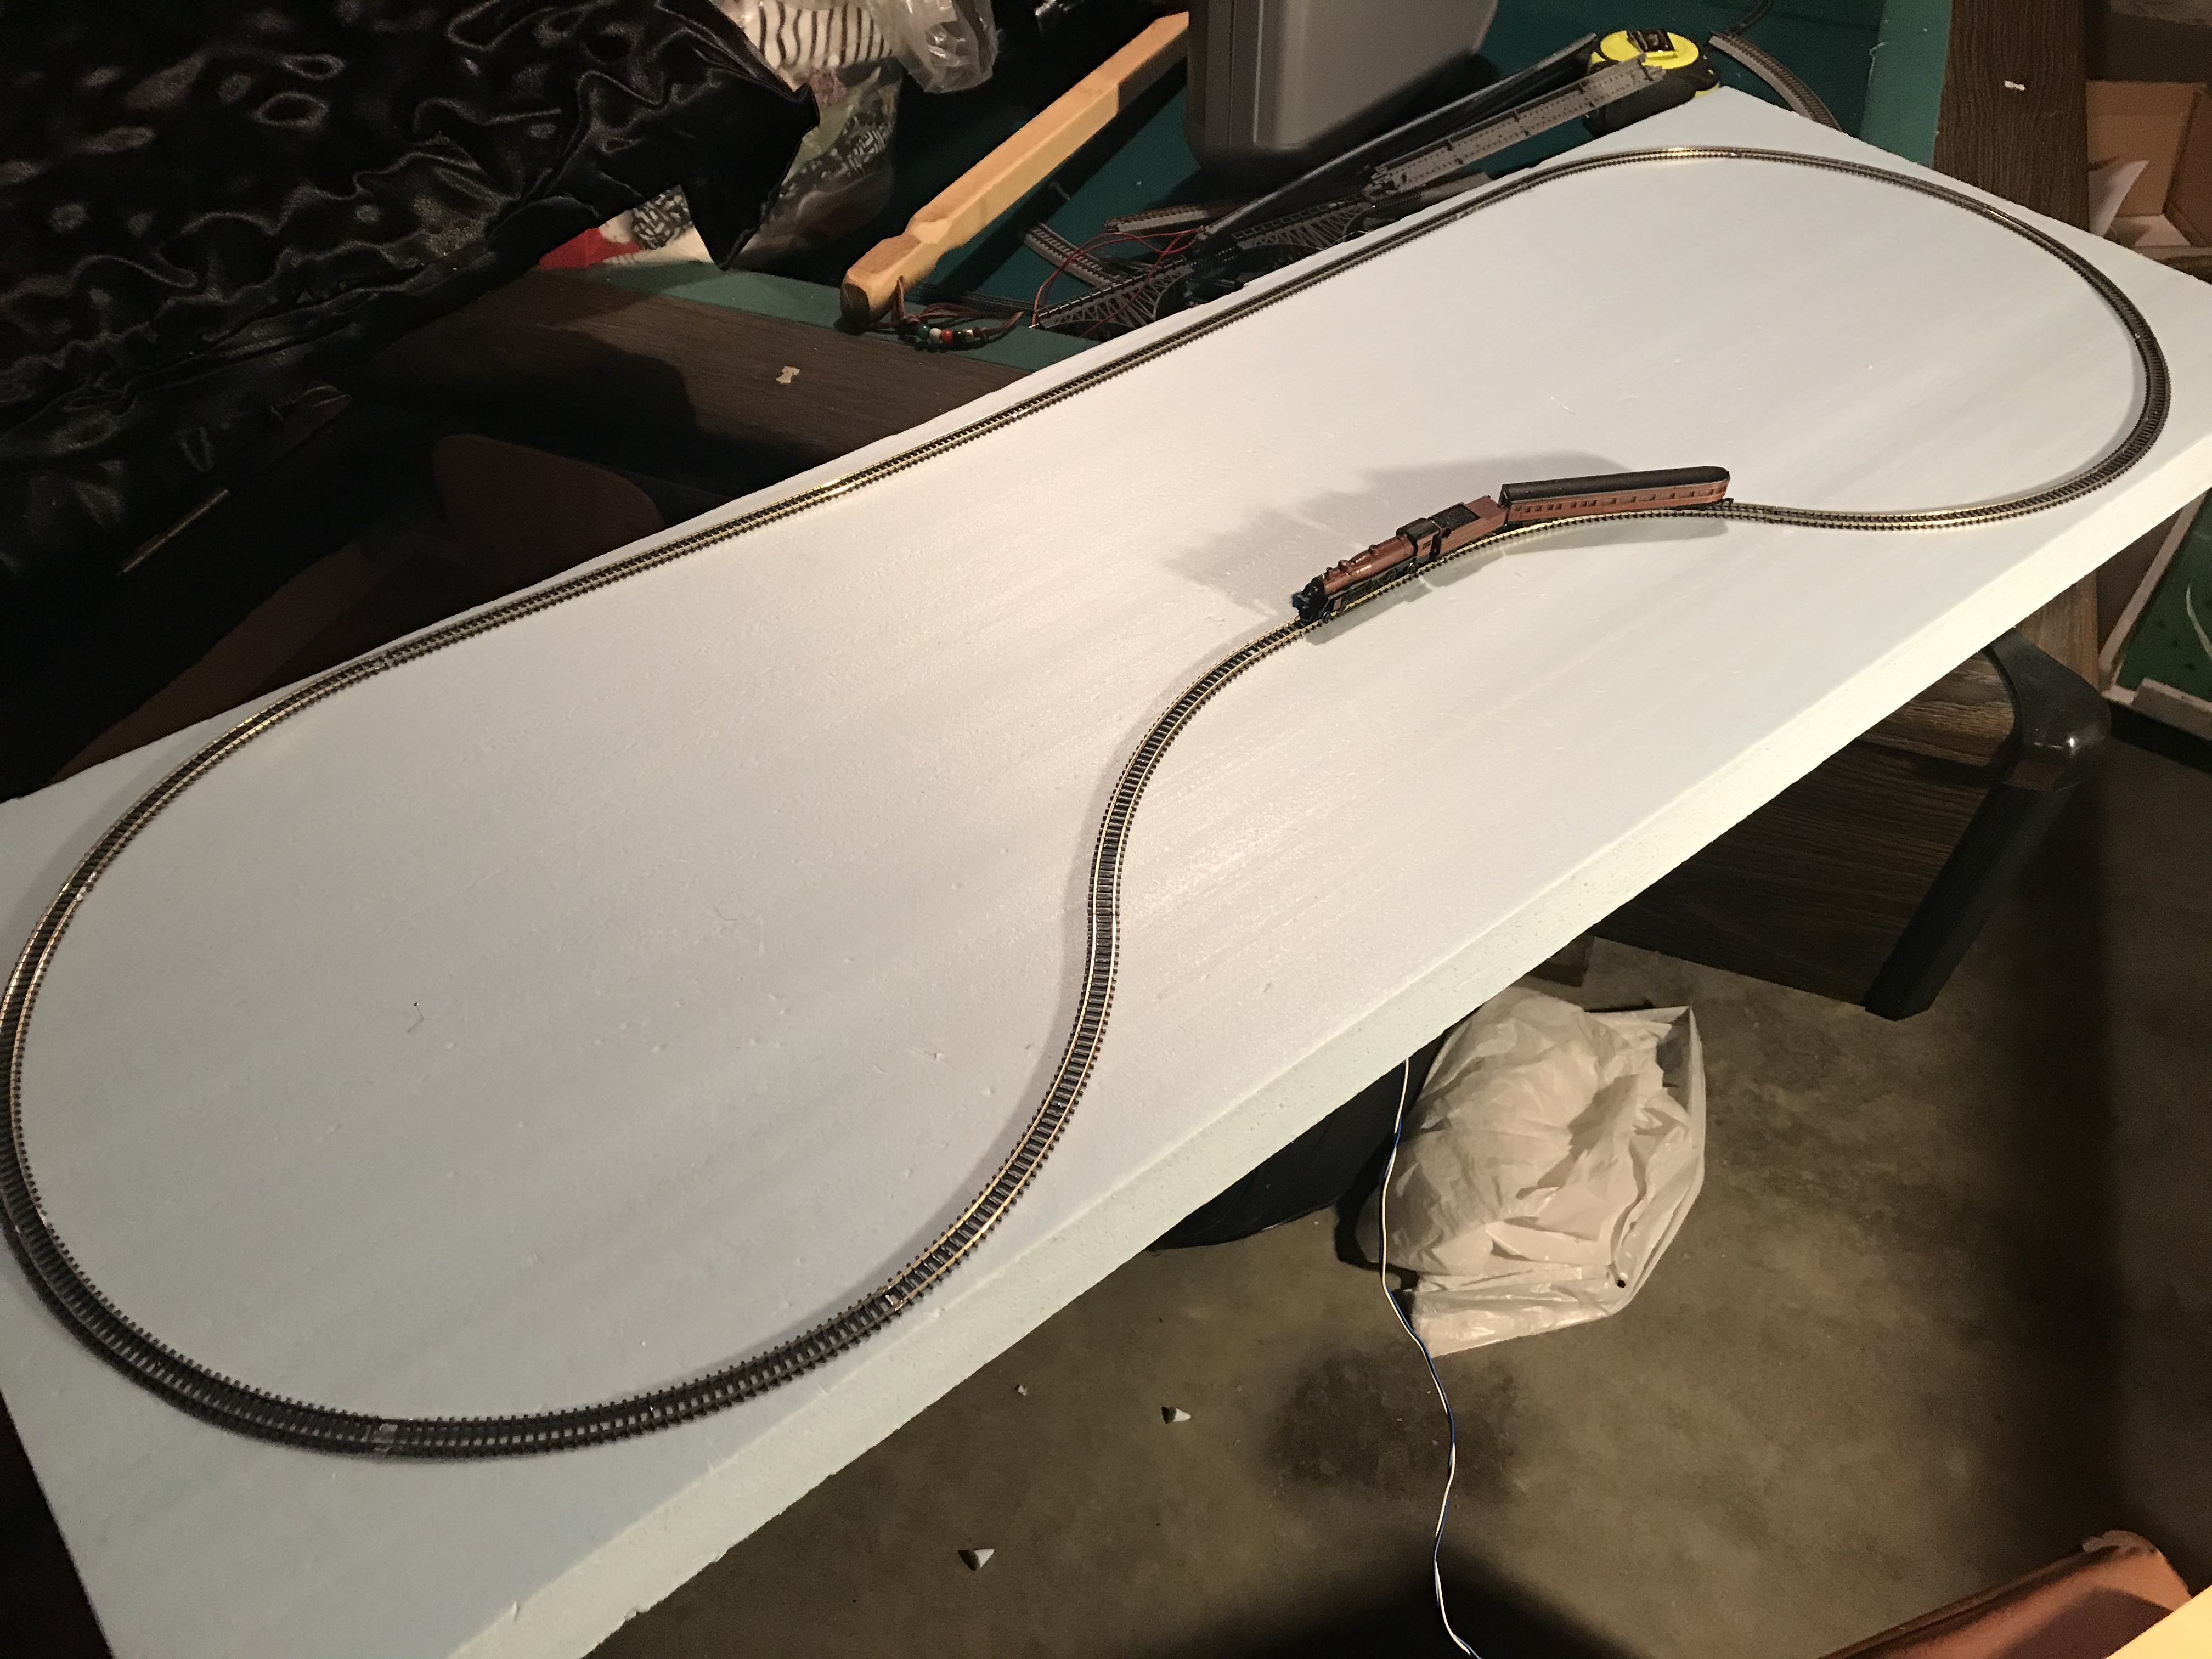
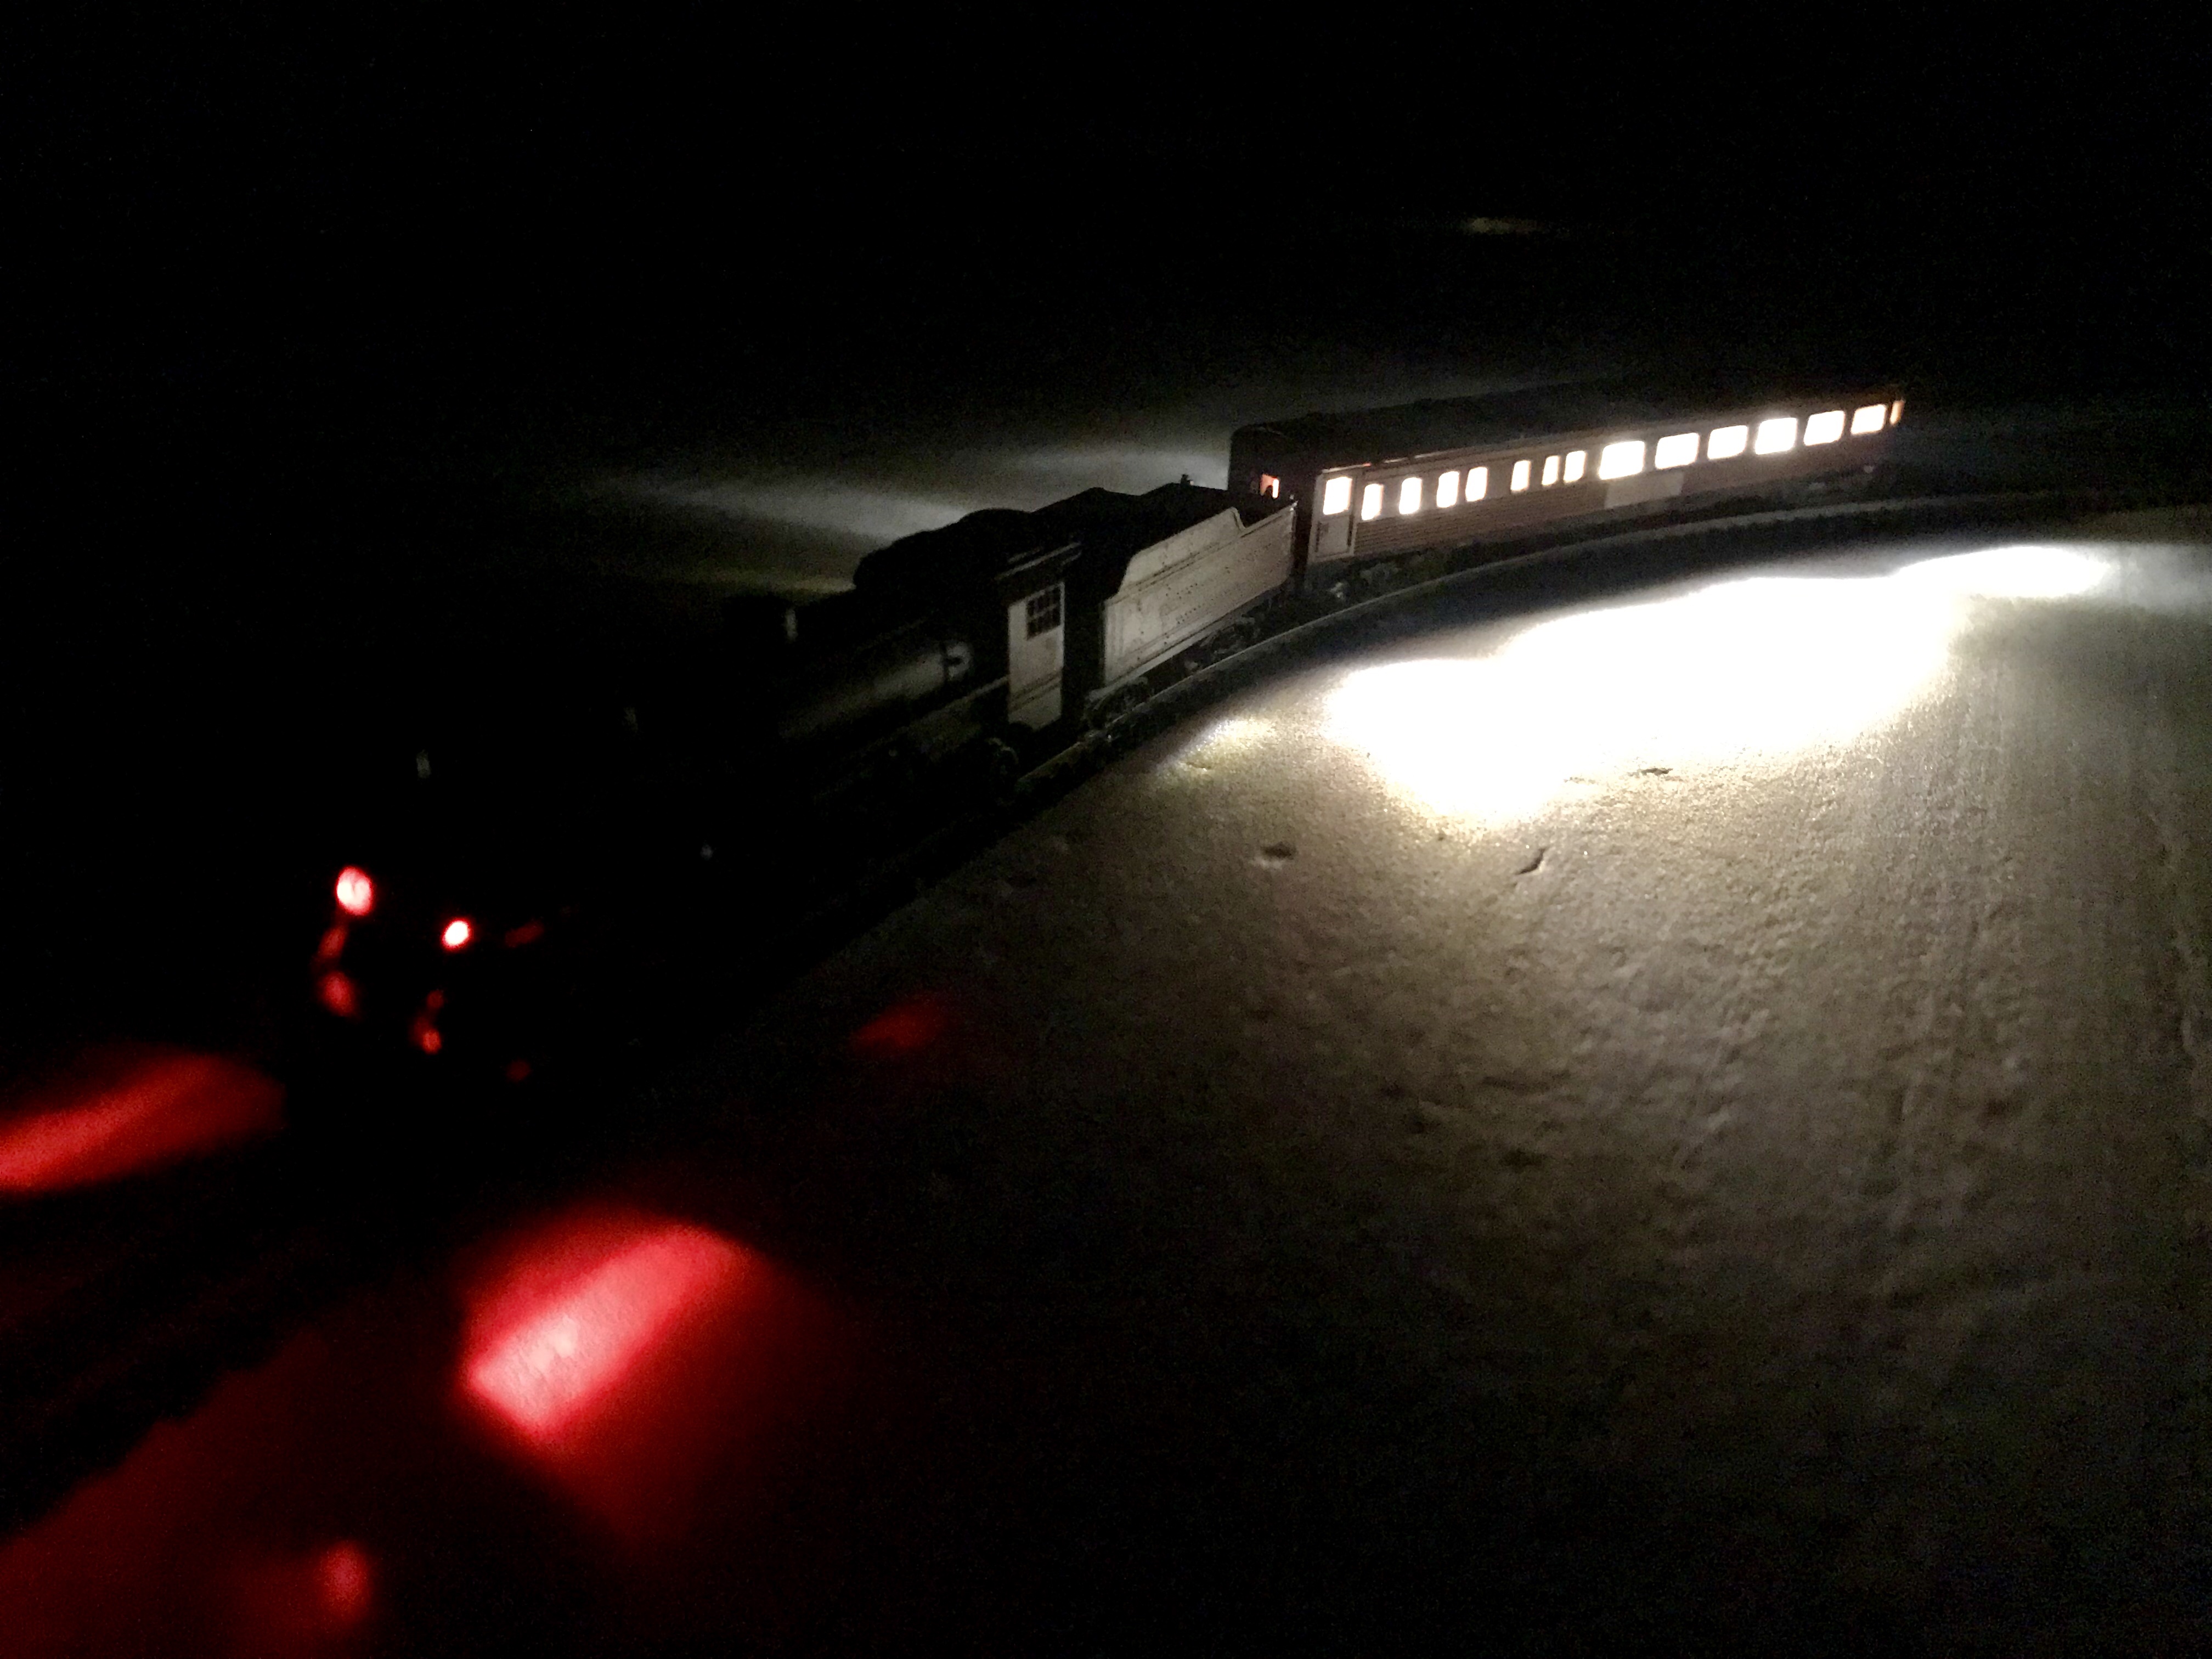
Another thing I’ve been doing is Frankensteining a custome N scale locomotive.  I started with an old Con-Cor 2-8-8-2 Y6B.  I took the shell off and insulated the motor, removed the original little headlamp, and unsoldered the motor-to-track power leads.  The Y6B started as DC, but I’m converting it to DCC.  I plan to use a Train Control Systems Wow101-KA-Steam sound decoder.  It’s designed as an HO scale decoder, but it just fits inside the auxilary tender I’m going to add to the locomotive.  Most steam locomotives use only one tender, but they can use one or two extras for longer trips, or trips that will require much more than the usual amount of fuel.  In this case, the decoder I’m using includes TCS’s KeepAlive.  I will be using two speakers—one in each tender–and have several lights in the locomotive tenders.  With all those wires and speakers, the original tender isn’t large enough, so I’m adding a Bachmann tender from a 4-8-4 Northern steam locomotive.  The additional tender is larger than the original, so the initial decoder, one speaker, and two 3-millimiter LED’s will go in it.  The KeepAlive, wires for the head lamp, and another LED will go in the original tender.

img_6545img_6547img_6548

I’m not using a caboose as a tender.  I was going to tack it on behind the second tender and wire it to draw power from both rails, but I decided this would be gawdy enough without it.  I will probably use it with The Lilliputian.img_6550

This new locomotive will be called “The Livingston”.  It will be repaitned in Baltimore & Ohio Railroad royal blue and antique gold with some silver trim, and it will be primarily a passenger train.  I’m also repainting and repurposing two old Con-Cor heavyweight passenger sets, a small three-car Rivarrossi passenger set, and an extra observation car to match.  Normally, the Y6B wouldn’t be able to haul all those at once without a helper engine, but I’m adding GO2 glue to all sixteen drivers to bolster her hauling power.  GO2 glue is perfect for adding traction to driver wheels because it doesn’t run during application, it dries crystal clear, it’s shock resistant, and it’s temperature hardy.  You won’t see it after it’s been applied and has set, and what little dirt it might pick up and show from the rails just makes everything look more protoptycial.  The only drawback is that it nearly completely degrades the elcctrical pick-up abilities of driver wheels, so I must draw power through another medium.  That is another function of the second tender.  The first tender will draw only from the right rail, and the second will draw only from the left.


I have also started creating a sister locomotive called “The Lilliputian”.  She will be much smaller than her big sister; she is an Atlas 0-4-0 steam switcher.  The Lilliputian won’t have lights because the engine is just so small.  It is so small, that I must wire a passenger car to permenantly follow the tender.  Adding the GO2 stops the pick-up of the engine wheels, altogether, and the tender draws only from one rail.  It can’t be insulated to do both.  That is one of the functions of the passenger car; the car will also house the decoder, KeepAlive, and mini cube speaker.  I am not sure whether I will use TCS or SoundTraxx for the decoder, but I am sure I will TCS’s KA4-C KeepAlive.  SoundTraxx’s CurrentKeeper is dimensionally too long.

This is roughly how The Lilliputian will look when finished.img_1294

I had to replace the original tender pick-up flanges to better suite the re-orienting of the trucks to avoid contacting metal parts of the chassis.img_1290

I created a new drawbar out of plain plastic, and I painted it matte black.  The wire that leads from the rear truck to the decoder winds half-way around the drawbar and up through the step platform.img_1291

The wire will then lead through the door of the passenger car as inconspicuously as possible.img_1292


The Livingston is clearly more powerful and likes to show off, but The Lilliputian doing the same thing looks more impressive!

With all the HOn3 upgrading I’ve been doing, I’ve not had enough free time at once to work on my suspended Z scale layout.  Oh, well.  In due time…

From Guitar Case to Ceiling Rafters

I think in my last post I showed the construction of my Z scale guitar case layout.  I was going to add some scenery and a building or two, but I realized that having anything more than just the track and ballast would be damaged, loosened, or lost too easily.  That makes the guitar case layout officially DONE.

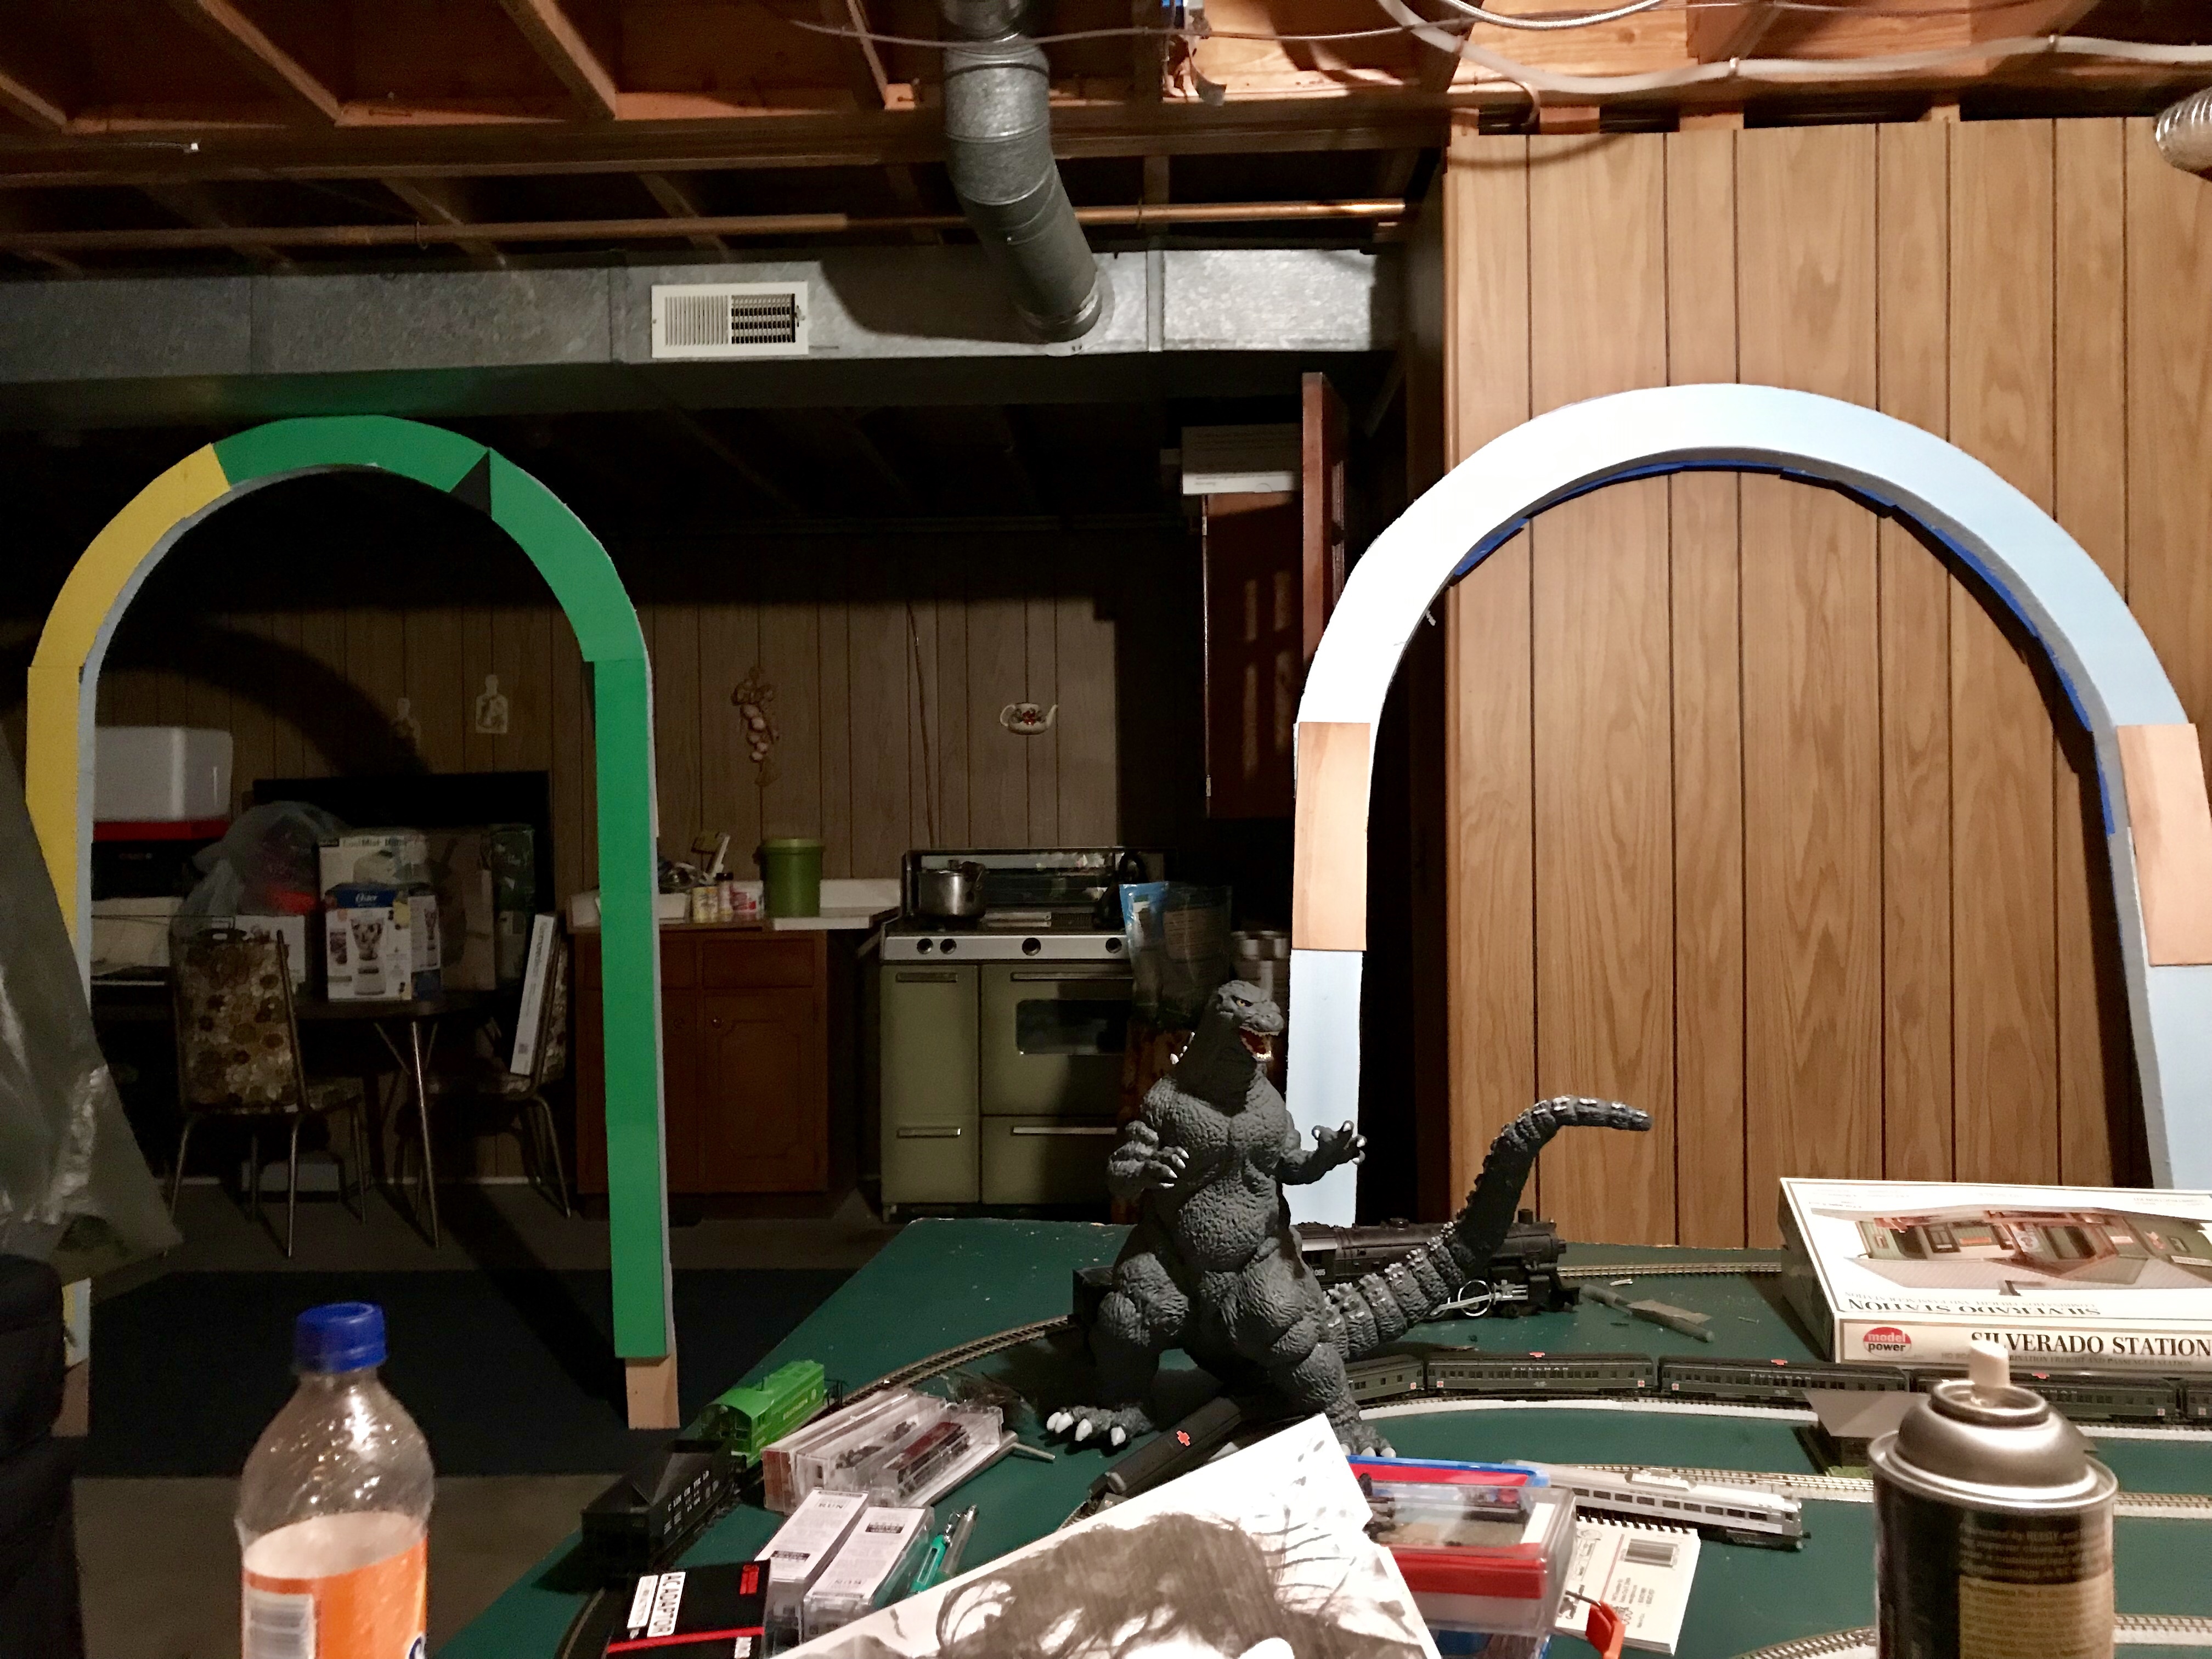
In recent weeks, I’ve begun formulating and constructing a new layout.  It is also in Z scale and uses foam, but it is almost all foam.  The entire base is the same blue 2″ insulation foam used in the guitar case layout.  The biggest difference and feature that makes it most unique is that is it to be a suspended layout that hangs from the ceiling of my basement via a pulley system.  It will have some pieces of plywood that connect the foam joints, and it will have to main bus wires running the interior length of the layout.  It wil also have sevearal stretches of grades that lead to a high grade loop.  It’s taken a lot of planning, mathematical calcuations, and messy foam and wood cutting, but I think it will look awesome!

Below are some photos of the layout’s early stages.img_6063

This is a sort of grid schematic.  I used basic notepad lines as units of measurements and basic mathematic X/Y axes to plan direction of travel.
img_6168

This project took most of the garage and a few hours to start, but it was worth the mess and effort.
img_6067

These are the products of my work.img_6069img_6086

I used a jig saw to cut everything so cleanly.  I would have thought my smaller and finer-toothed blade would be better for a clean cut, but it turns out that the big and jagged one worked far better.img_6065img_6108

Here is the basic shape.  it’s an oval with a side yard.img_6154

More to come!!!!!

Have Guitar, Will Play! …..Wait a Minute, That’s No Guitar!

It’s only been forever since I started this guitar case layout, but I’ve finally got one going in it.  This has been my first attempt at building a layout from scratch, and I have learned quite a bit.  Most importantly, the fine size of everything makes the biggest difference in operation because the tolerance of all the parts fitting together is key.

Firstly, cutting the piece of foam down to size (just under four feet by nearly one and a half feet) was mildly harder than I thought.  I measured the guitar case interior with some leeway.  The leather that encases the exterior of the wooden hand-made case bunches and bundles up inside, so I had to allow for that to snuggly and safely fit against the surface of the foam without tearing it up every time I pulled the foam out or placed it in.  I didn’t have my foam cutting wire on hand when I started, so I took a micro butane torch to a steak knife.  I heated the knife nearly to glowing hot and slowly sliced through the foam.  It took several tries because the metal cooled quickly in the coolness of my basement, and maintaining an even cut after starting and stopping several times was tougher than I expected.  I am definitely going to keep my foam cutting tool handier in the future.

This is the Marklín track pinned down for an initial test.  The locomotive is a Marklín Pennsylvania 4-6-2 Pacific.
img_5428

Forwardimg_5430img_5429Reverseimg_5431img_5433

I temporarily fastened the pieces of sectional track (which I would later regret) with tiny office supply pins so I could see and mark where to make holes for power leads.  The Marklïn track I used snapped together at the ends, and I thought that would work to my advantage.  However, I the track didn’t quite fit on the foam with enough clearance between the train and the frame of the case.  I had to lightly squeeze and flex the track into a tighter diameter, and the snaps didn’t want to hold very well.  I made it work and pinned everything down into the foam until I had the clearance and shape I wanted.  I connected my Rokuhan transformer to a single set of leads to test electrical continuity.  The locomotive ran decently, but there were so many inconsistencies in electrical flow and rail height that I decided to try soldering each piece of track together.  That helped, with the continuity, but the rail height was still a big problem.  I decided to pull it all out and start over with Micro Train Lines Flex track.

I cut some green and finely textured construction paper to glue onto the foam.  I chose to use the construction paper because this is layout is going to be mobile, and I don’t want to invest too much time and effort into something only to have it broken right away.  The paper looks nice enough for its intended purpose, and all I want is for this to be a fun layout.  After spreading Elmer’s glue down along the perimeter of the paper and foam base and letting it dry overnight, I soldered the flext track piece by piece as I pinned it down to the foam through the paper.  That worked much better all around, and I was happy with my track laying.

Ballasting was an exciting adventure.  I have a ballasting tool made specifically for Z scale.  It fits neatly around the rails and spreads ballast right up along them.  What I didn’t realize was how easily the fine ballast would be picked up by the open locomotive gears and stick in the gearbox.  I spend some extra time scraping ballast from between the rails with my solder scraper.  What a chore!  I’m going to modify that tool to not spread nearly so much between the rails.  LESSON LEARNED.

…to be continued!

Bring on the Snow!!!

Livingston Lines has moved from the freeborn single star of Texas to the prairies verdant of Illinois.  Yes, you read correctly.  We are now based in Illinois.  This move comes after quite a bit of thought, and it is believed to be for the best.  And by “we,” I mean “I.”  I, Michael, am still the sole proprietor of Livingston Lines.  “I” missed snow and the rest of the seasons.  The warmth of Texas is nice, but I grew up in the Midwest with all four seasons.  Texas’s fall just doesn’t have enough color to suit me, and it’s spring doesn’t look very springlike.  There’s not enough new green to it.  Winter just doesn’t really exit in the Dallas-Fort Worth metroplex.  It feels good to be back where my love of trains began.

With the move comes a complete change in atmosphere and pace of life.  Dallas was always running and speeding and colliding with itslf and its neighbors.  Crawford County in Illinois is much calmer and relaxed.  Everything is much more spread out, and everyone moves slower, here.  I don’t have to drive over fifty miles per hour if I don’t feel like it, and there are always three or four ways of getting from anywhere to anywhere. Having more options besides the interstates is super nice.

The model railroading scene has also changed drastically.  Where once I could find almost a dozen clubs within a fifty-mile radius, I am now lucky to find one in the whole county.  As it so happens, there is a new model railroading club called the Crawford County Model Railroaders. Their present home is the Palestine Public Library in Palestine, IL.  The club is right at two and a half years old, so it has plenty of room to grow its membership and local presence.


IMG_0836

It’s All About the Curves

Hey, All!

Happy early Thanksgiving!  It’s beginning to really feel like winter here in Texas.  I’ve been doing some layout building and designing of sorts.  I helped a client lay some flex track for his suspended HO layout, and it turned out really well.

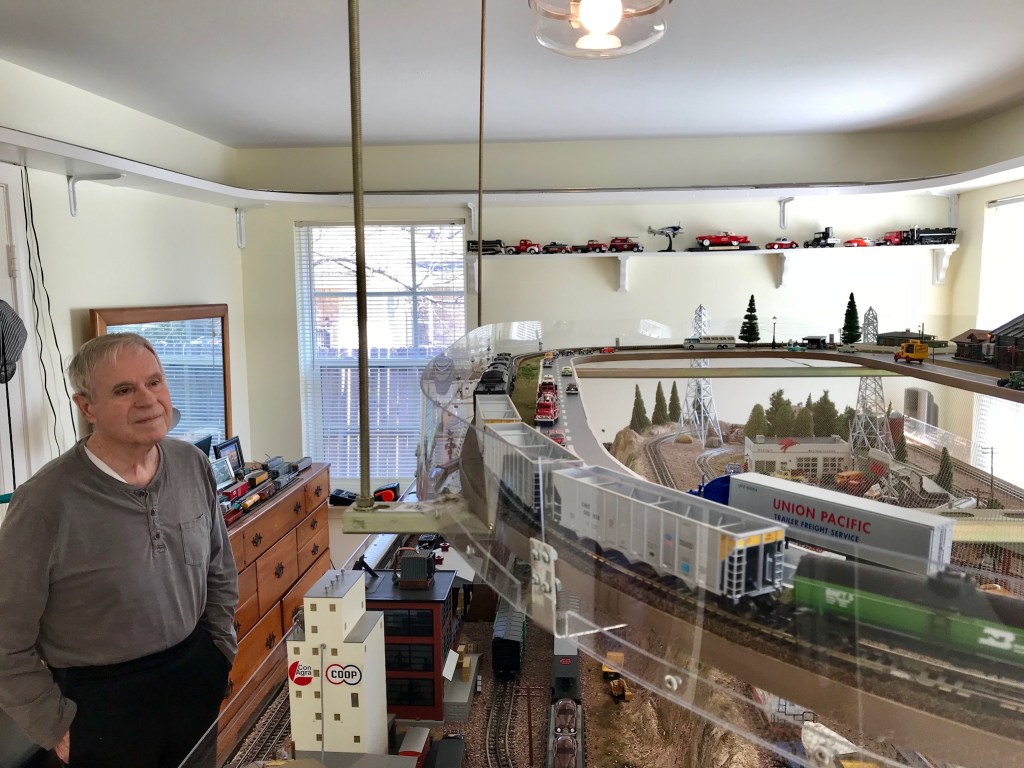
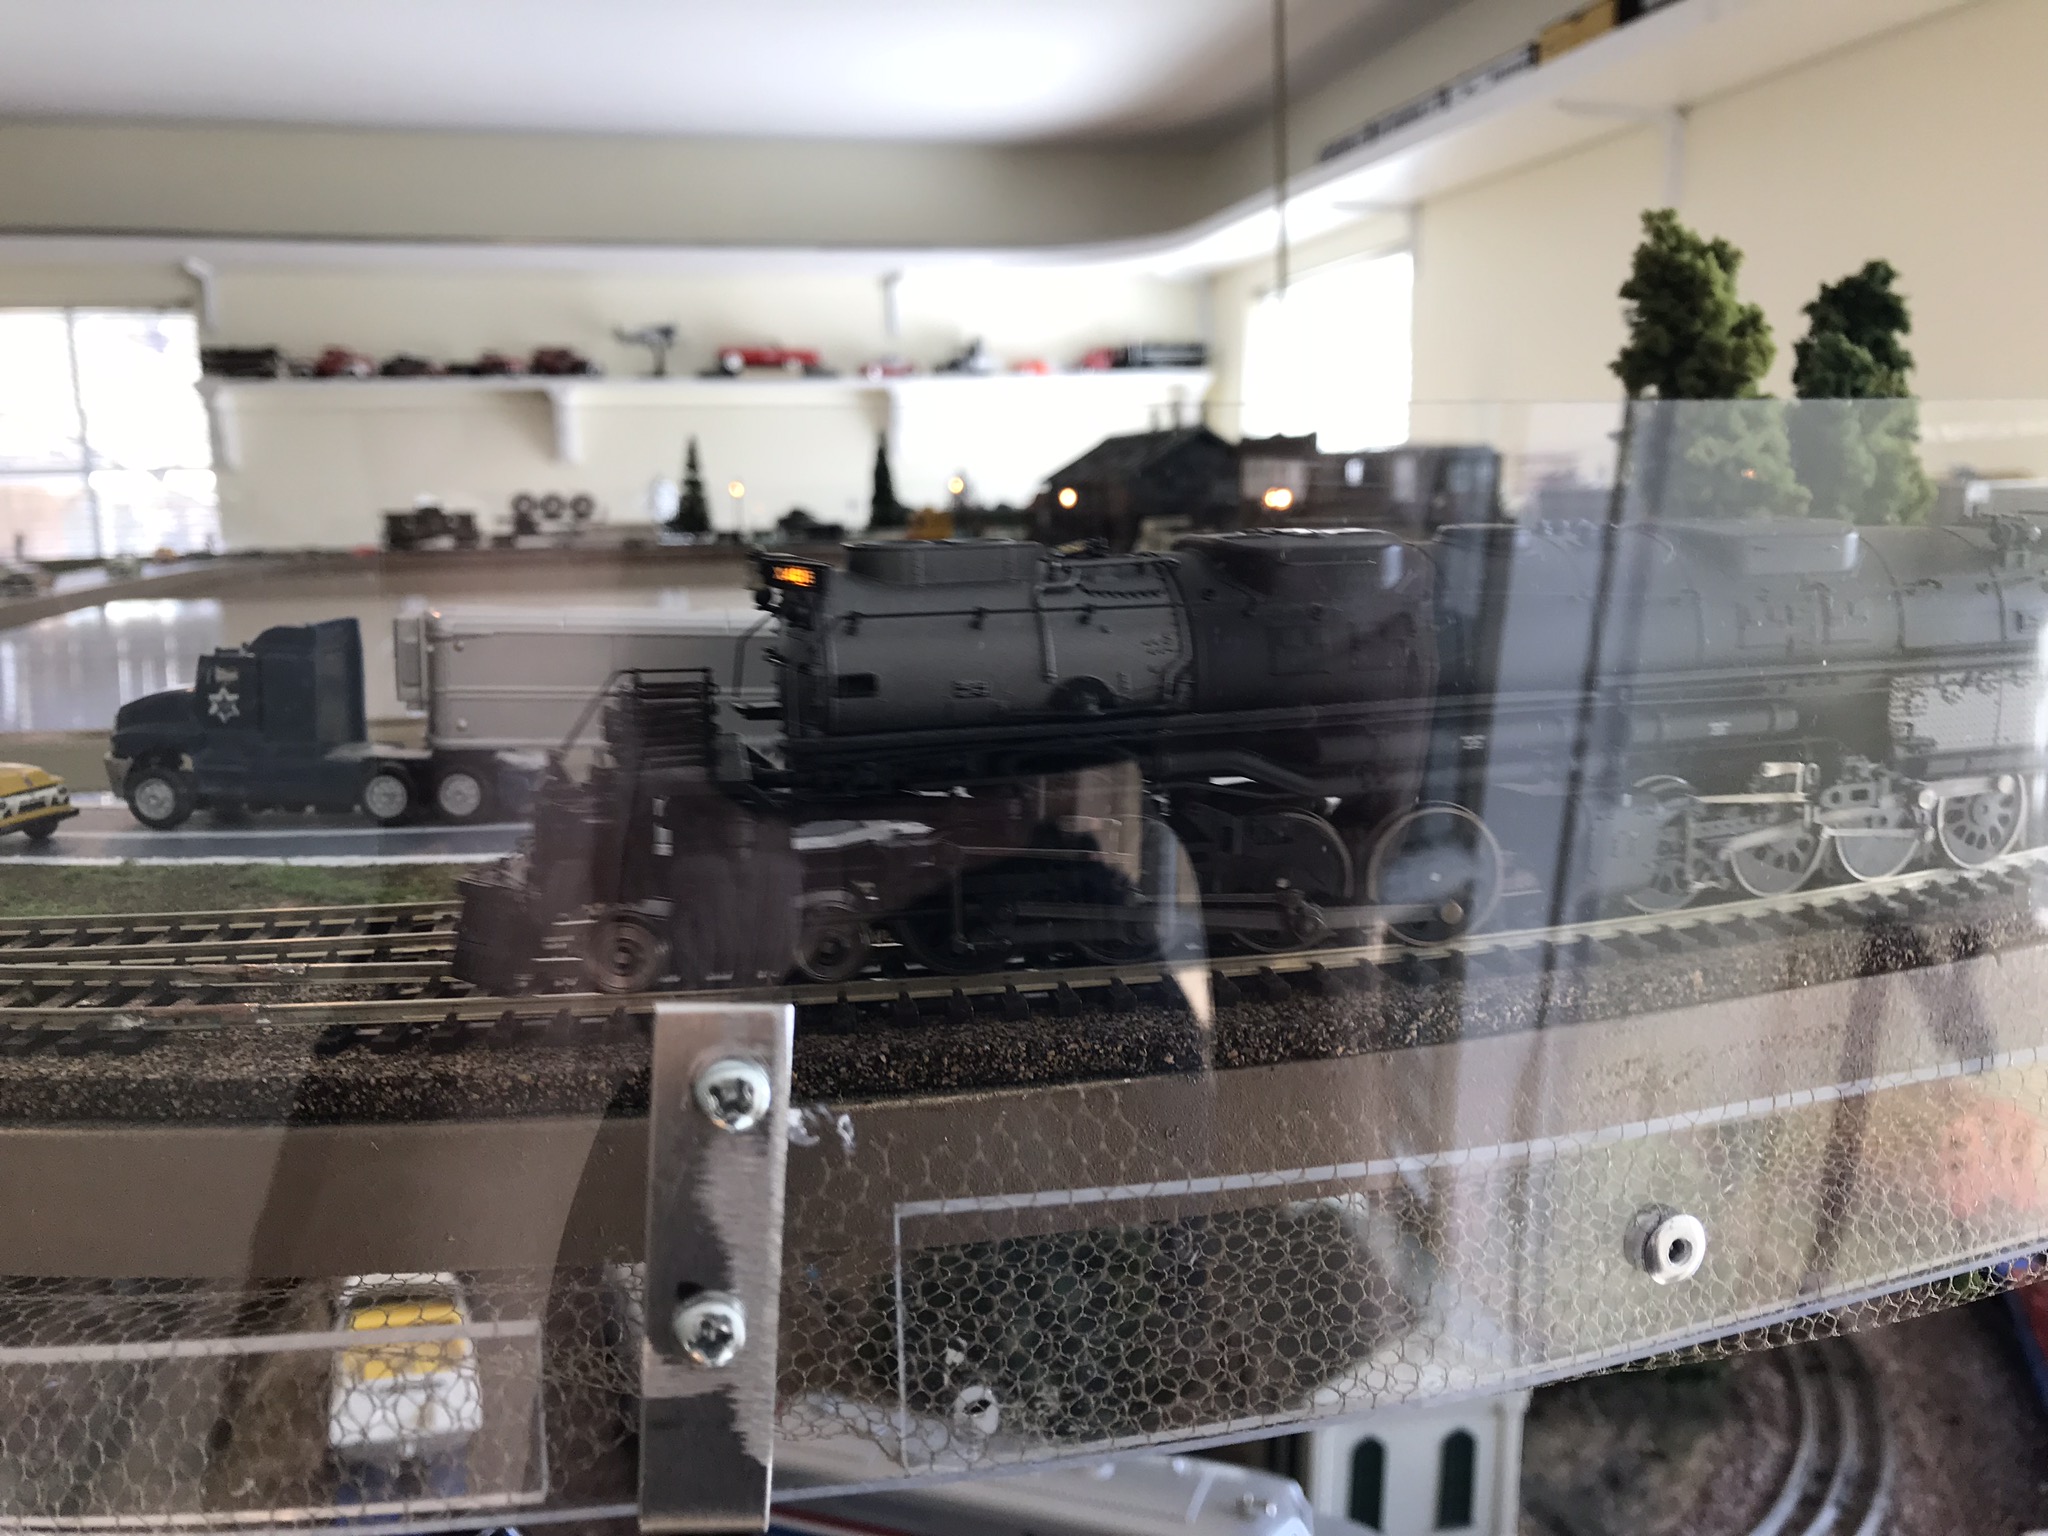
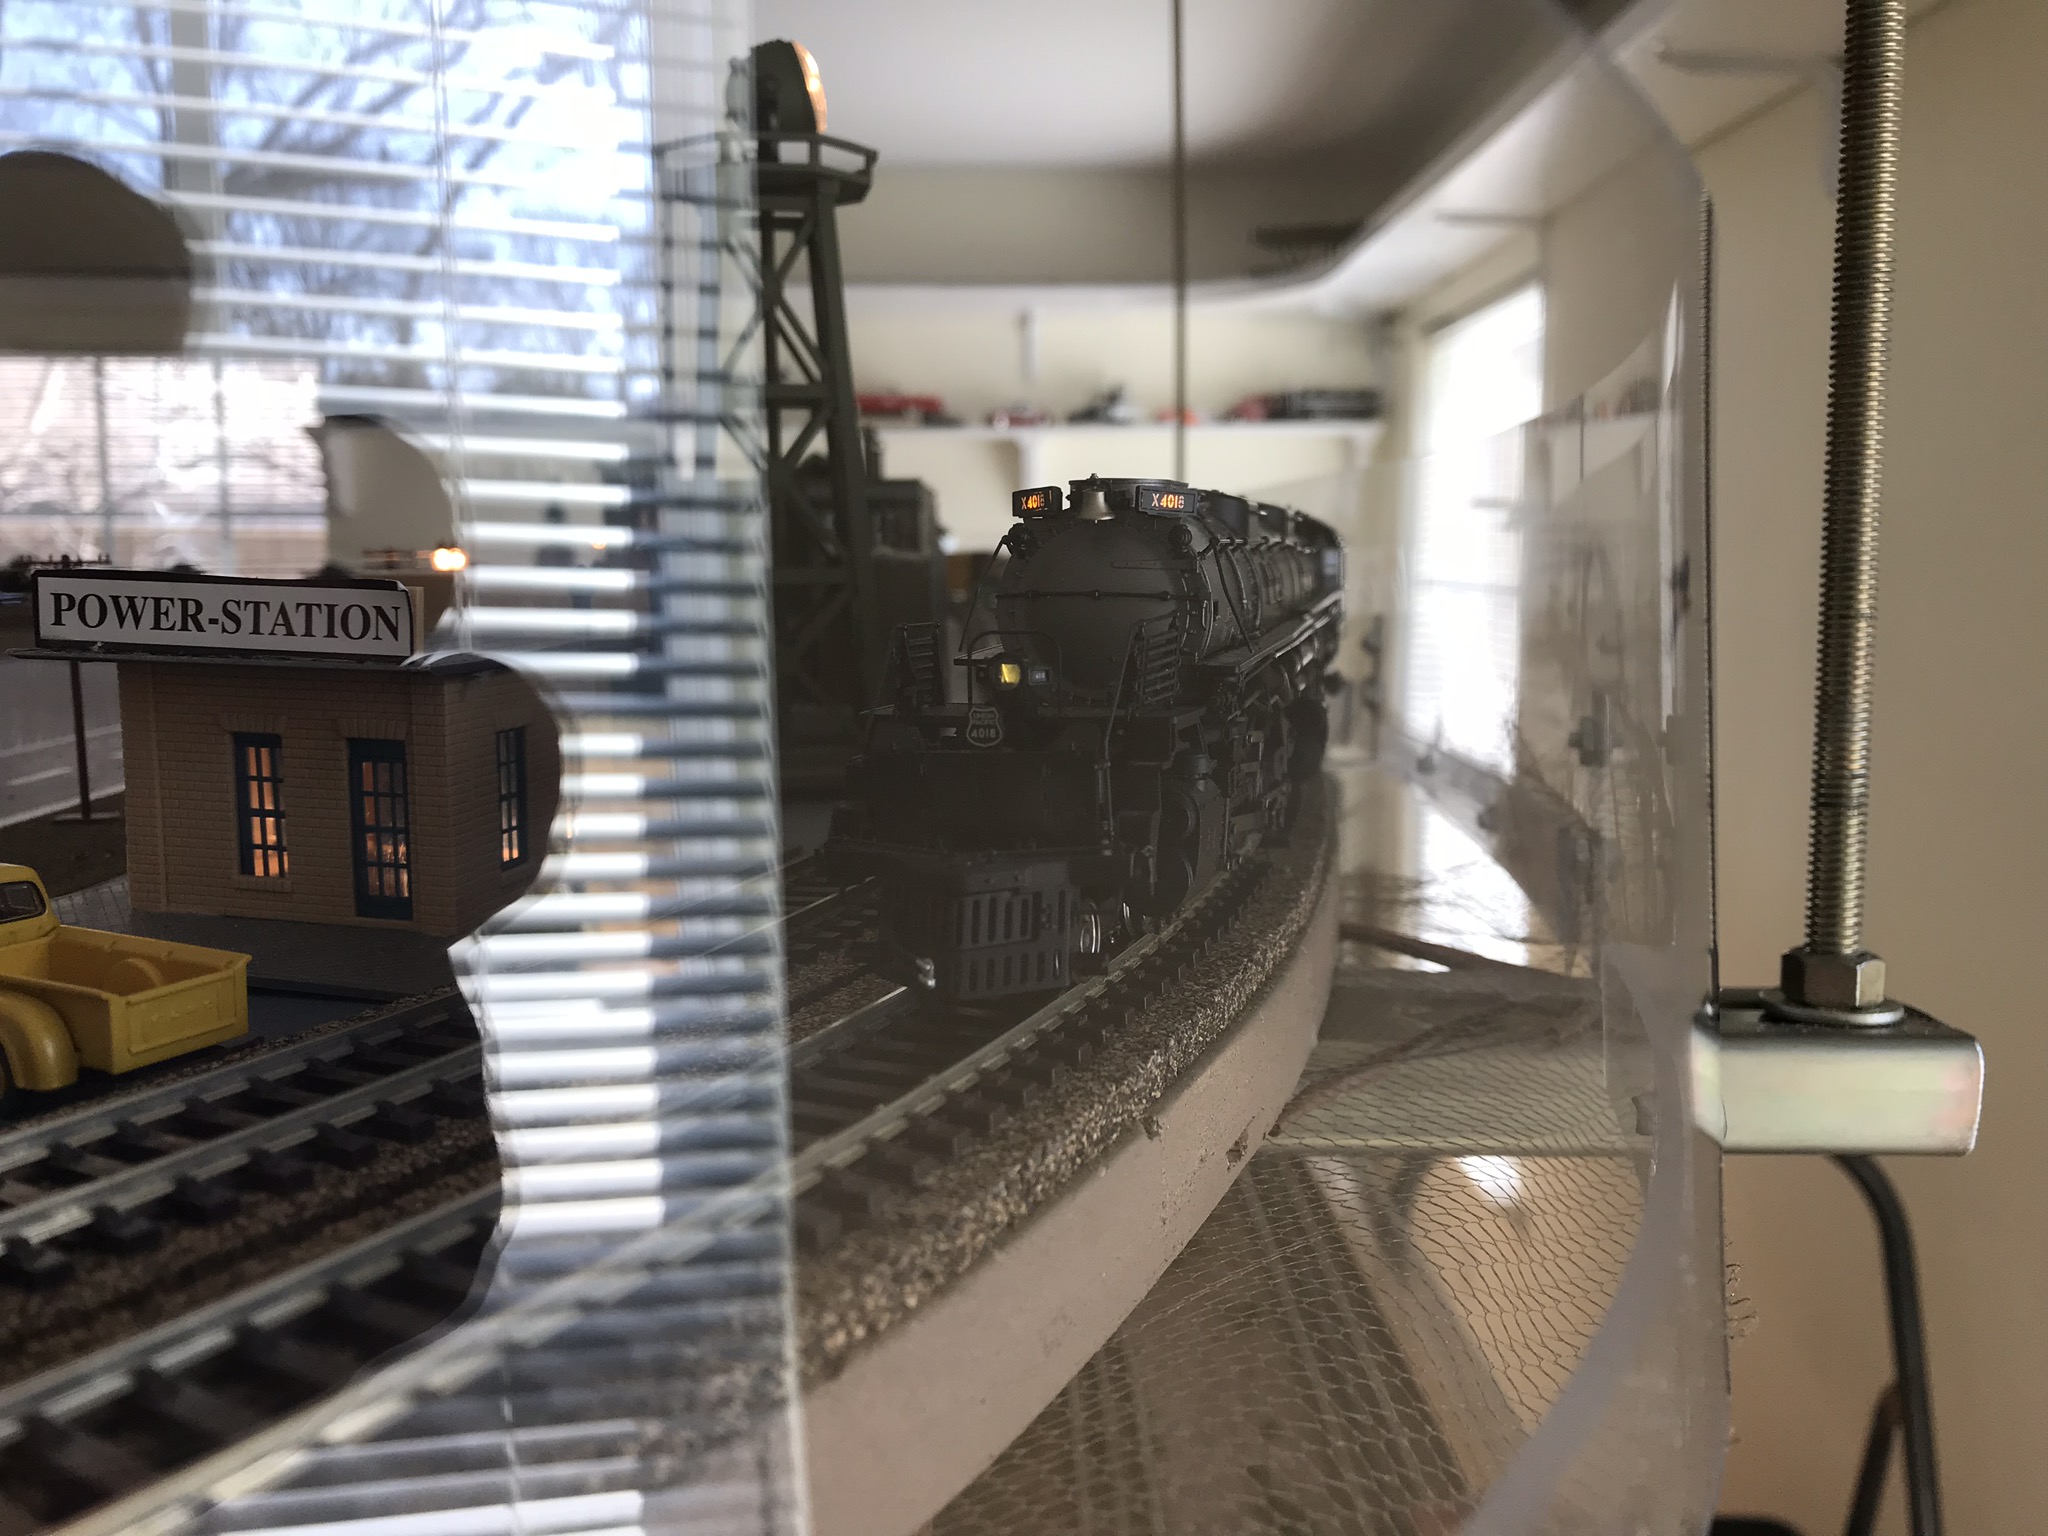
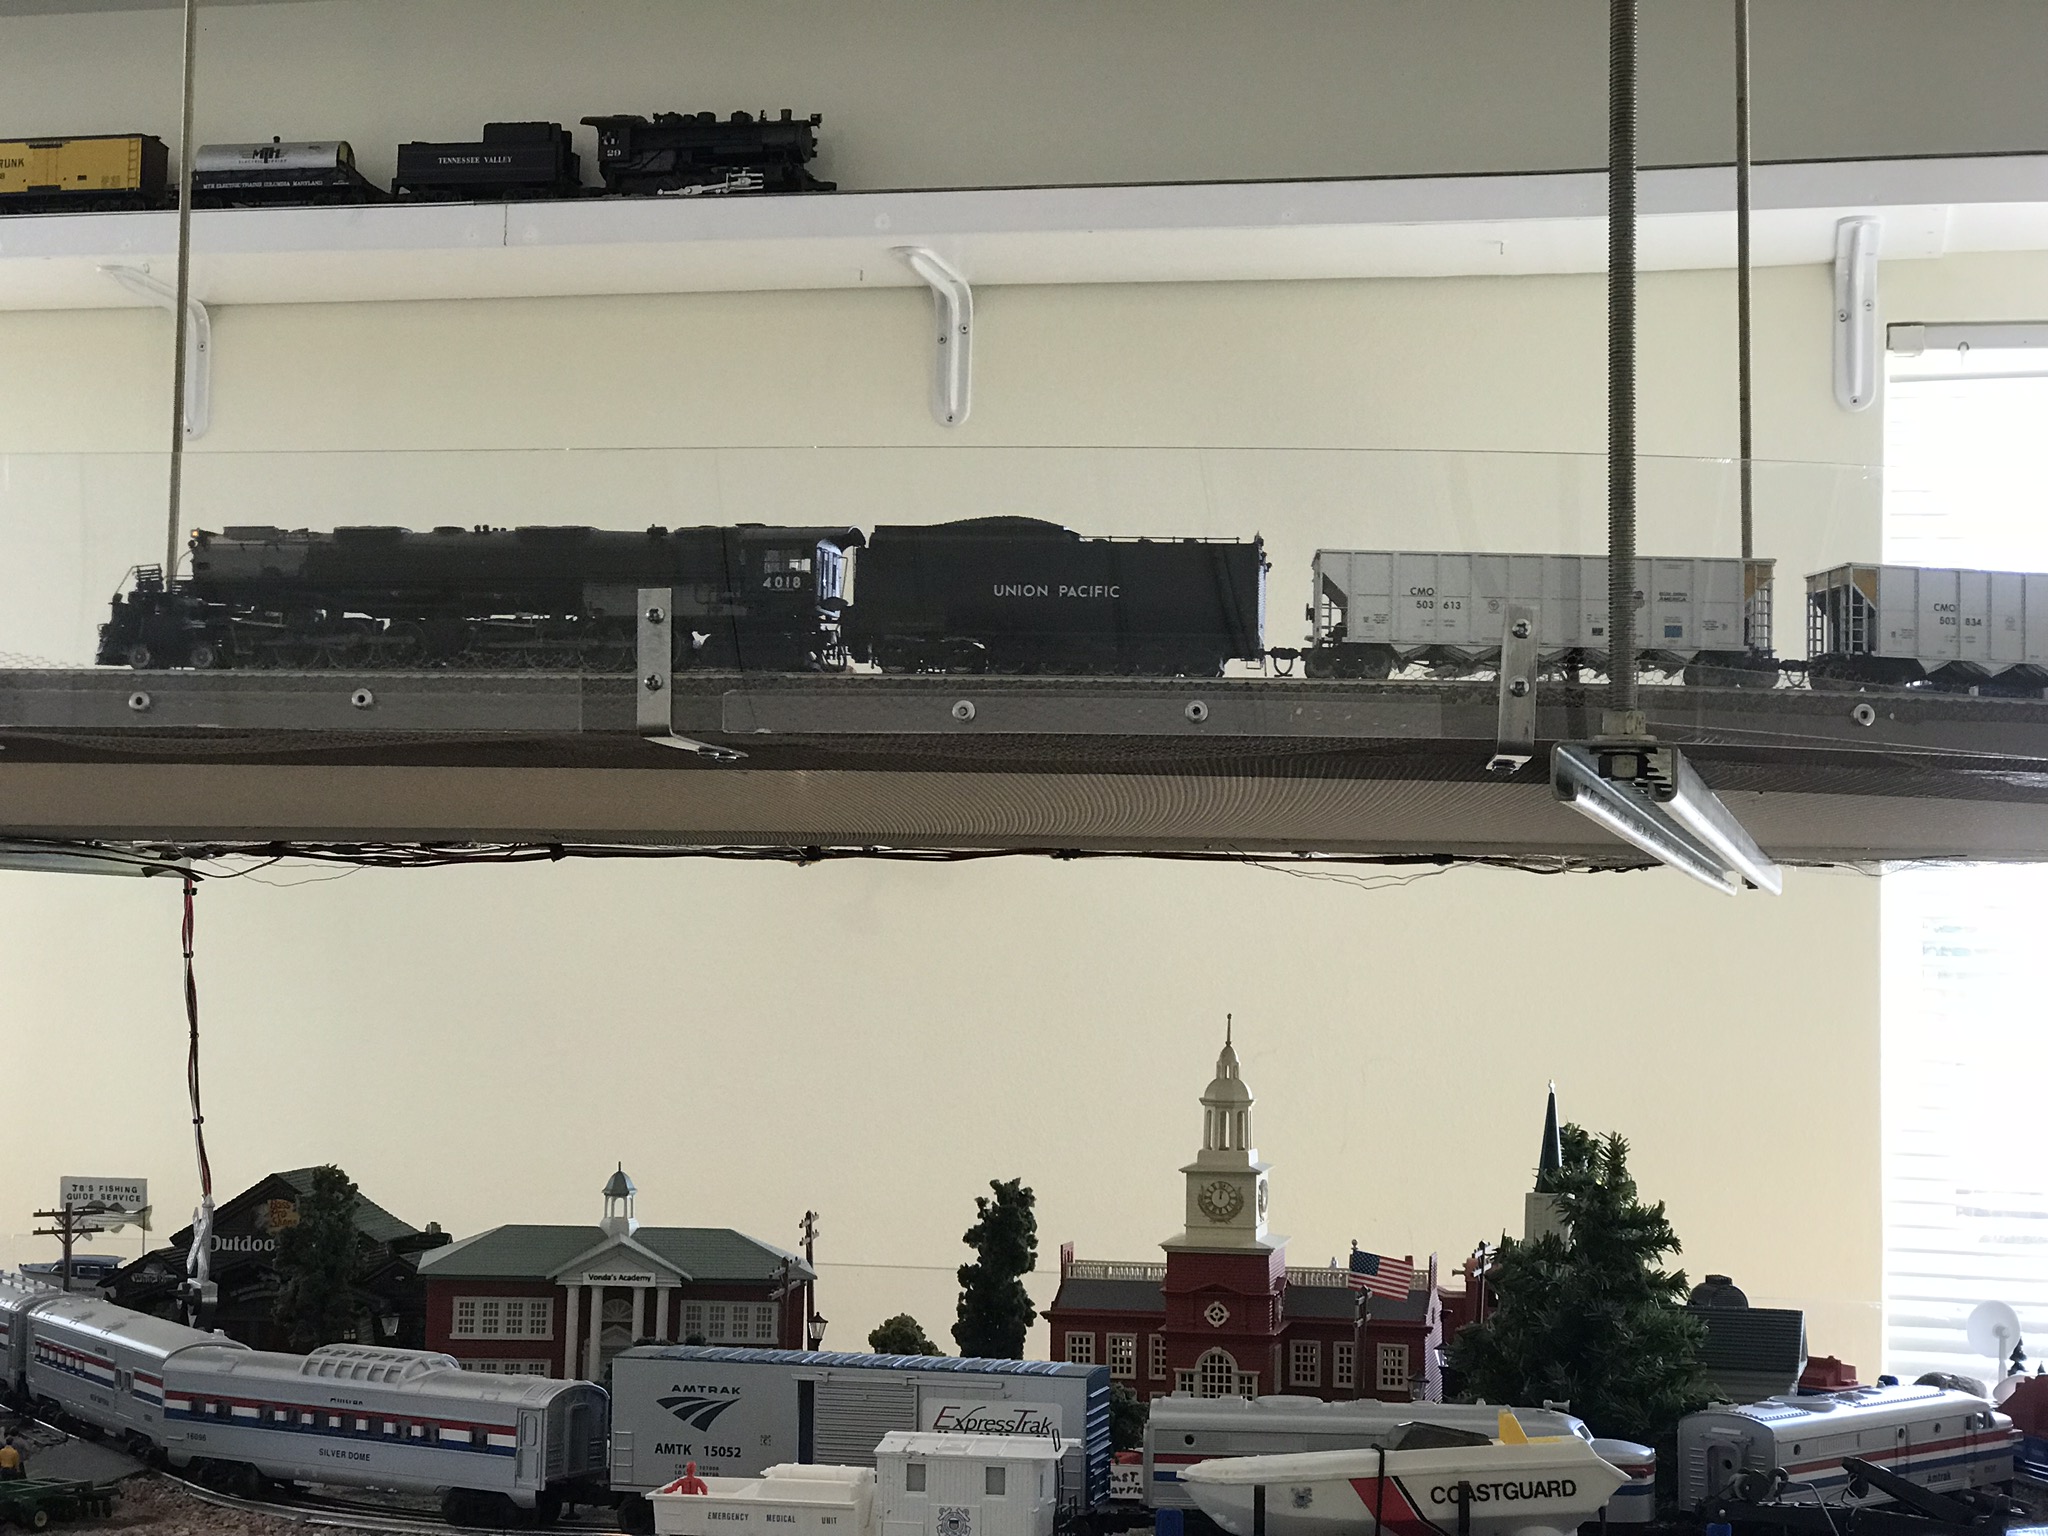
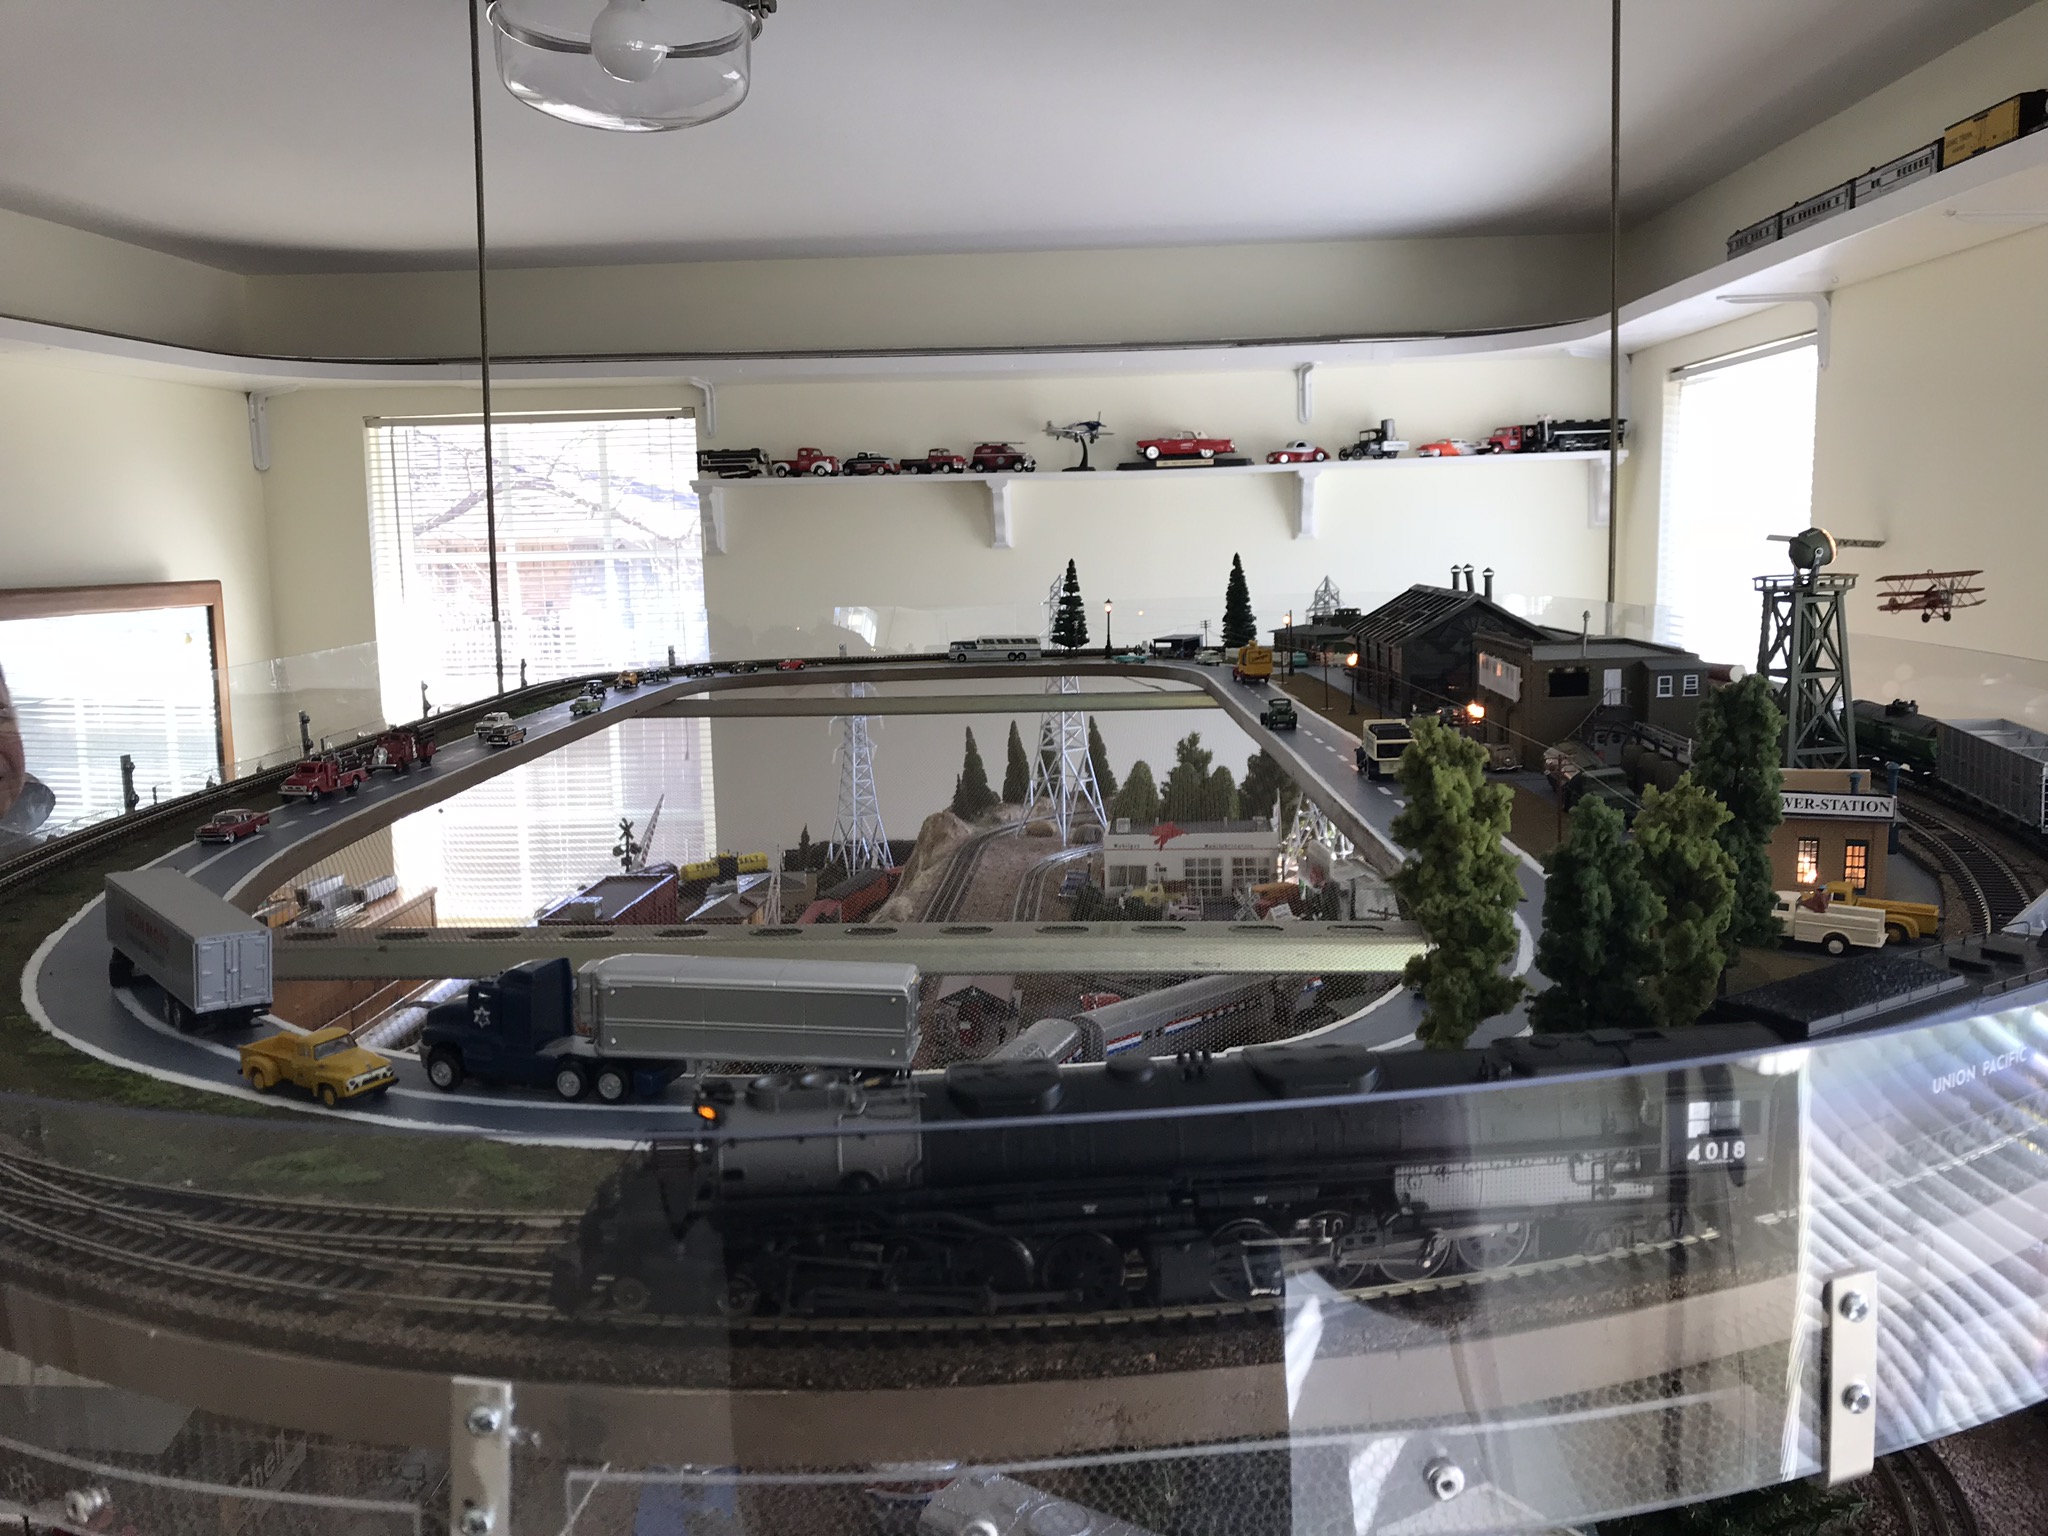
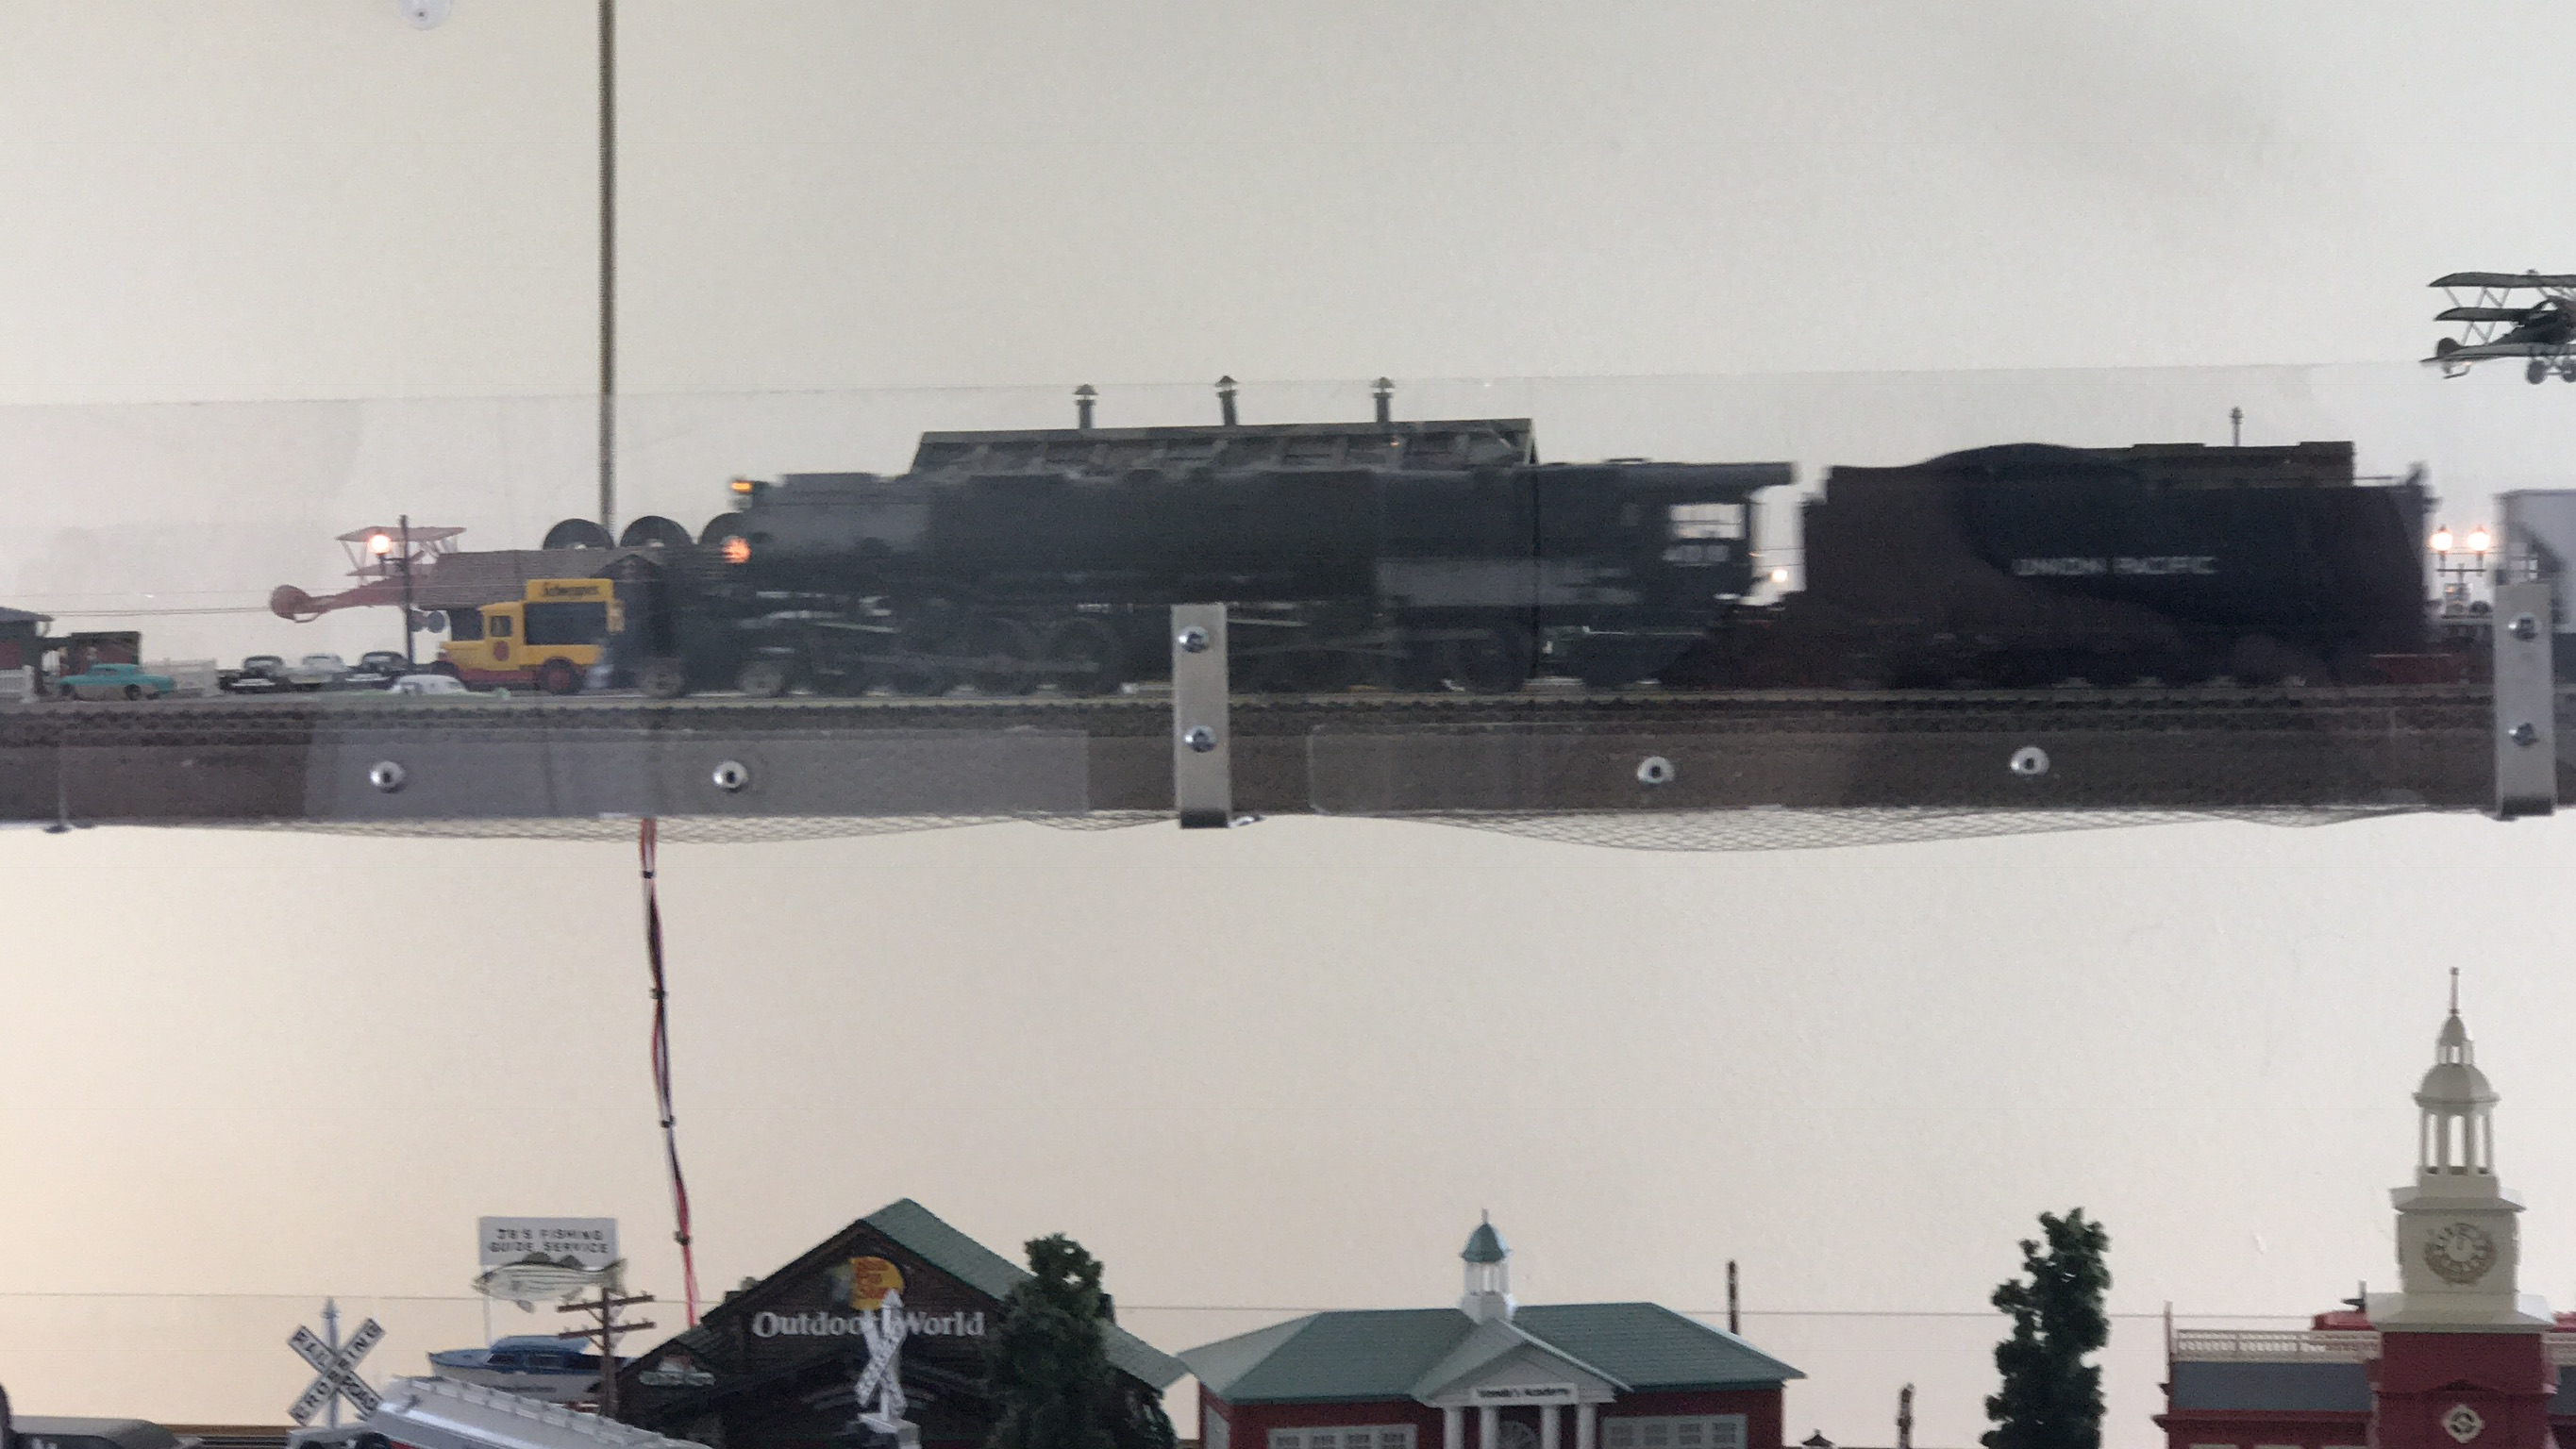
Von Irwin has a beautiful O gauge layout in his master bedroom.  I don’t how many hours he’s spent building it, but they have been hours very well spent.  He had a friend of his install suspension cables that run down from his attic through the ceiling to hold up his single-loop layout.  It has part of a town, a small military compound, and one siding on it.  Laying the track was simple, but laying everything in a wide enough radius for his Big Boy was a challenge.  Most minimum radii for Big Boys are 24″, and the diameter of the layout was probably 26″ or 28″. Some parts of the layout were cut unevenly, so the track ties come up flush with the edge.  I had to be creative in measuring certain points of curves, especially at the turnout.  The turnout is curved, so I couldn’t form it to the edge of the layout like the flex track.  It is fortunate that the model Big Boys’ driver trucks are both articulated instead of just the front one as is prototypical. It still hangs pretty far over–nearly an inch in a couple places–but makes all the curves and the turnout.

I’m pretty jealous of Von’s train room.  I love the wall-to-wall loops up high.IMG_0960

One of my favorite things about Von’s layout is how he has everything well-protected.  He has chicken wire mesh fastened to the underside of the layout and to the clear plastic retaining walls.  Even if something were to derail or be knocked off, the mesh would save it.IMG_0959IMG_0958IMG_0957IMG_0956IMG_0955IMG_0954IMG_0953IMG_0952IMG_0950IMG_0948


IMG_0947

I’m Still Alive!

It’s been quite a while since the last post.  I guess I kinda checked out for a minute….

My business is slowly growing and picking up more speed!  I started a Google advertisement that has had several views.  It also generated a phone call that led to a client from Houston!  She had two steam locomotives that hadn’t run for two or three years.  One was an older Mantua, and the other was a newer DCC-ready Bachmann.  They were both beautiful steam locomotives.

The older one took about as much work as I expected and more work than I thought.  The usual deep cleaning did its job, but it just didn’t have a very lively spark.  I did some electrical testing, and I found that the tender had poor electirical pick-up from the rails.  I added some electrical pick-up flanges and Neolube to the trucks, and that improved operation.  It’s an old locomotive with an old design and an old, large-ish motor that kind of gobbles voltage.  Sometimes, things will become only so much better.

The newer one requires finite work with infinate dependency upon completion.  The fly wheel gear is worn down and unusable.  It’s an easy replacement, but acquiring the new part(s) will not be easy.  Bachmann is sold out of three replacement parts that the locomotive needs.  I could scrounge around Ebay, but who knows whether those engines have viable parts?  Oh, well.  The lady mentioned that she wanted track with curves tighter than 18″ radii, so I found one of my own locomotives with a shorter body, smaller wheels, and the wheels are closer together than those of her locomotive.  My trade-offer is non-DCC and of a lesser immediate value, so I also offered another even smaller steam locomotive, four medium-length Pennsylvania passenger cars to go with her Pennsy locomotive, and two very short passenger cars to go with the shortest locomotive.  She was sorry to hear her DCC locomotive would take so much effort to restore, but she was thrilled with my two engines and cars!

I wasn’t expecting to part with my smoothest and fastest locomotives, but I’m glad they went to a good home.

So, that’s what I did the other day.  In the few months since my last post, I’ve gone to a couple train shows, visited the Ronald McDonald House of Trains, found a famous diesel locomotive while in Arkansas, and I’ve been buried in N and S scale locomotive work.

I’ve also started going through my train collection.  I have way too much train stuff to not have a layout, and I don’t have a layout.  Cleaning and organizing will help make space, but I also need to just get rid of some things.  Therefore, I’m going to start selling my rolling stock that I never really used when I did have a semblence of a layout.  It will be good to have some of it gone and to generate a little more revenue.  Who knows?  It may be good to start over, somehow.  We’ll see….

Here are some photos of my goings-on.

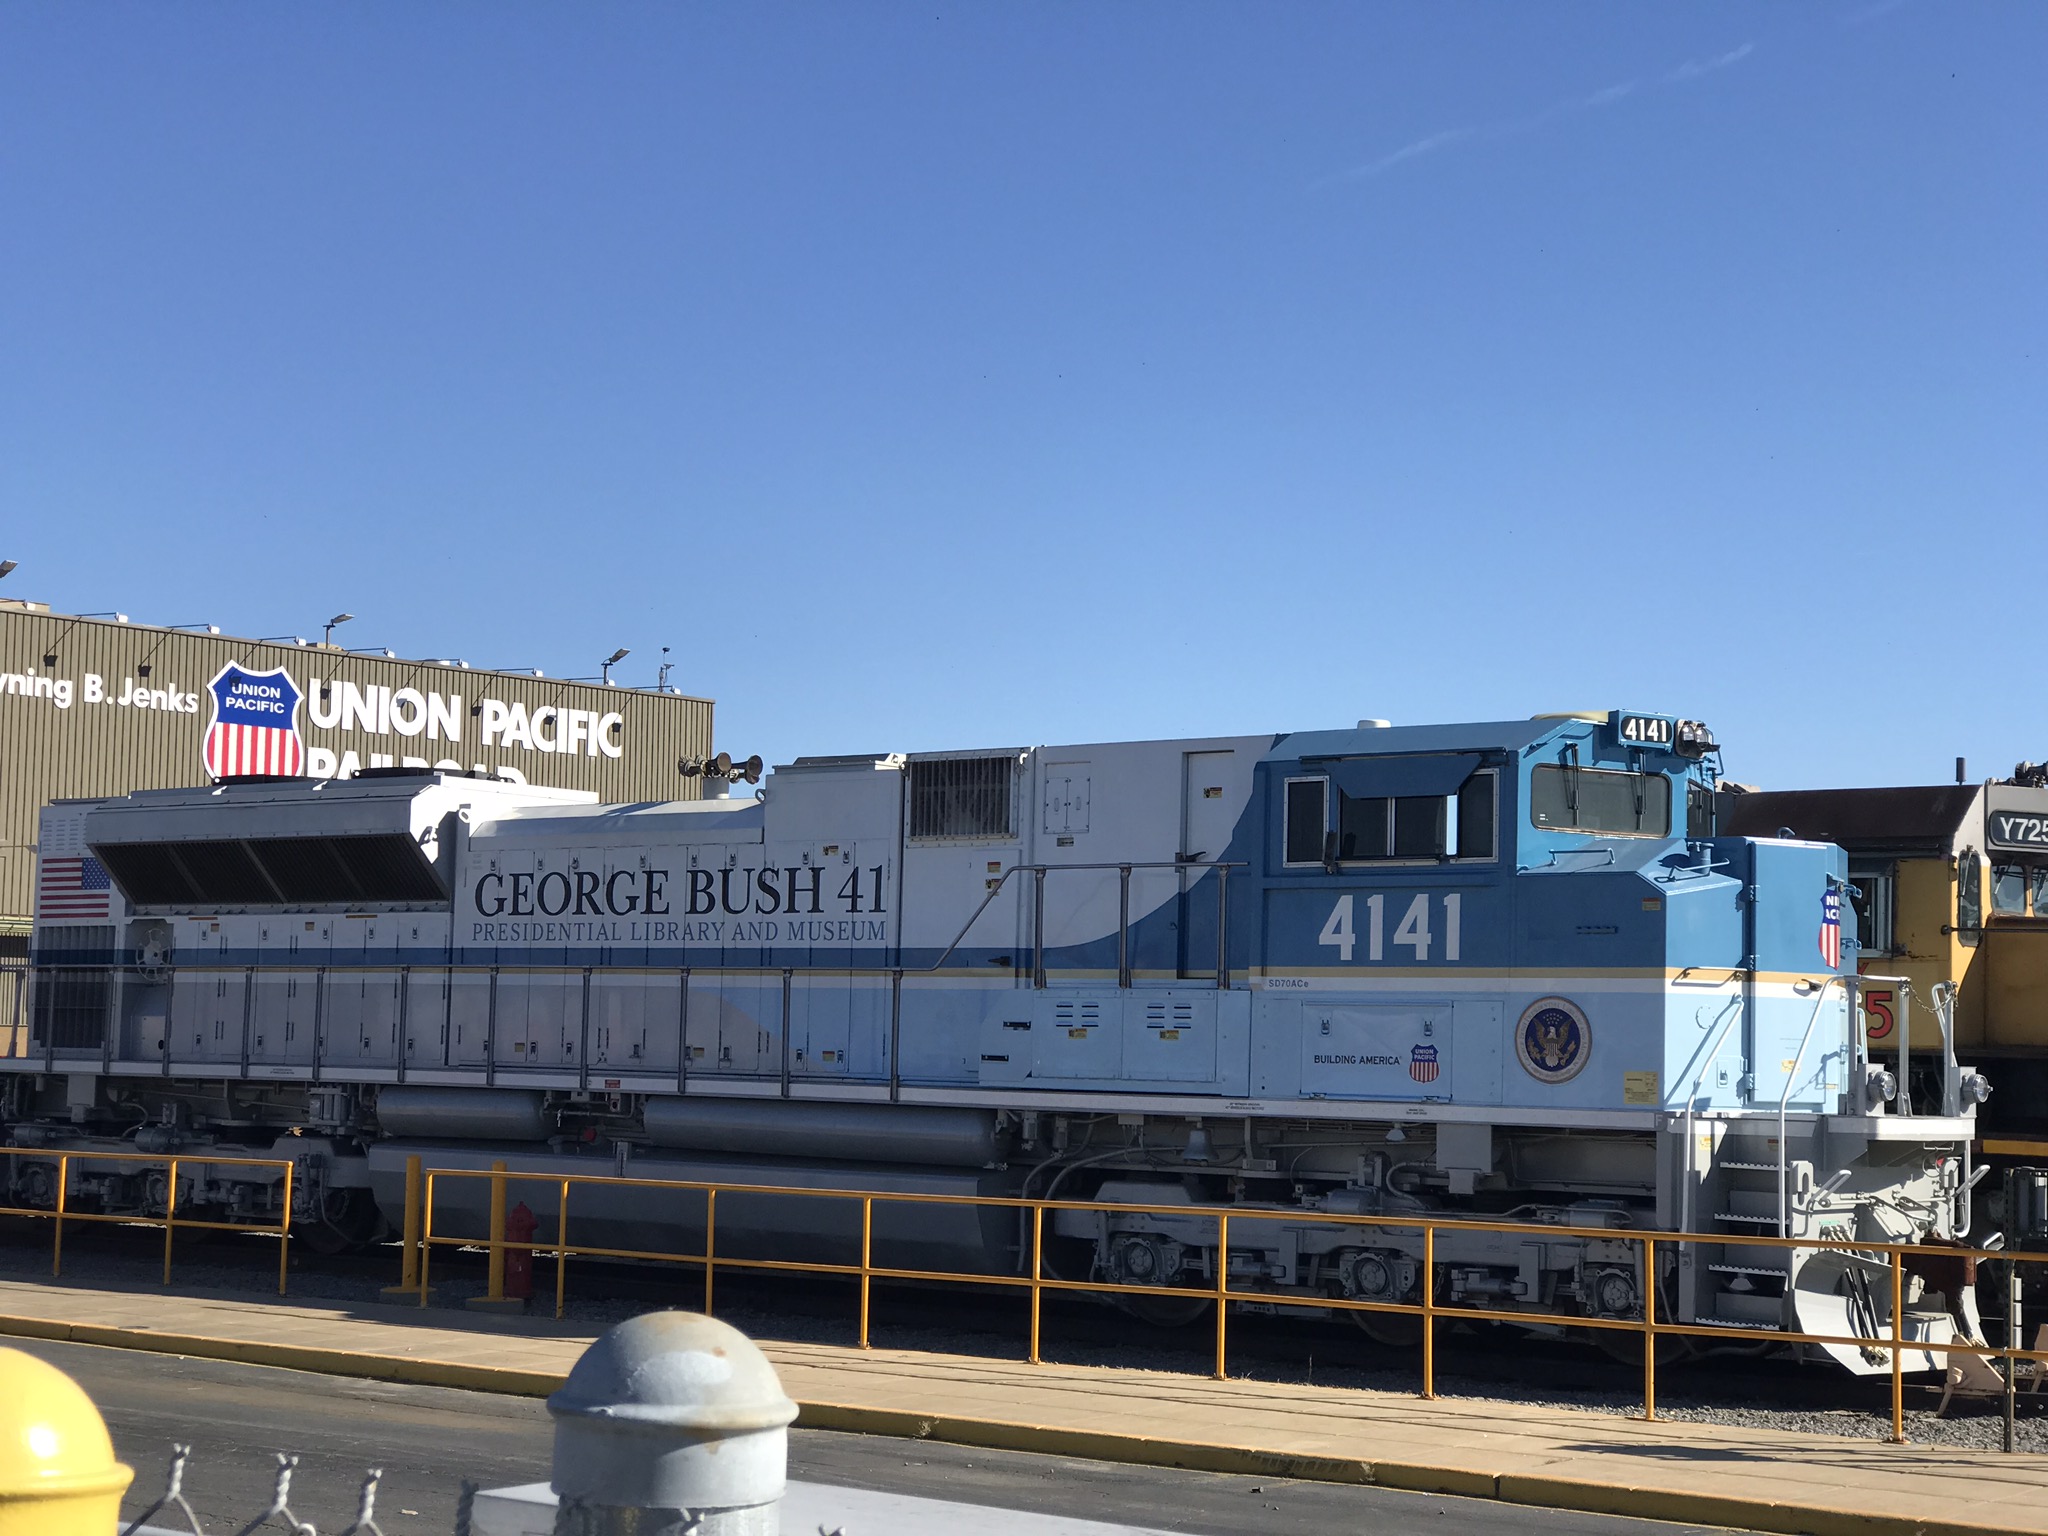
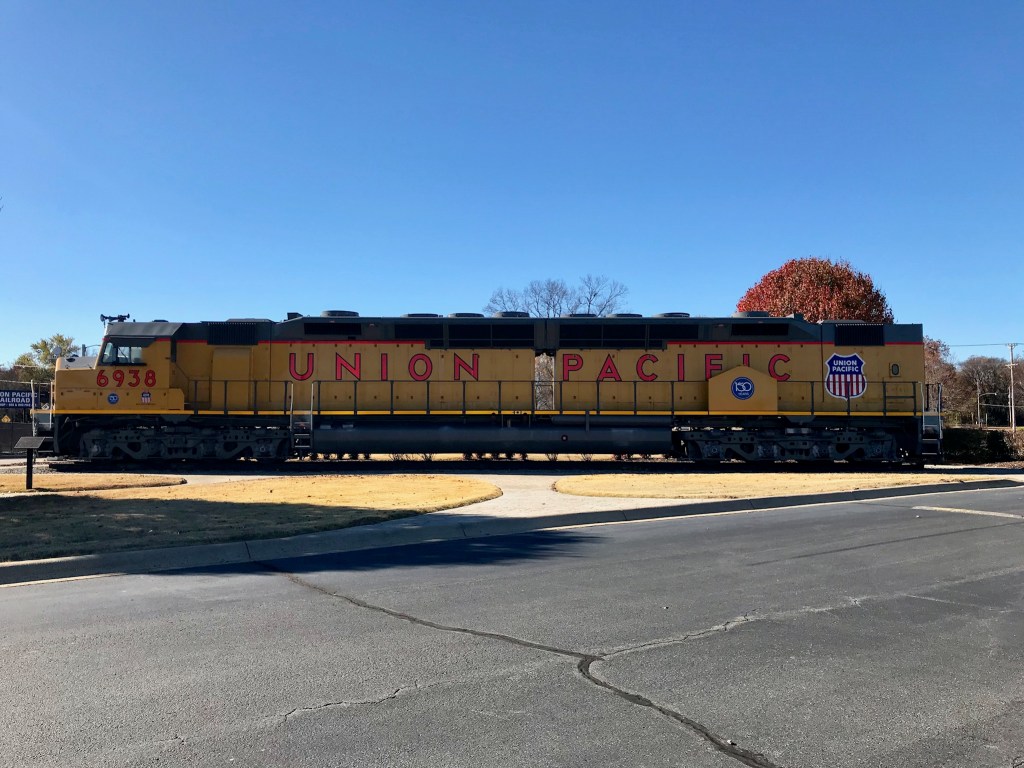
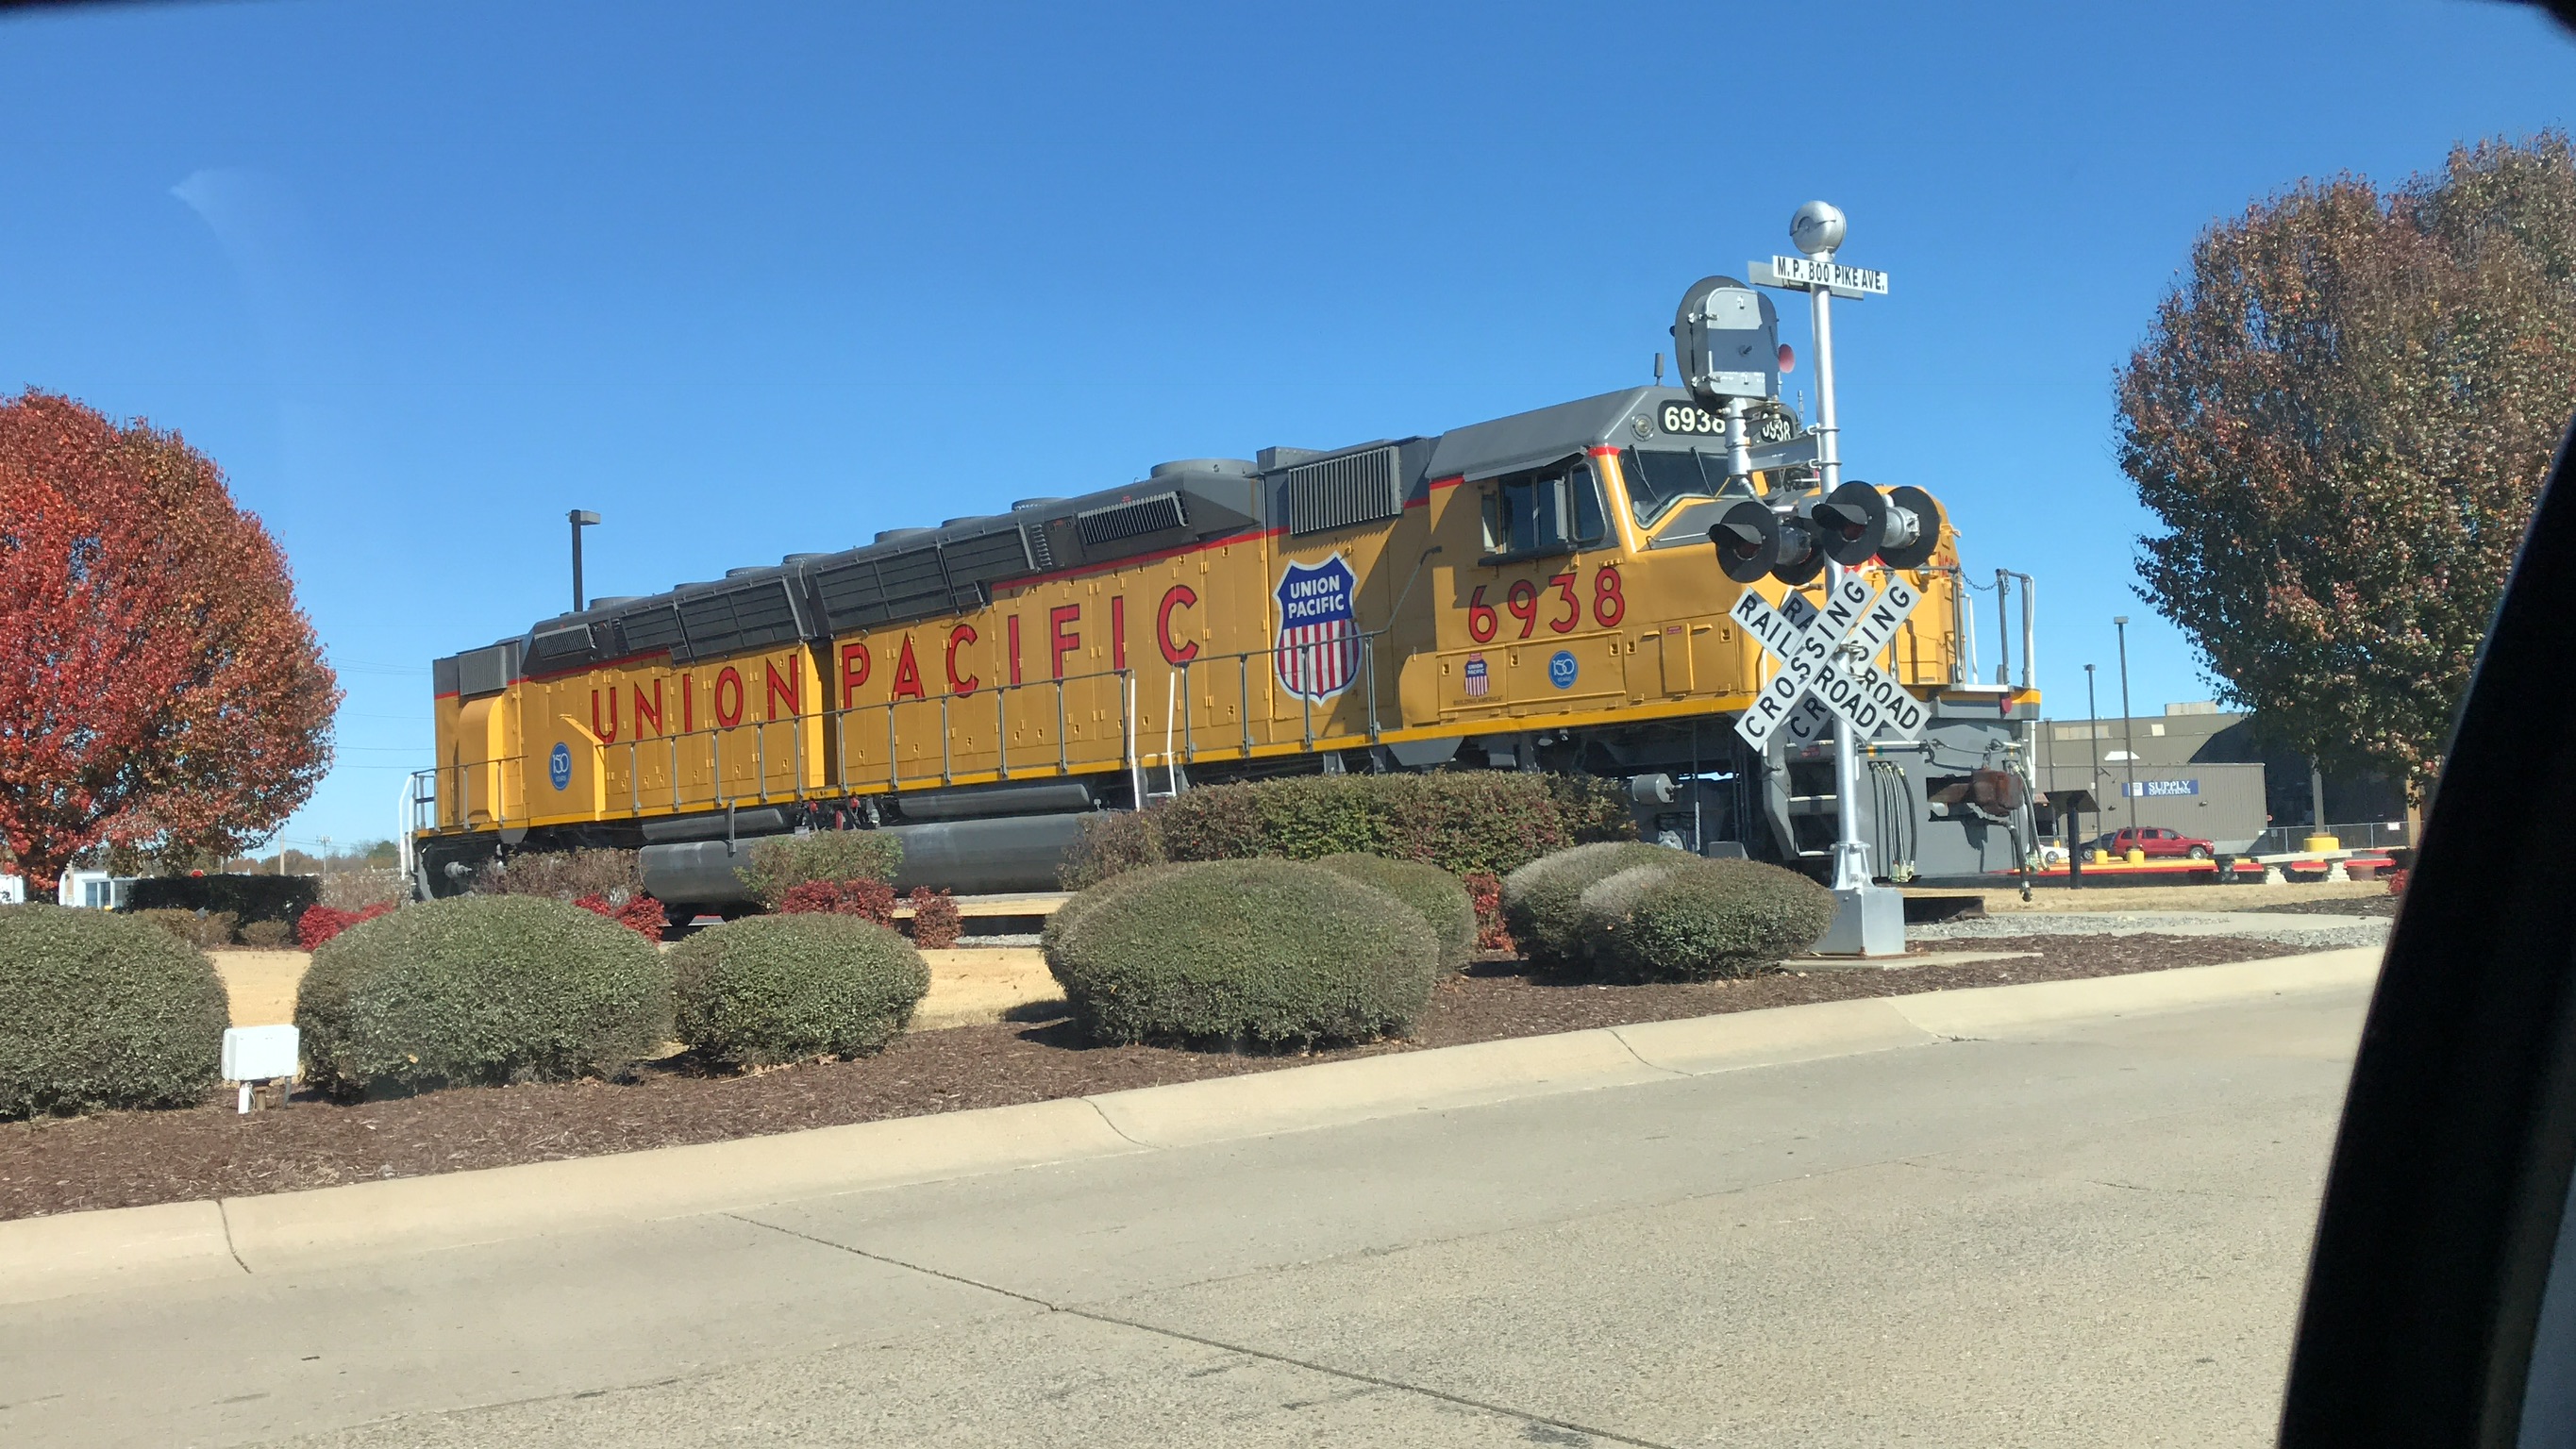
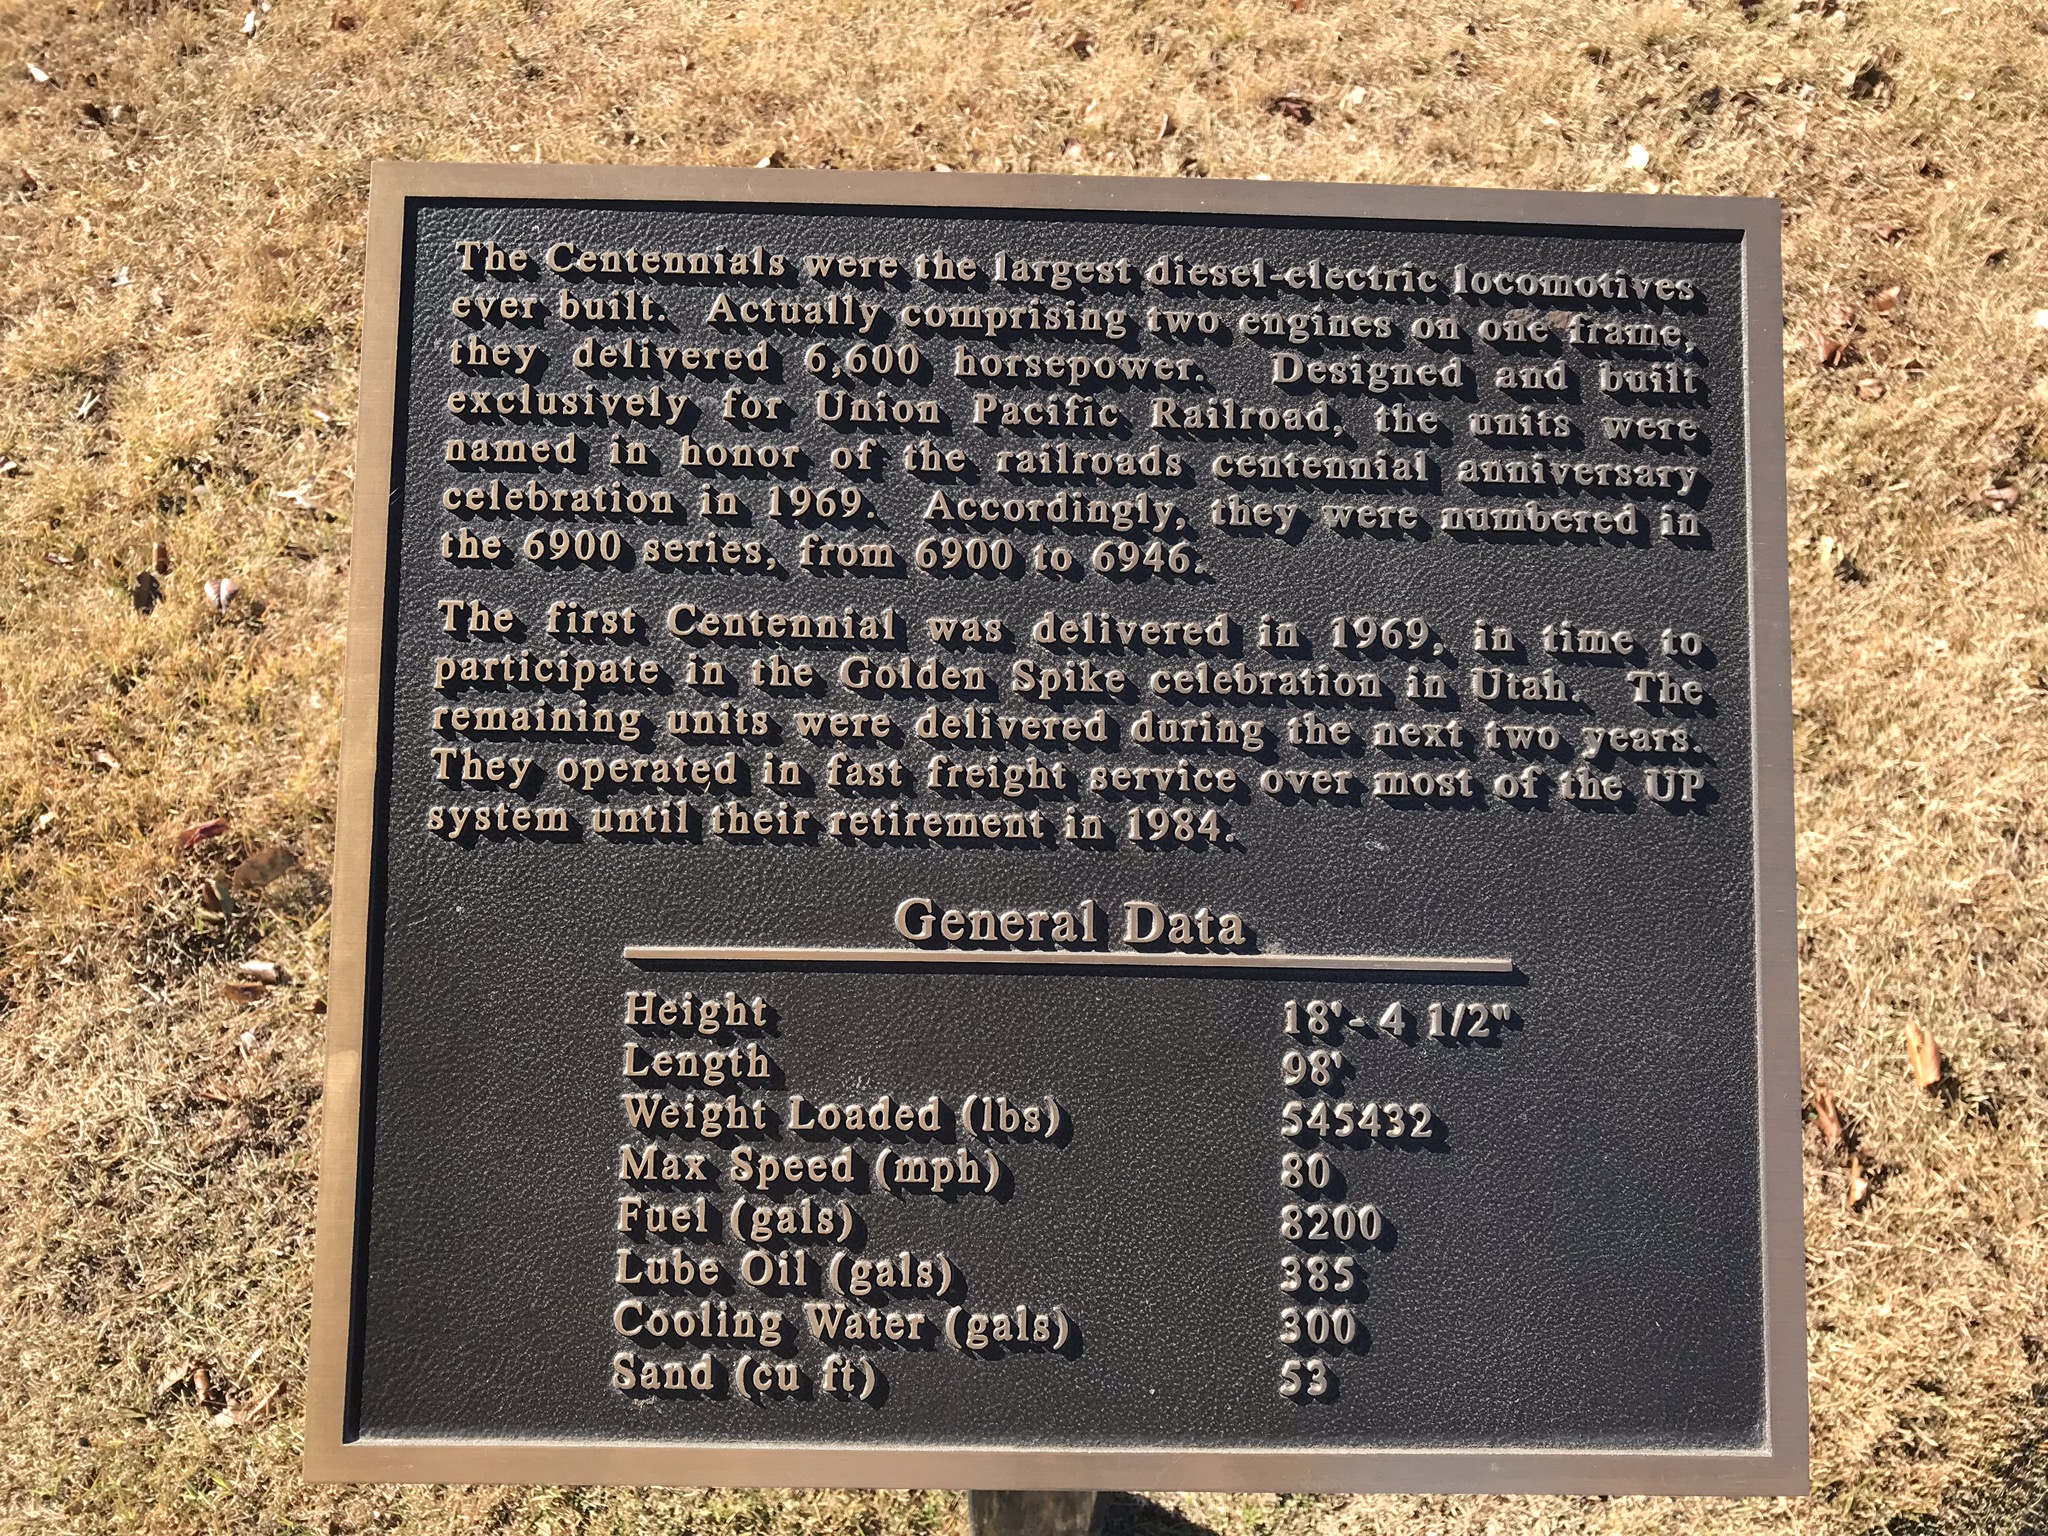
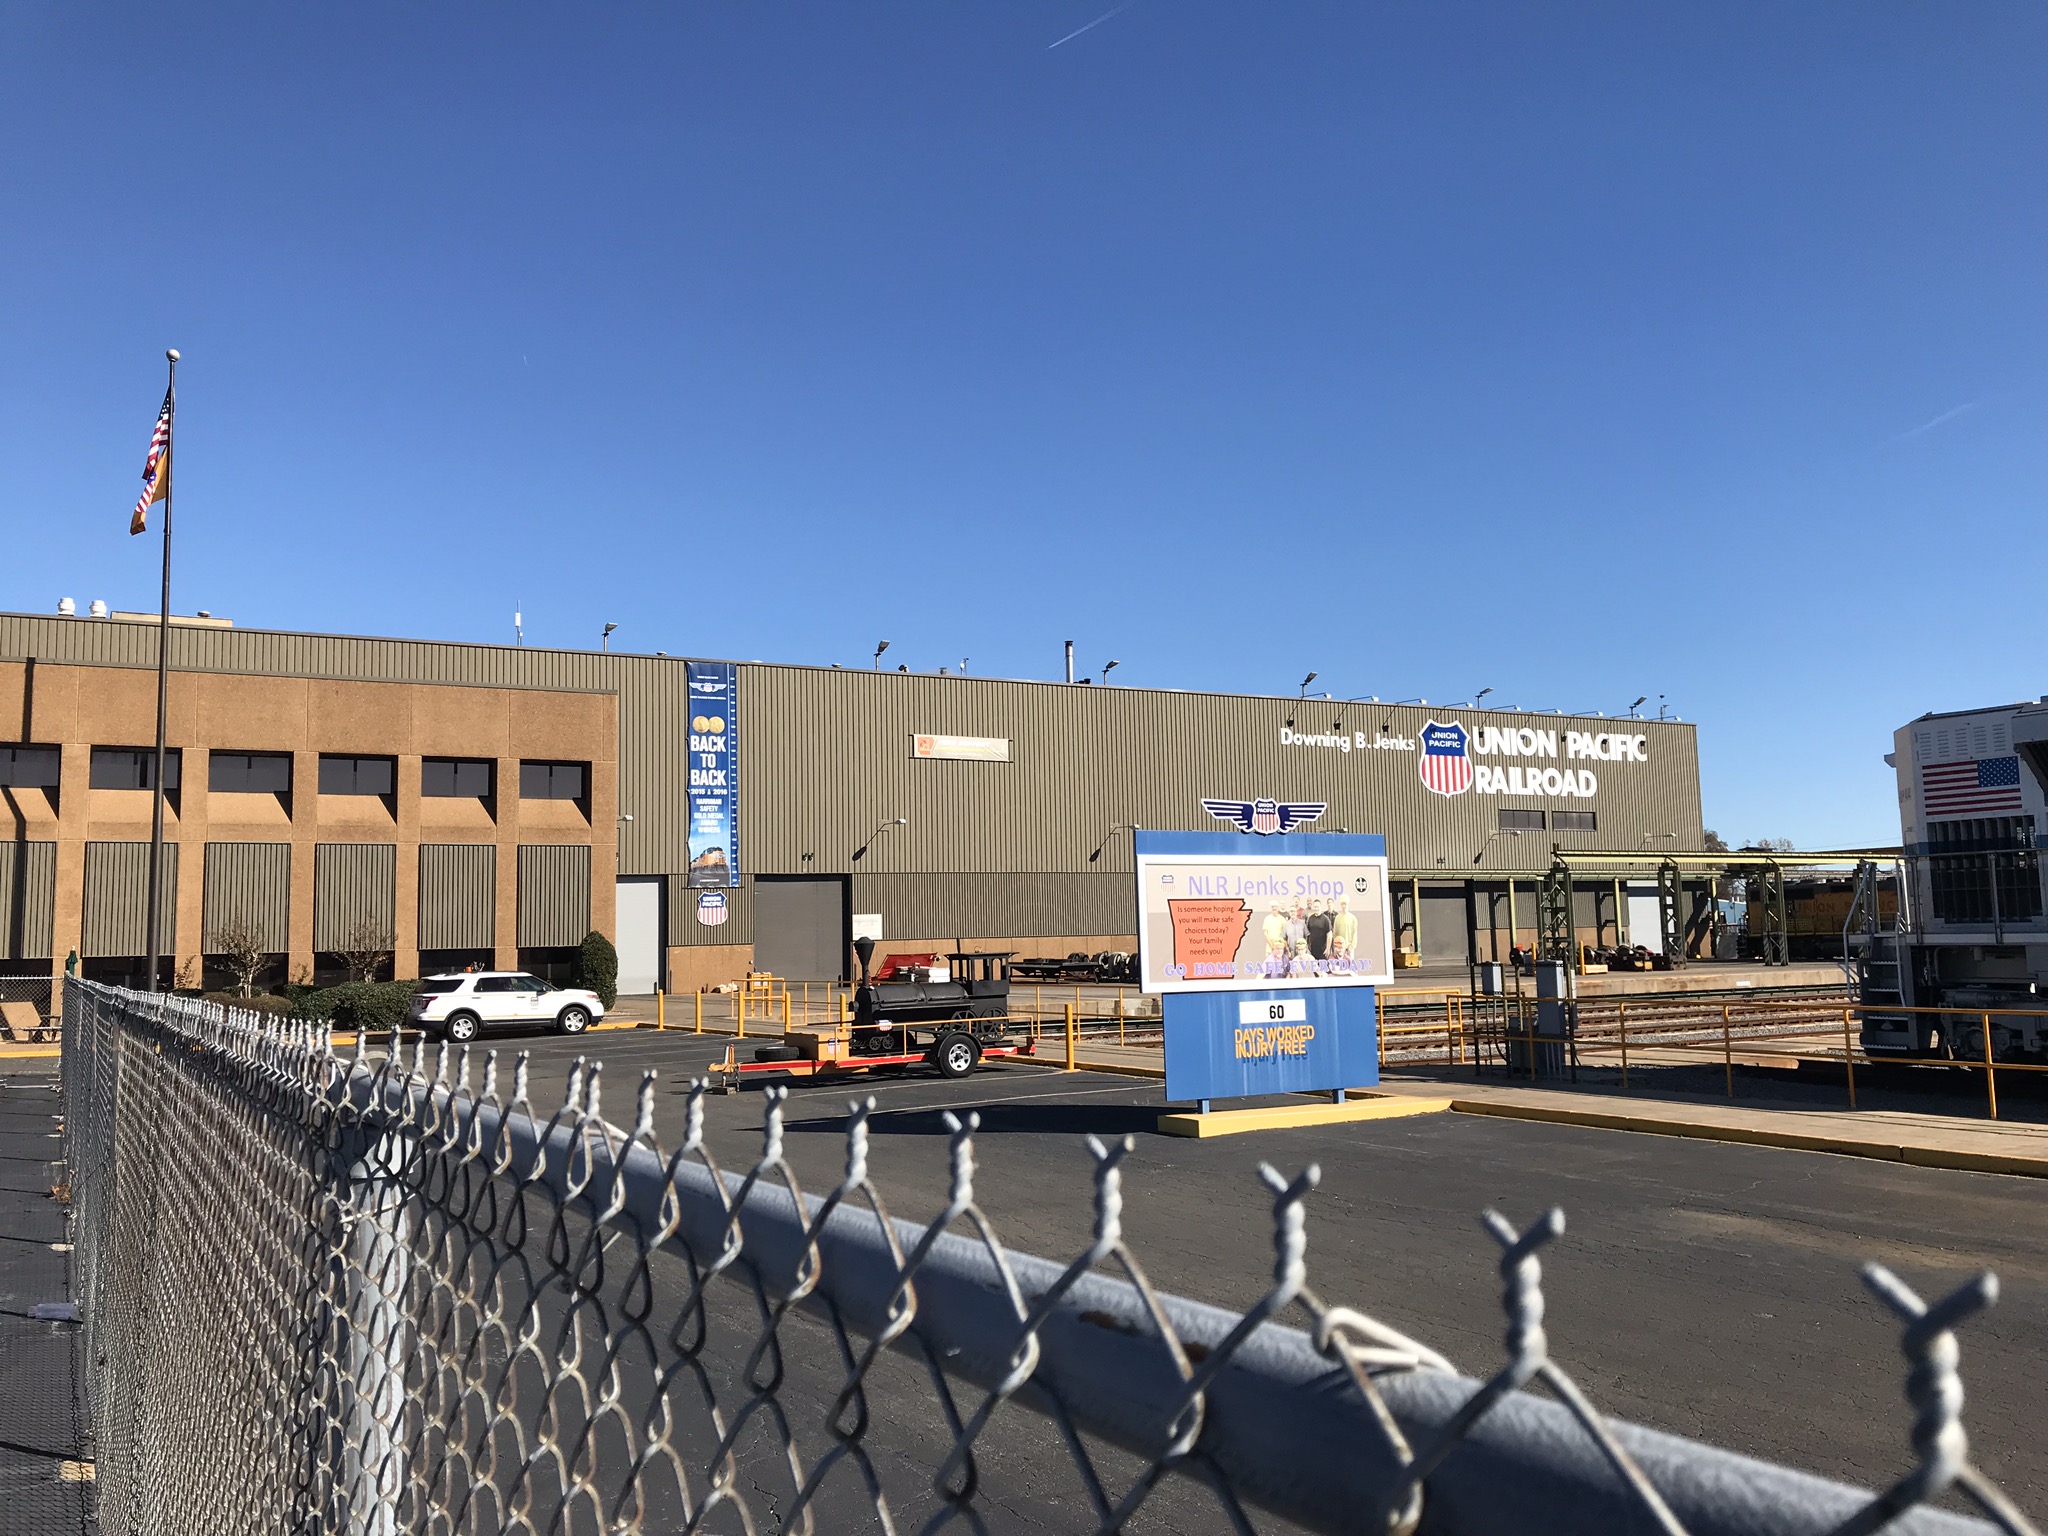
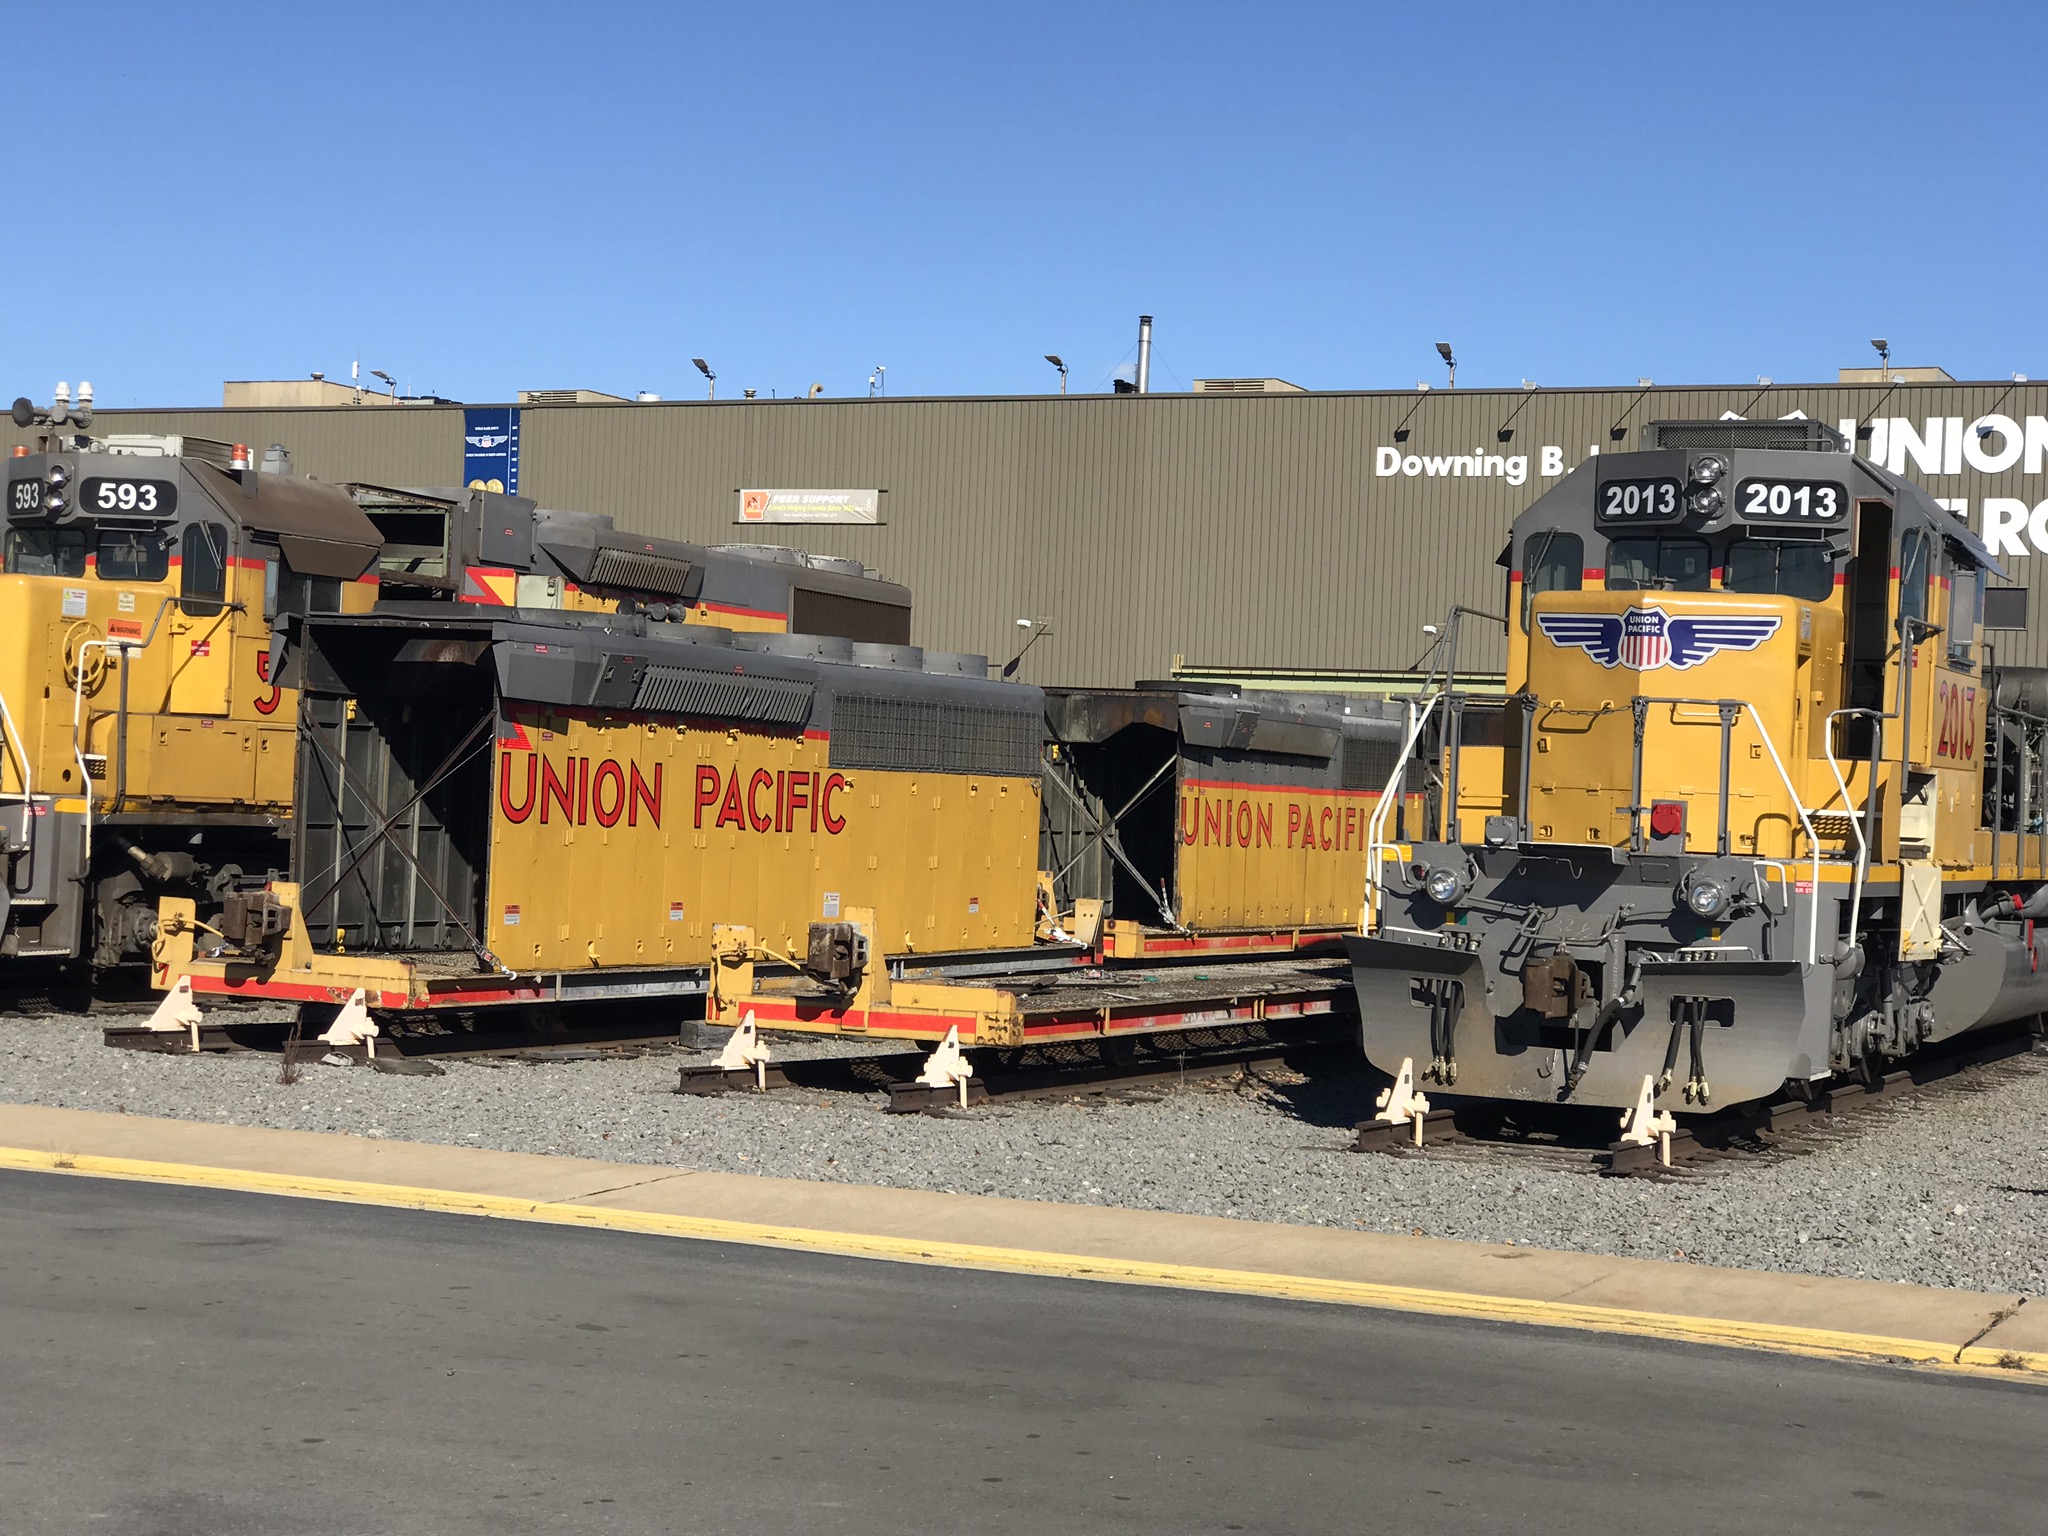
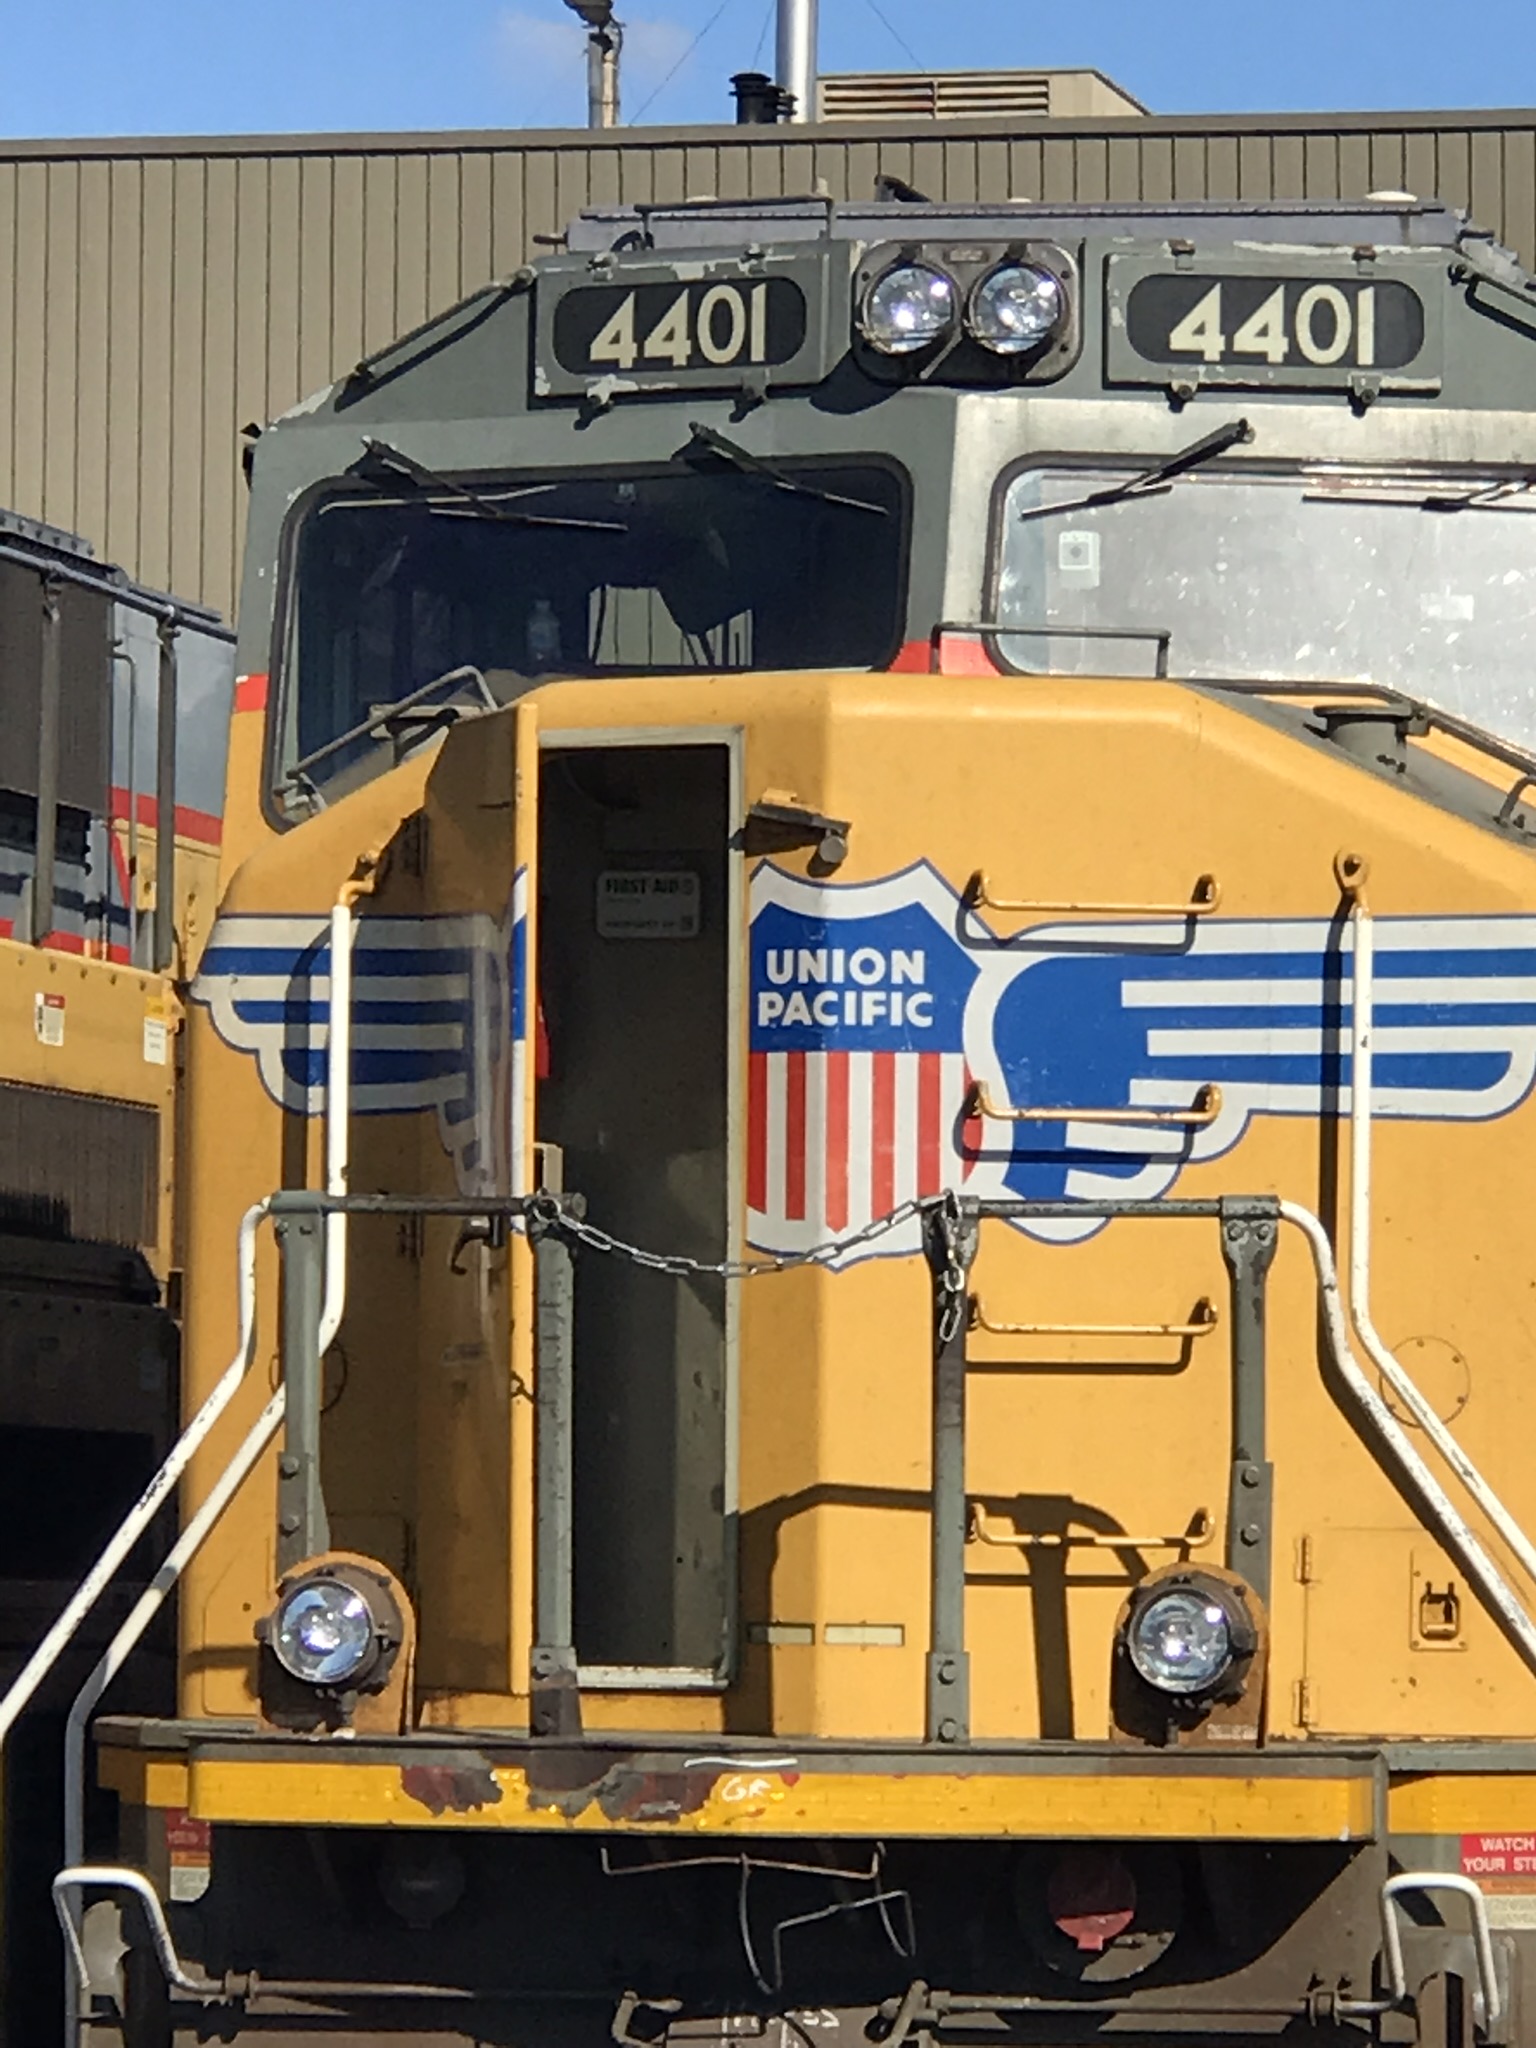
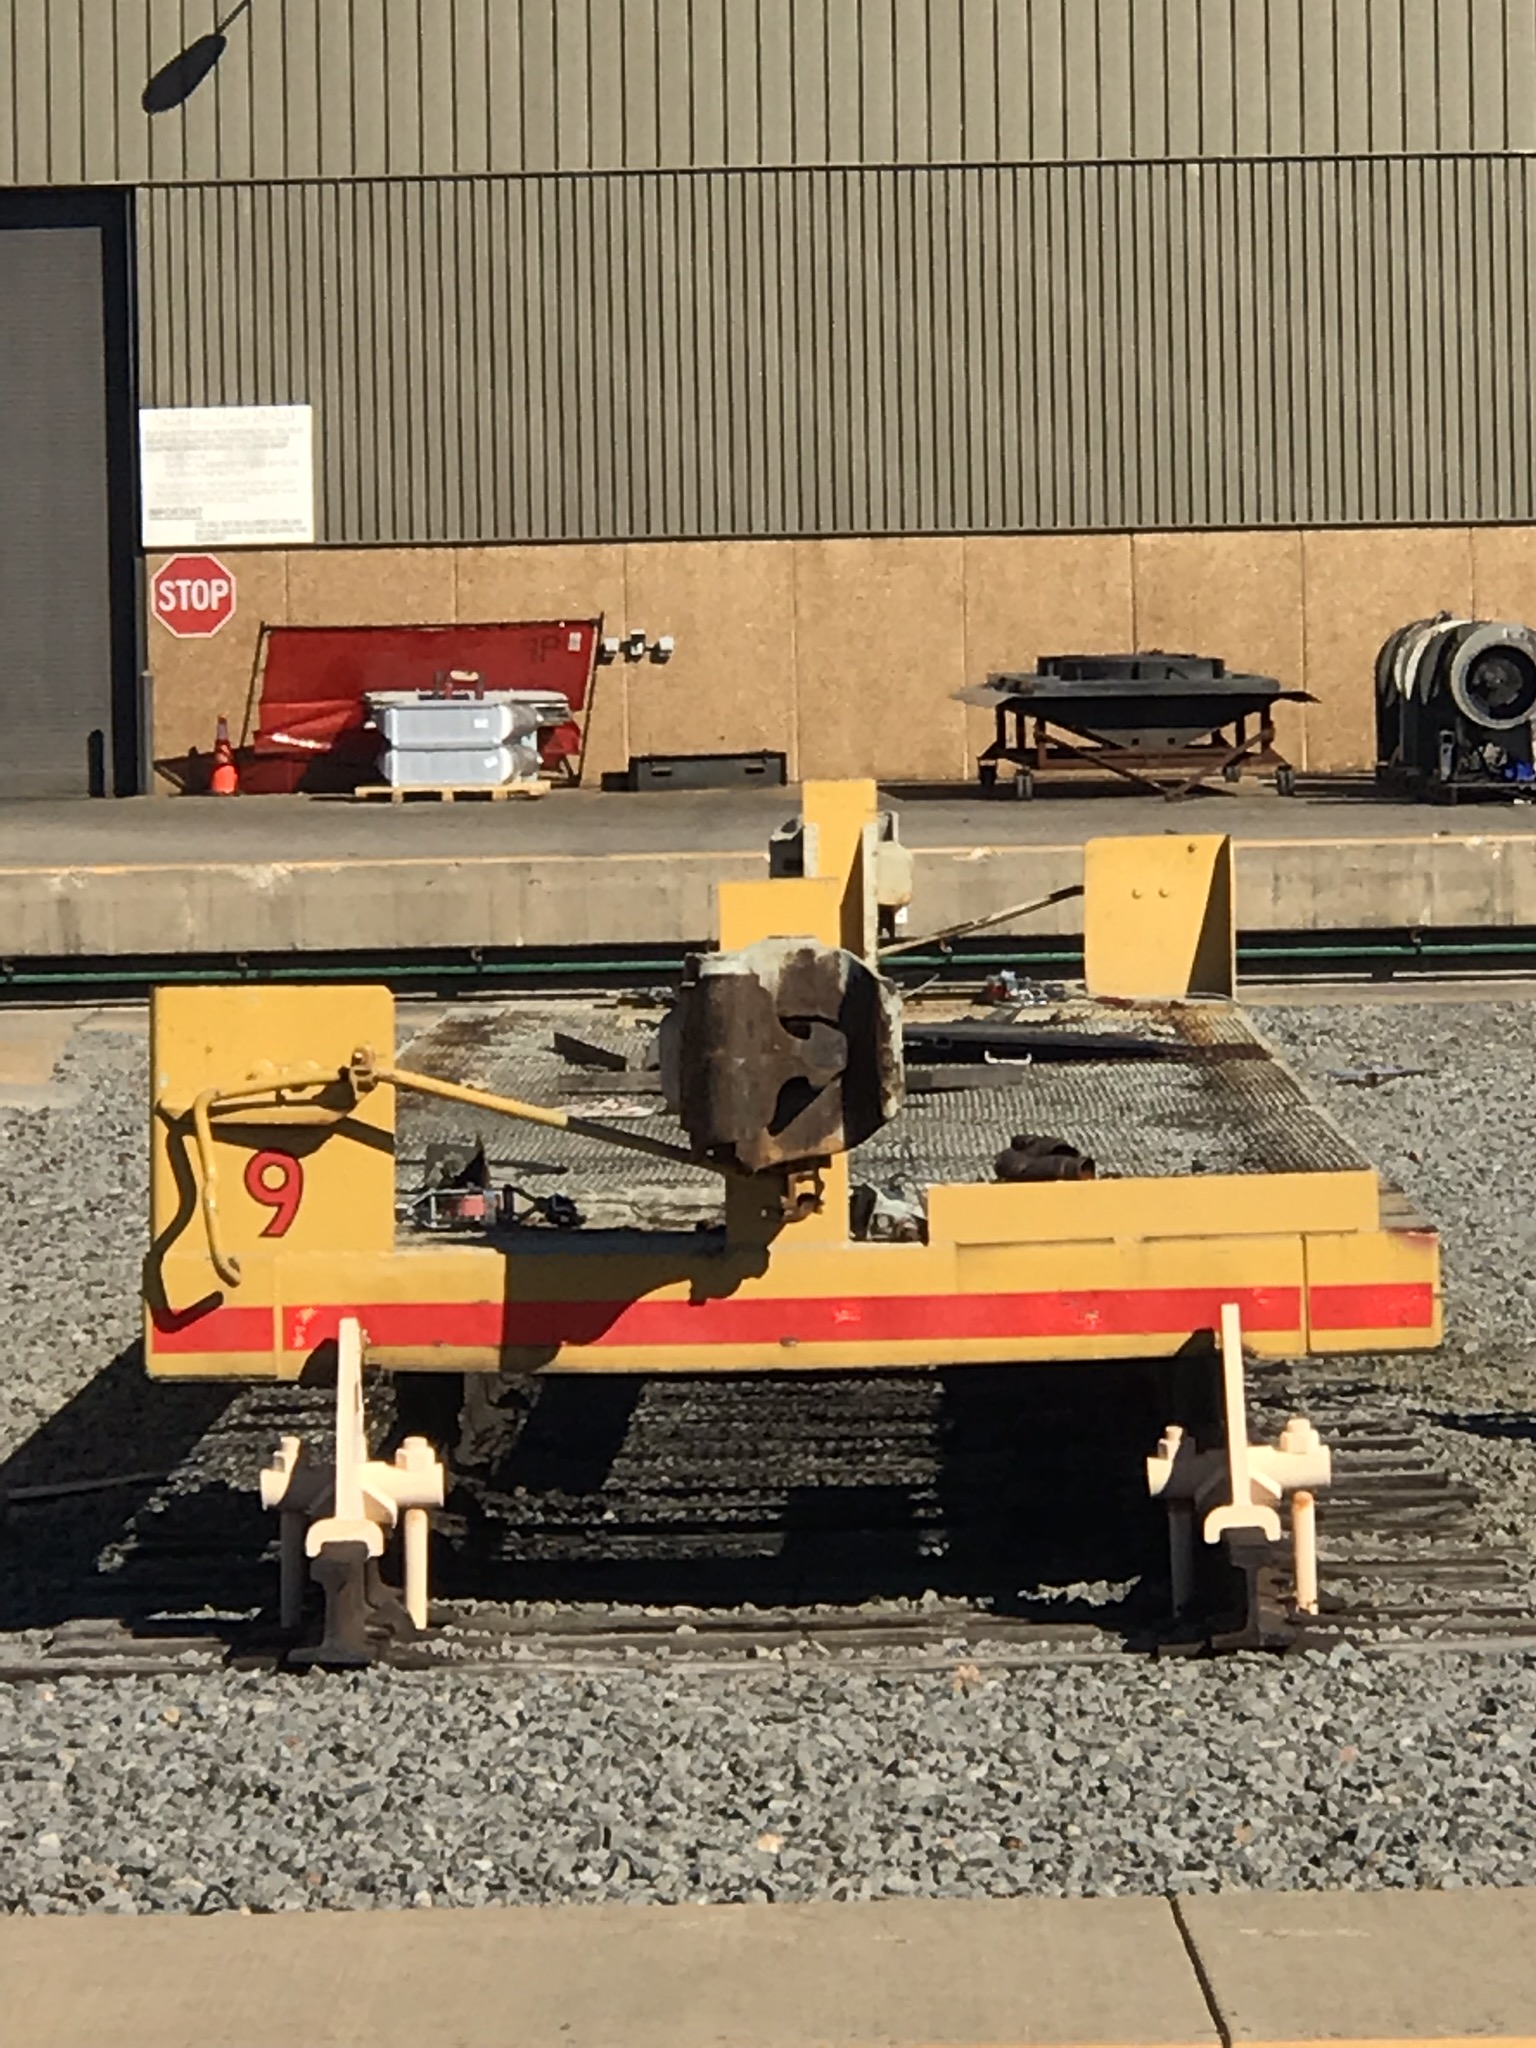
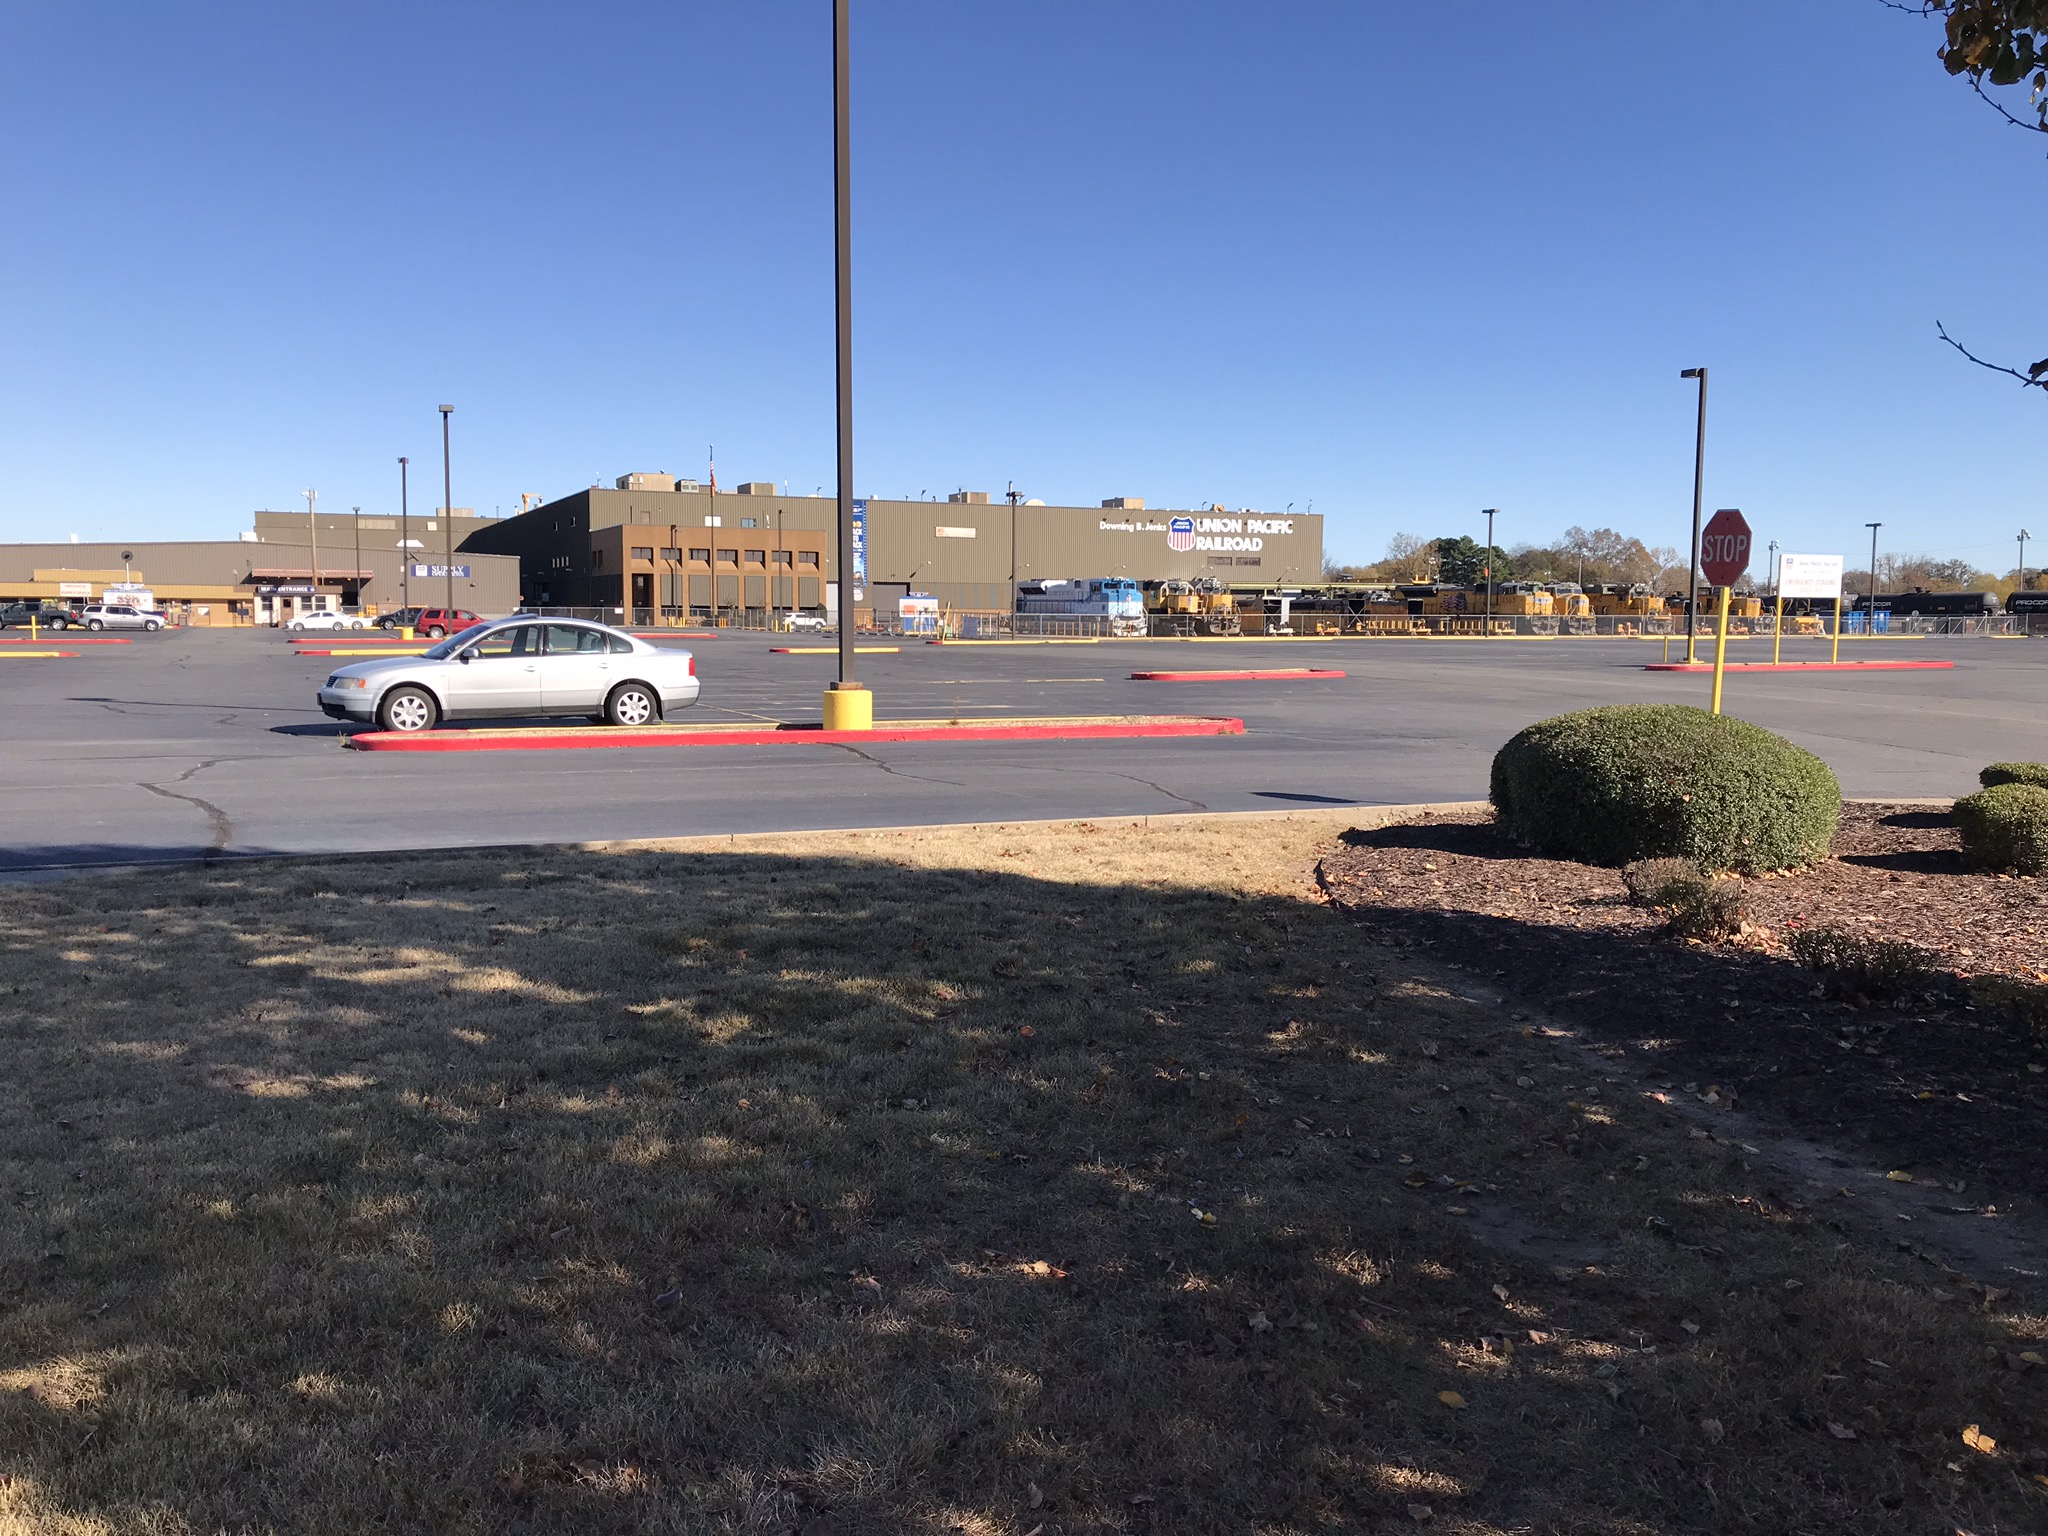
I had no idea a Centennial was at the Arkansas Union Pacific shop!  It was such a great surprise as my friend and I were driving around, enjoying the nice weather.IMG_0674IMG_0677IMG_0682IMG_0683IMG_0684IMG_0685Isn’t it funny how such comparatively small pieces of metal can connect a consist of locomotives and cars for miles?
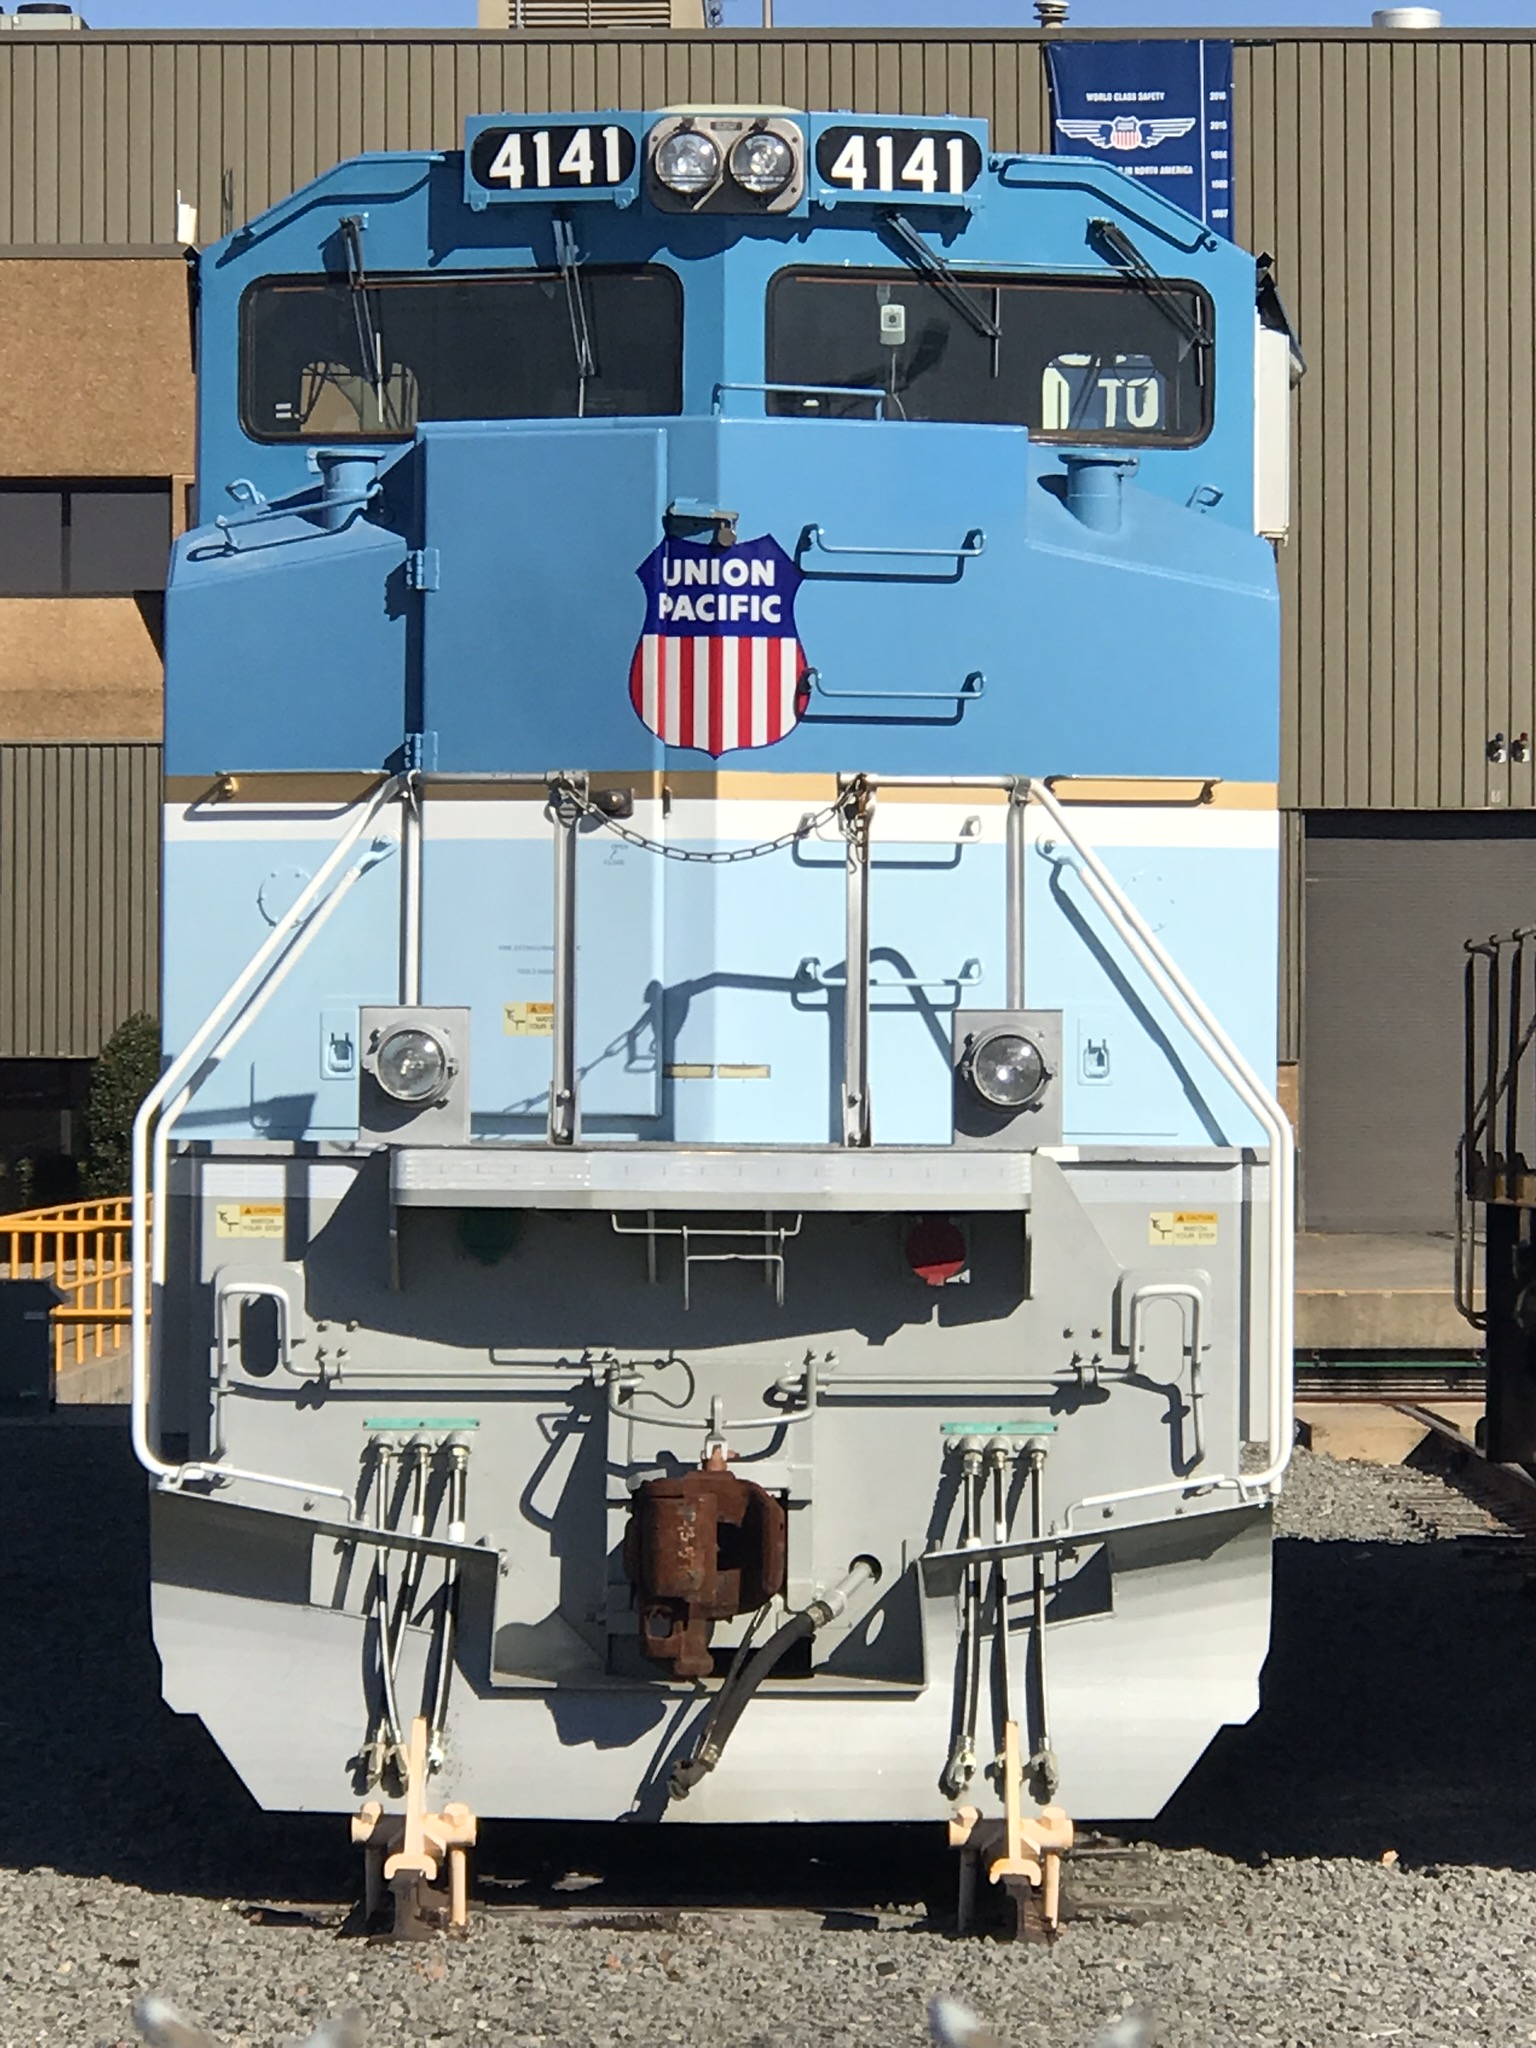
 

IMG_0686IMG_0687IMG_0695IMG_0694IMG_0693IMG_0692IMG_0691IMG_0690This was even more of a surprise!  Even my friend who doesn’t really know trains knew this locomotive.  I noticed that it was on a set of rails completely disconnected from other tracks.  It’s been completey retired from service since September of 2017.


IMG_0689IMG_0688IMG_0705IMG_0704IMG_0703IMG_0702IMG_0701IMG_0700IMG_0699IMG_0698IMG_0697IMG_0696


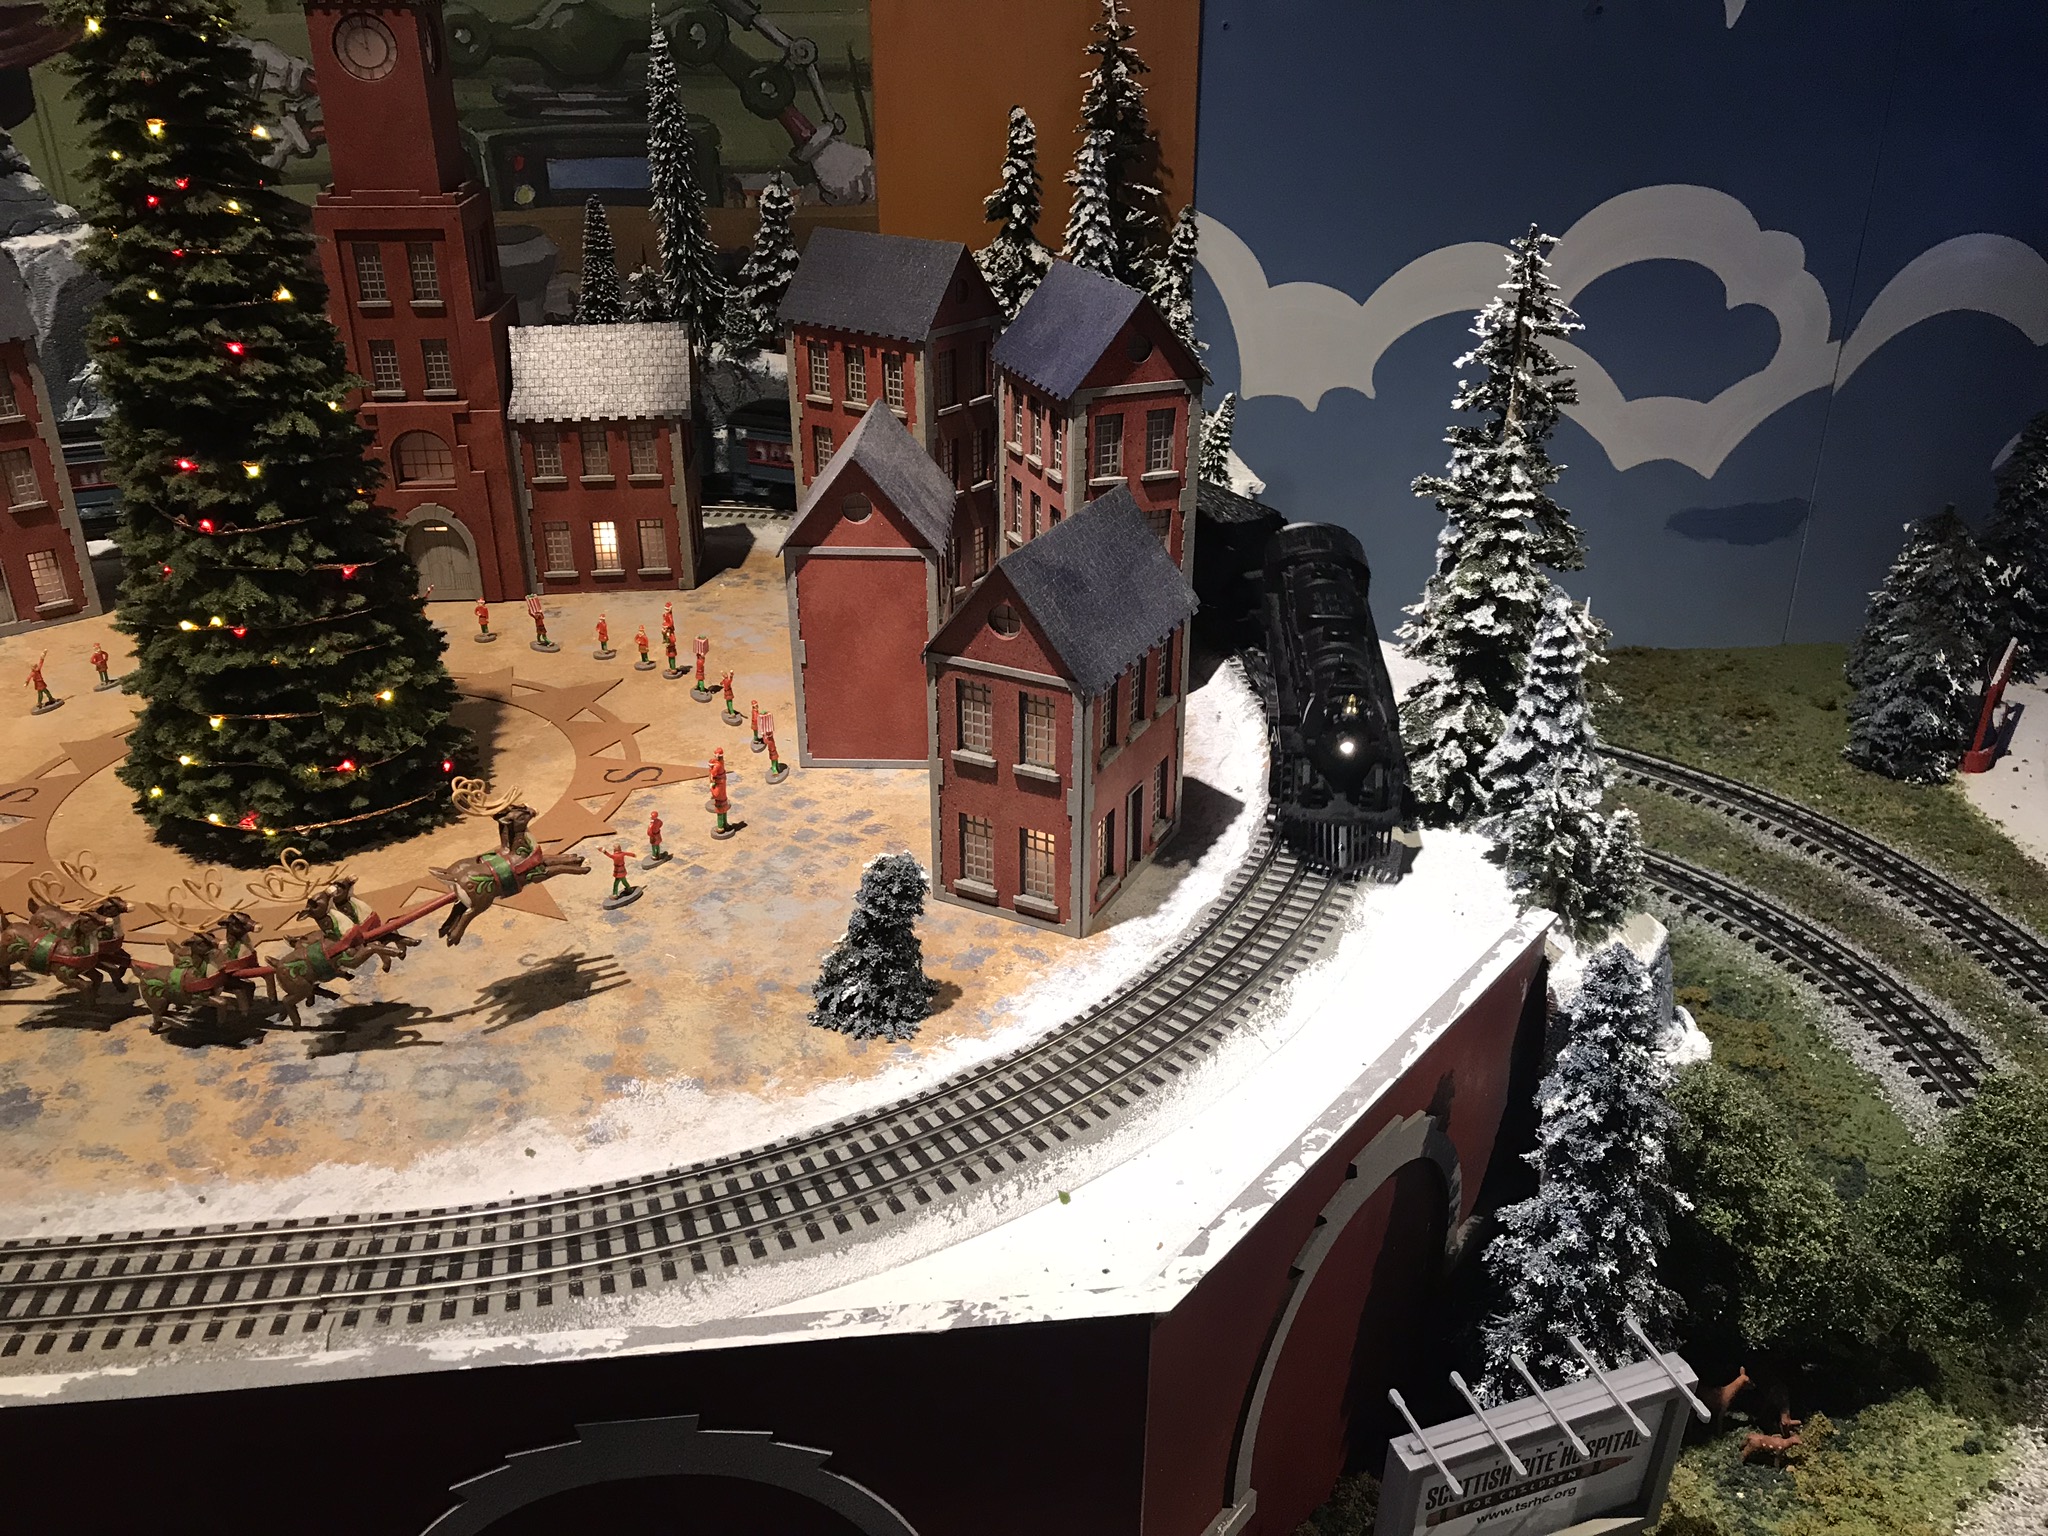
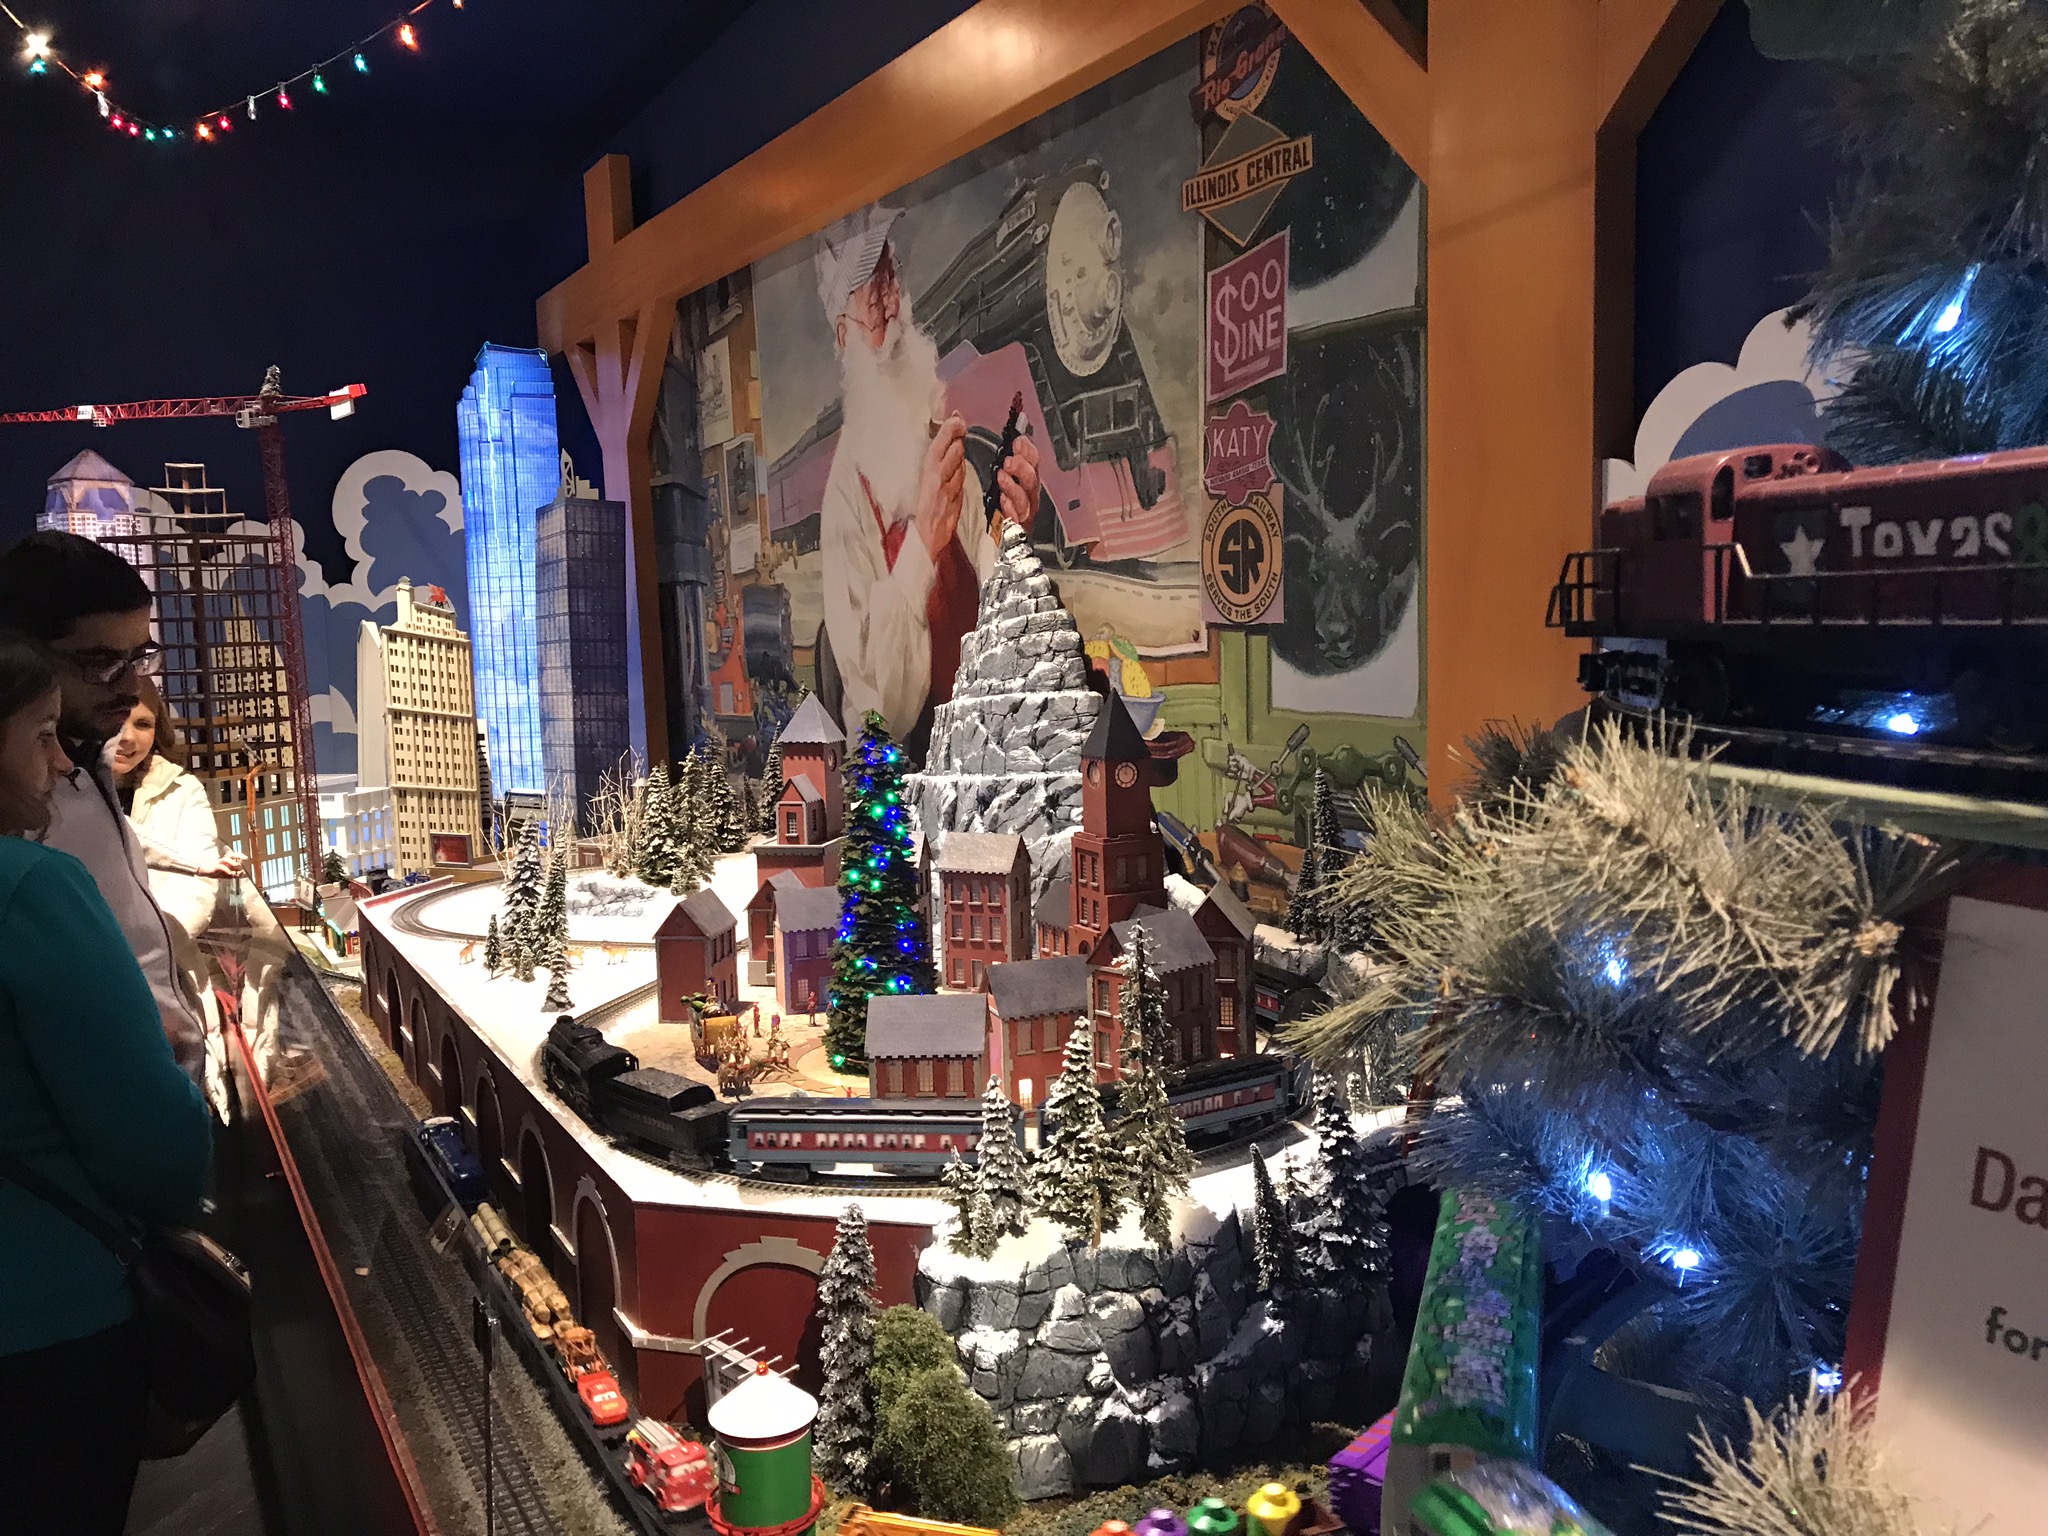
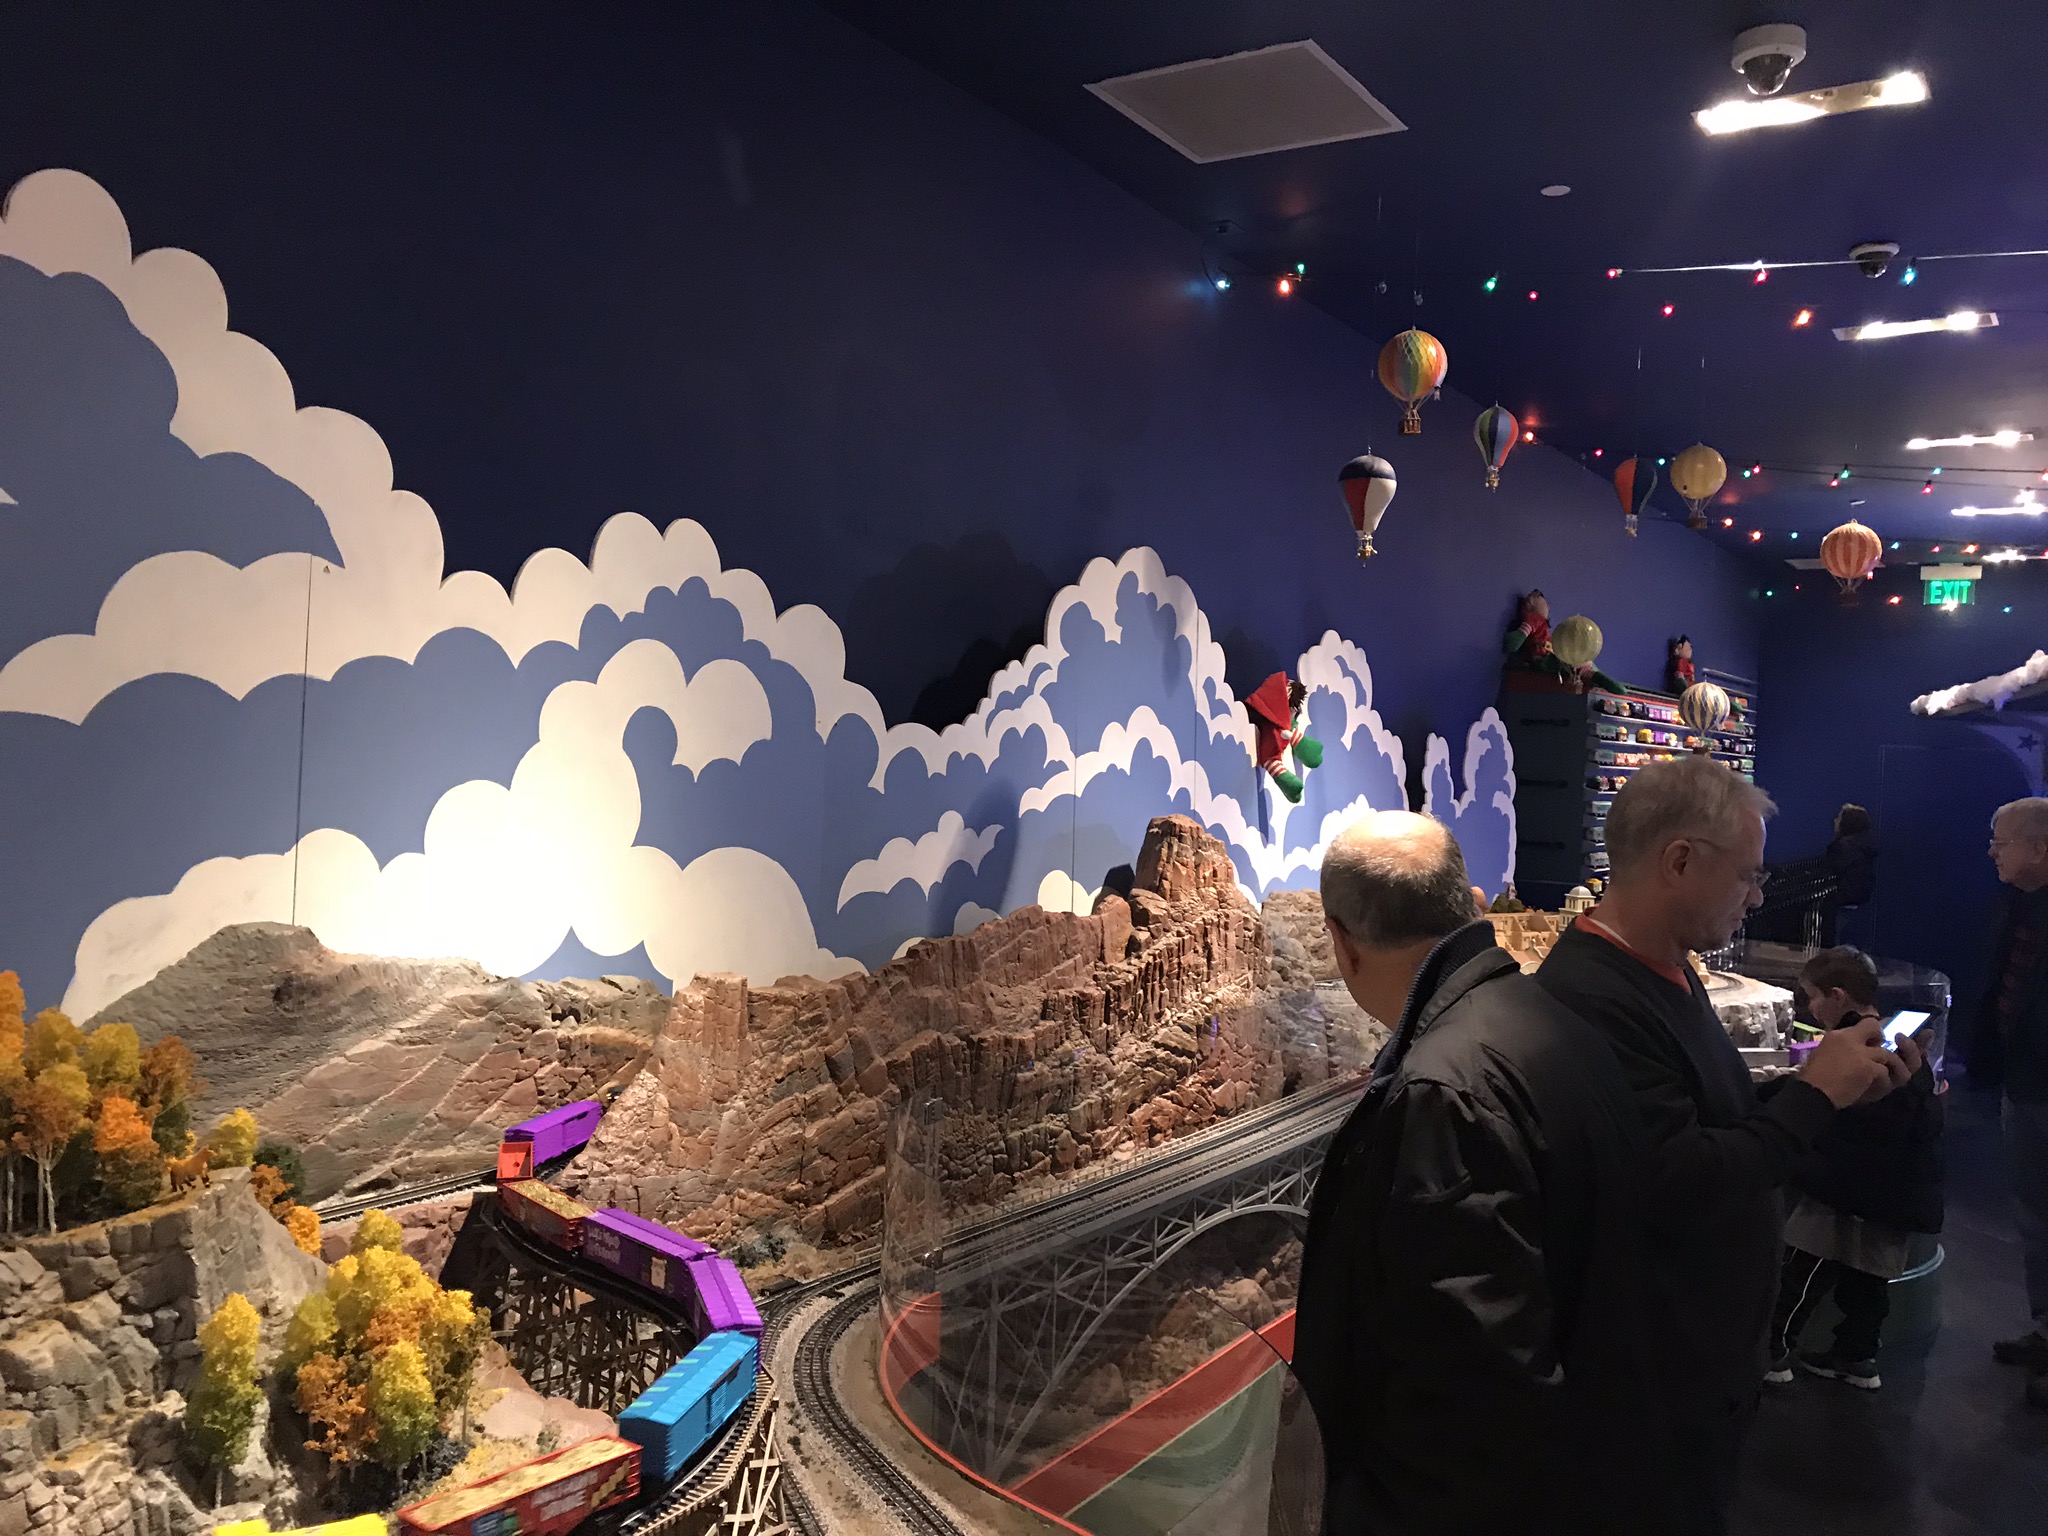
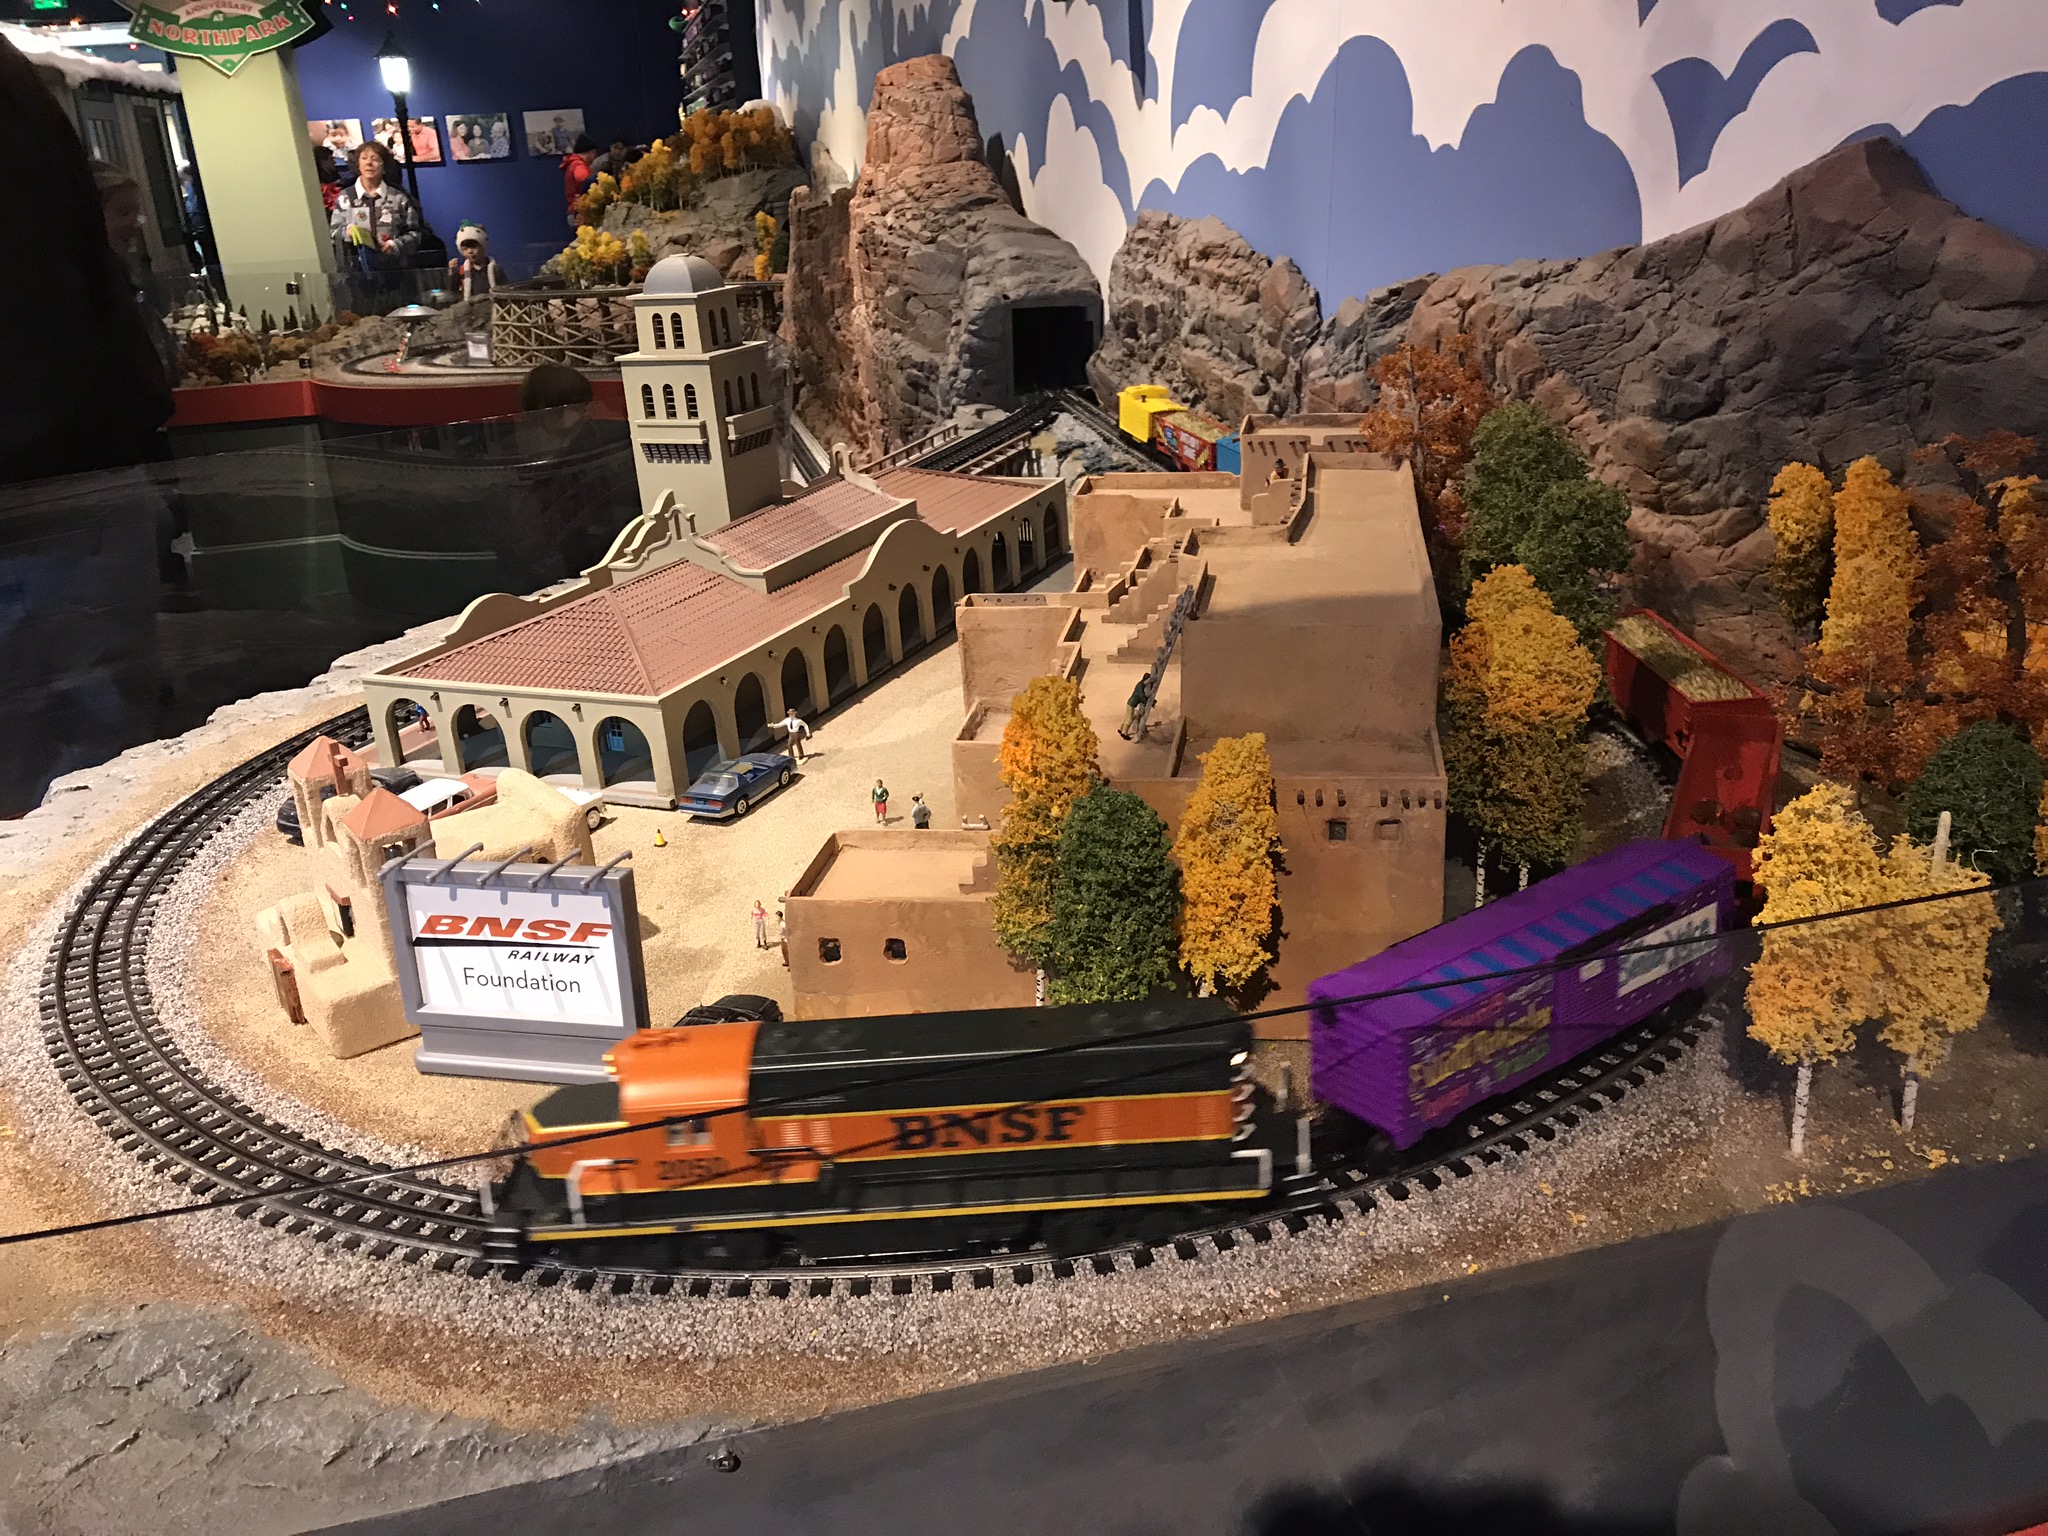
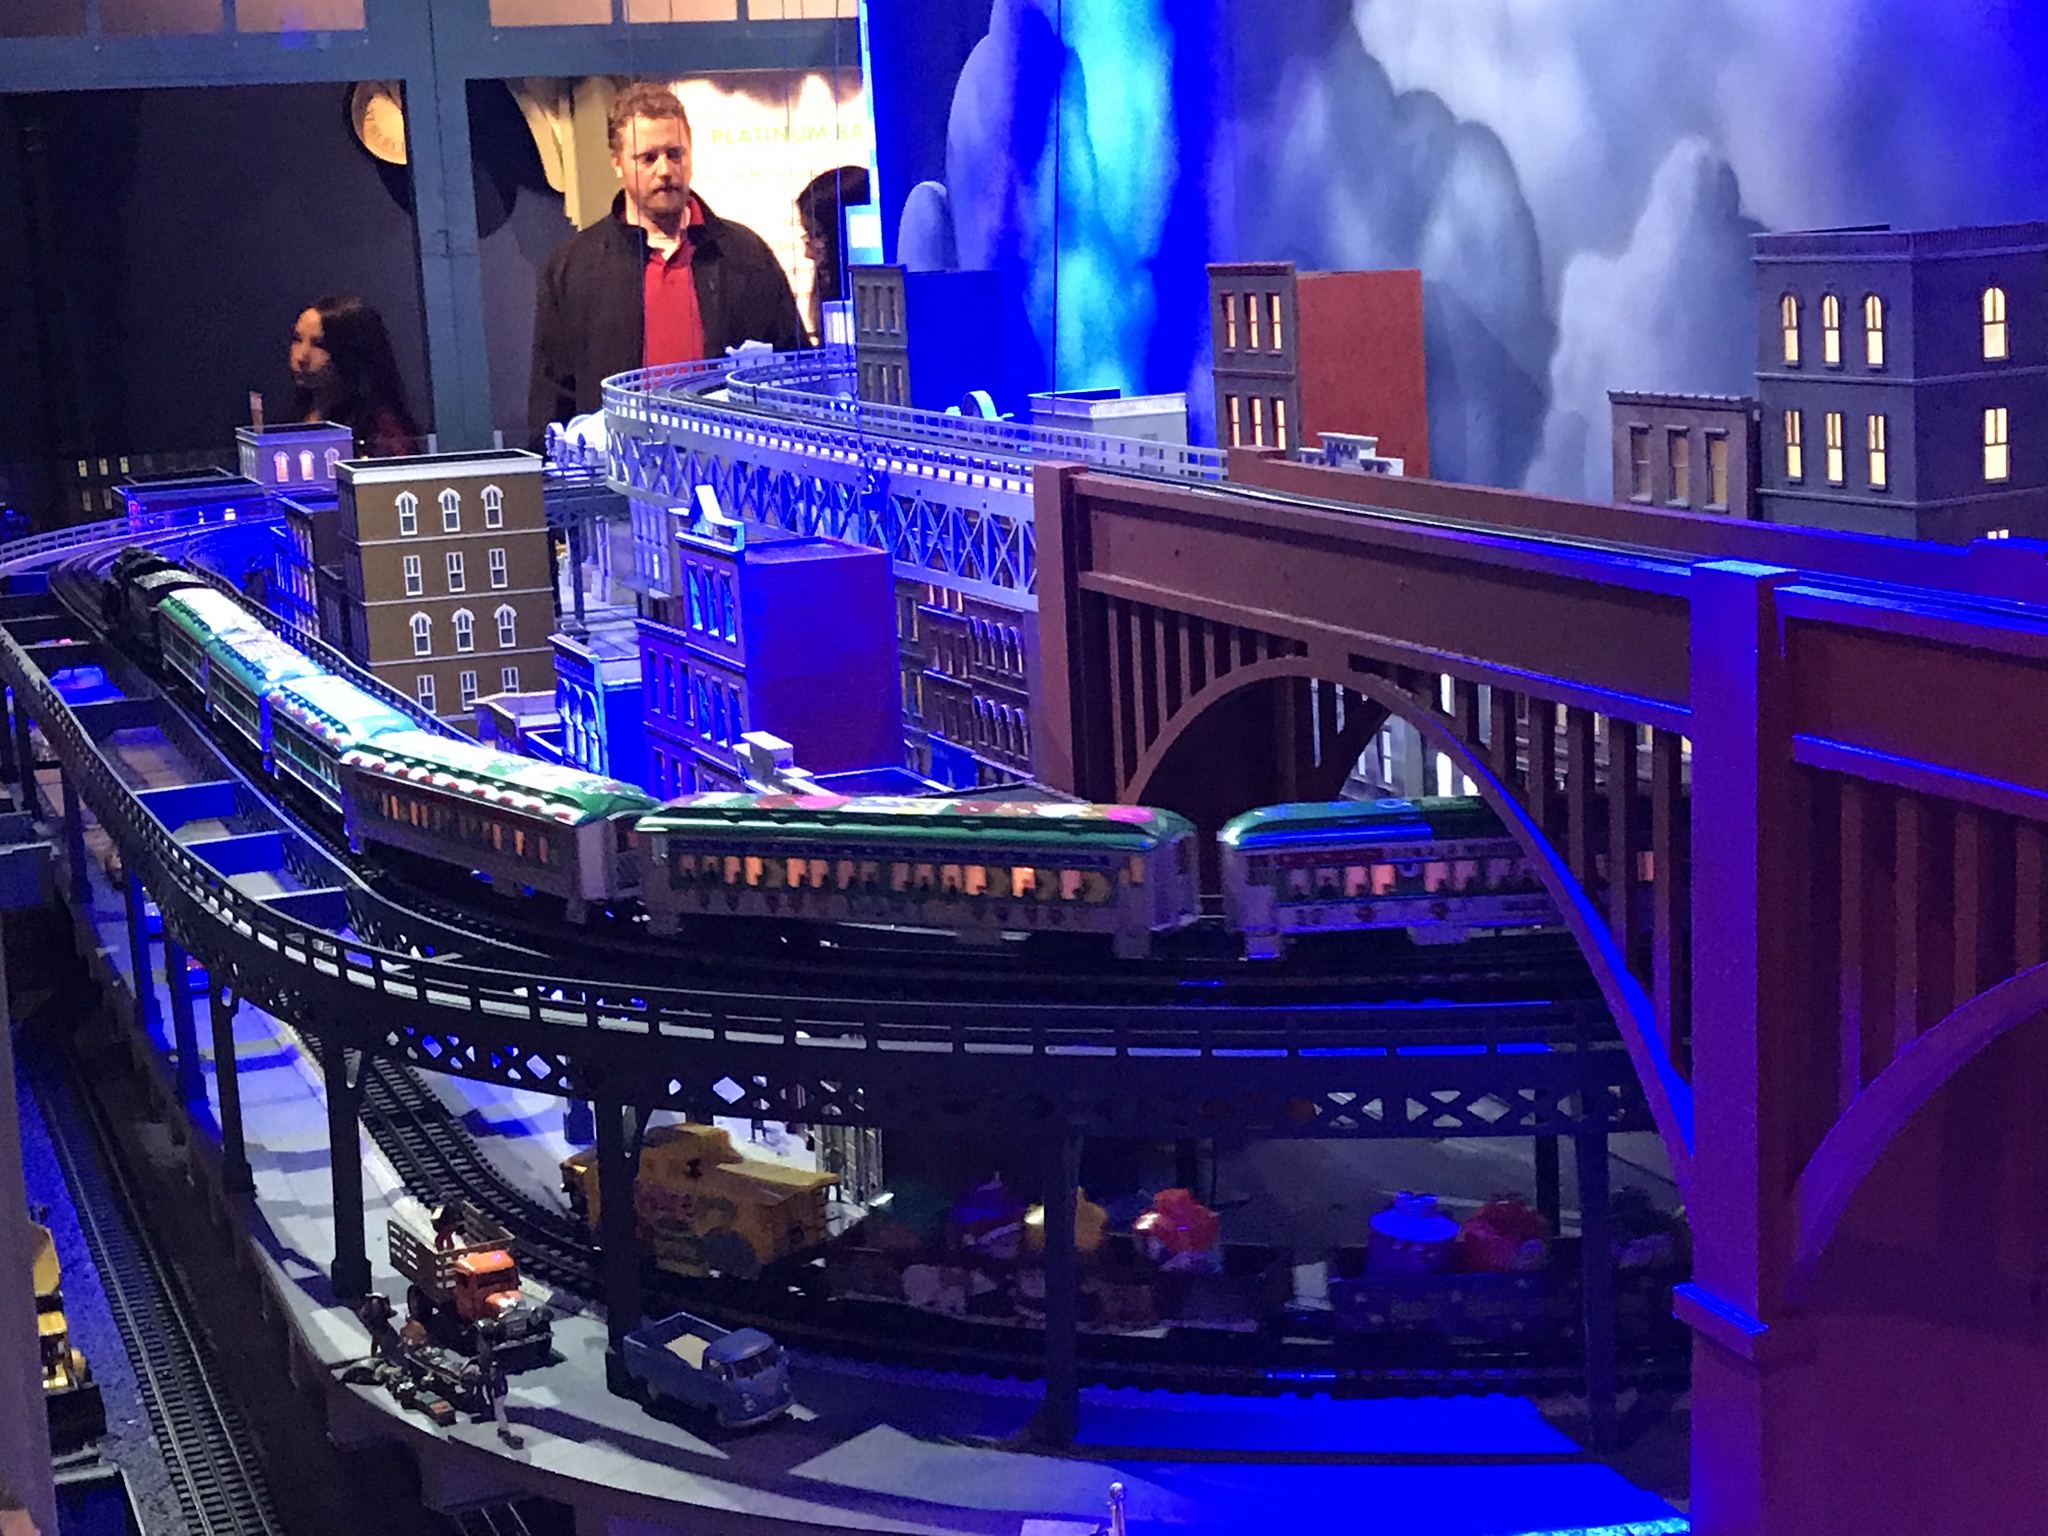
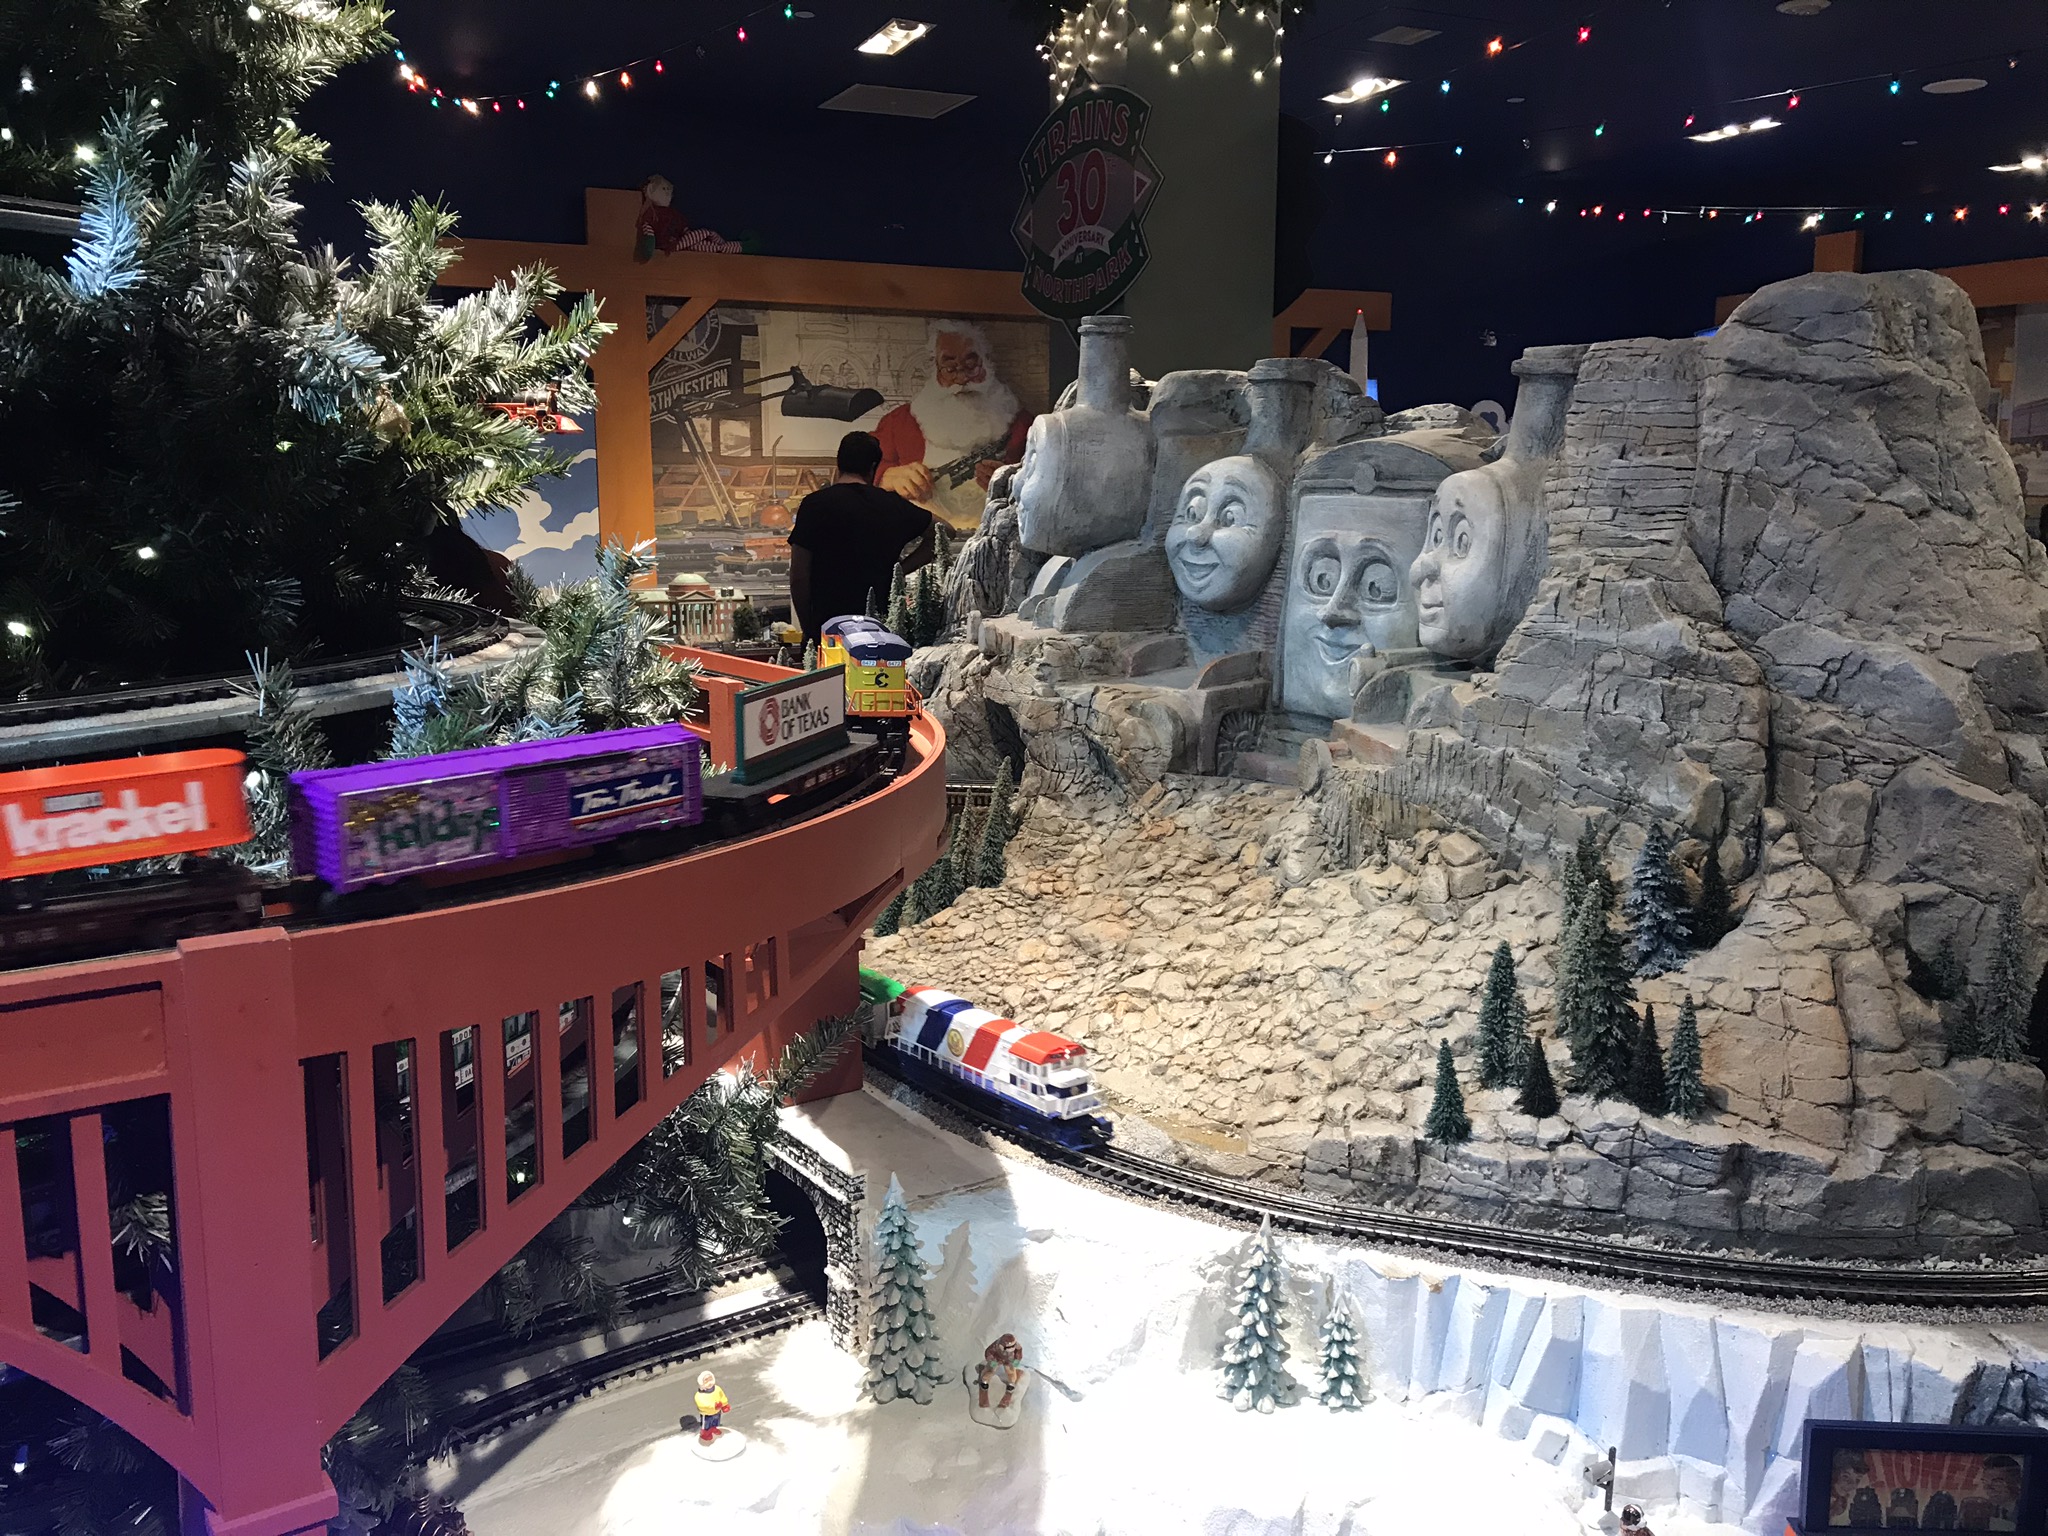
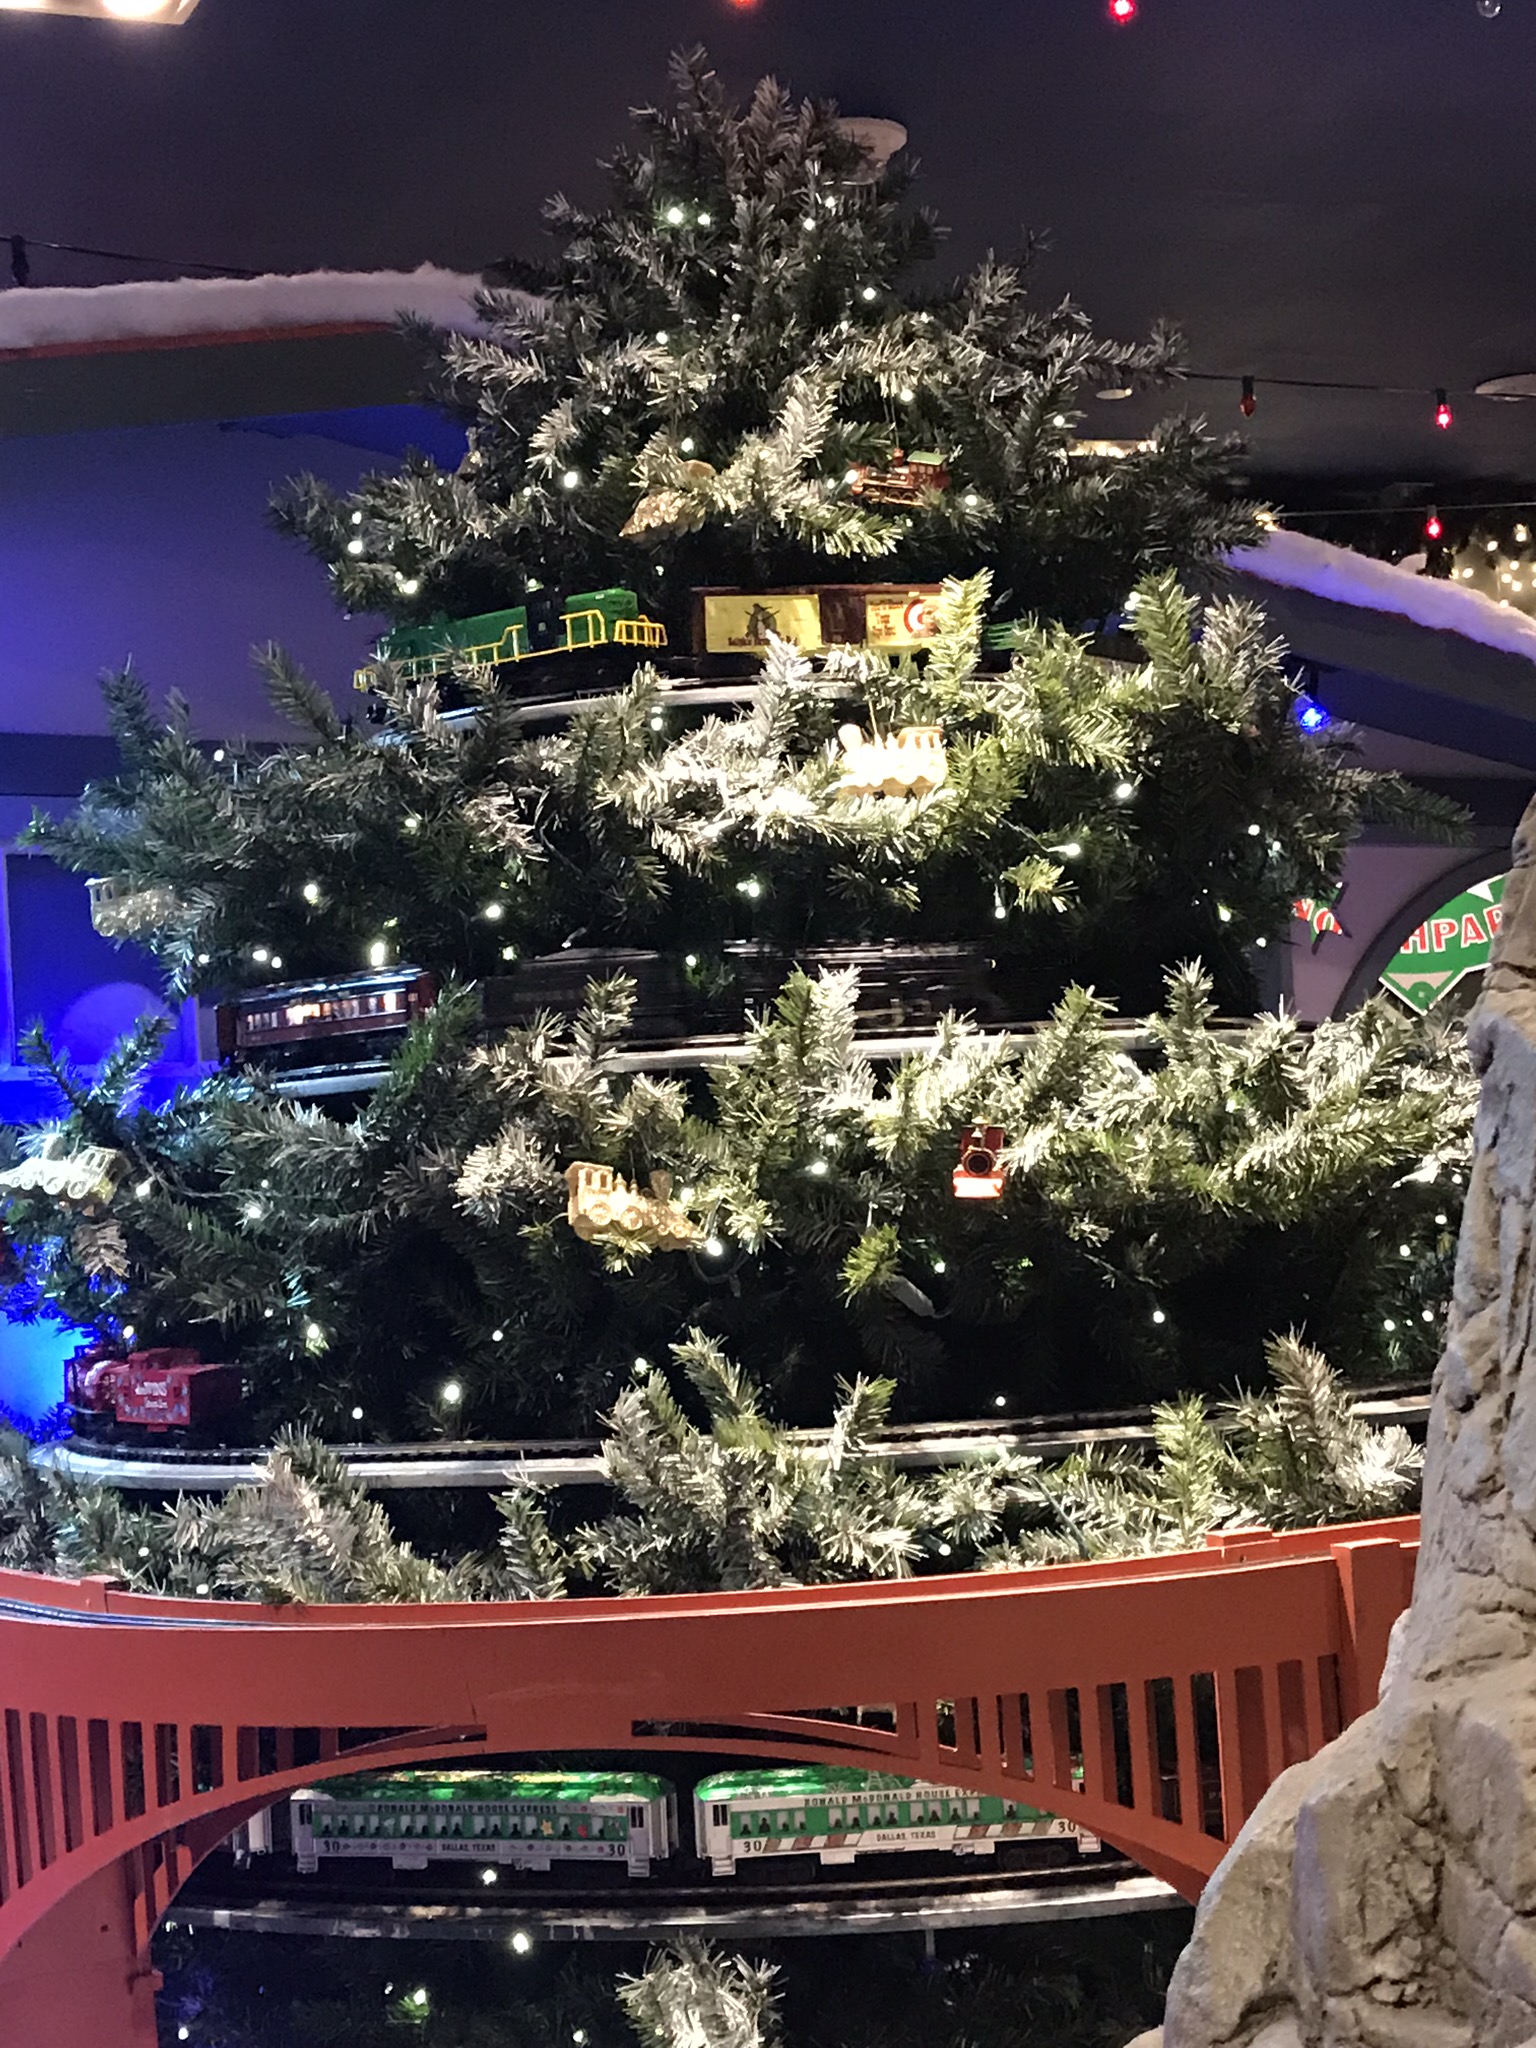
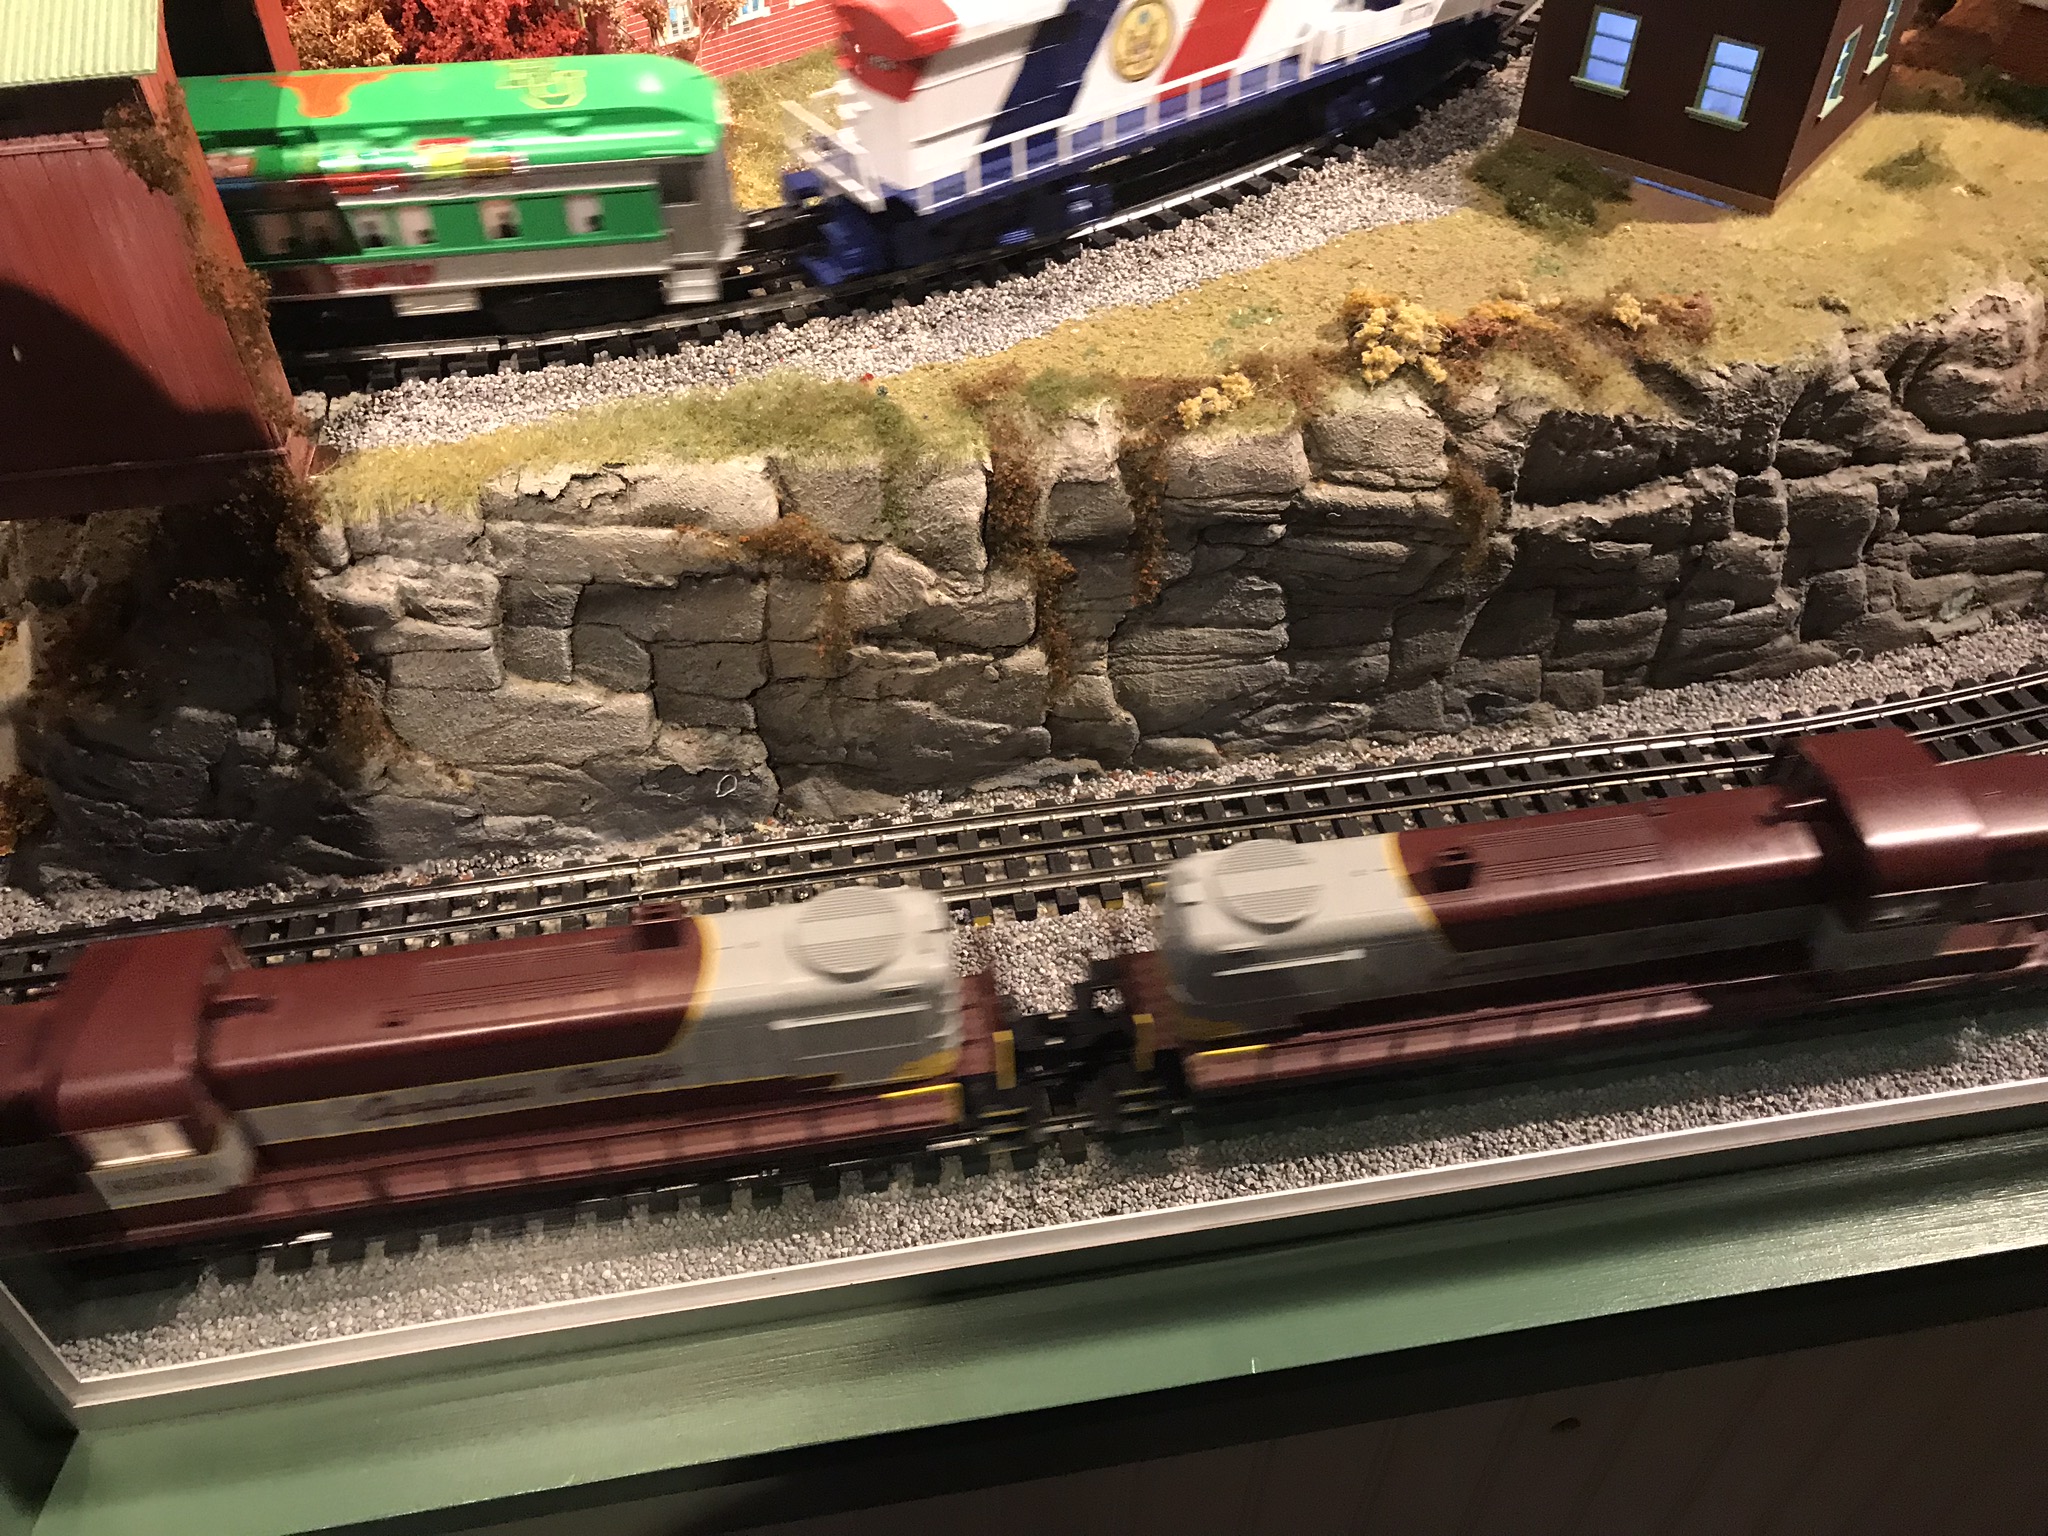
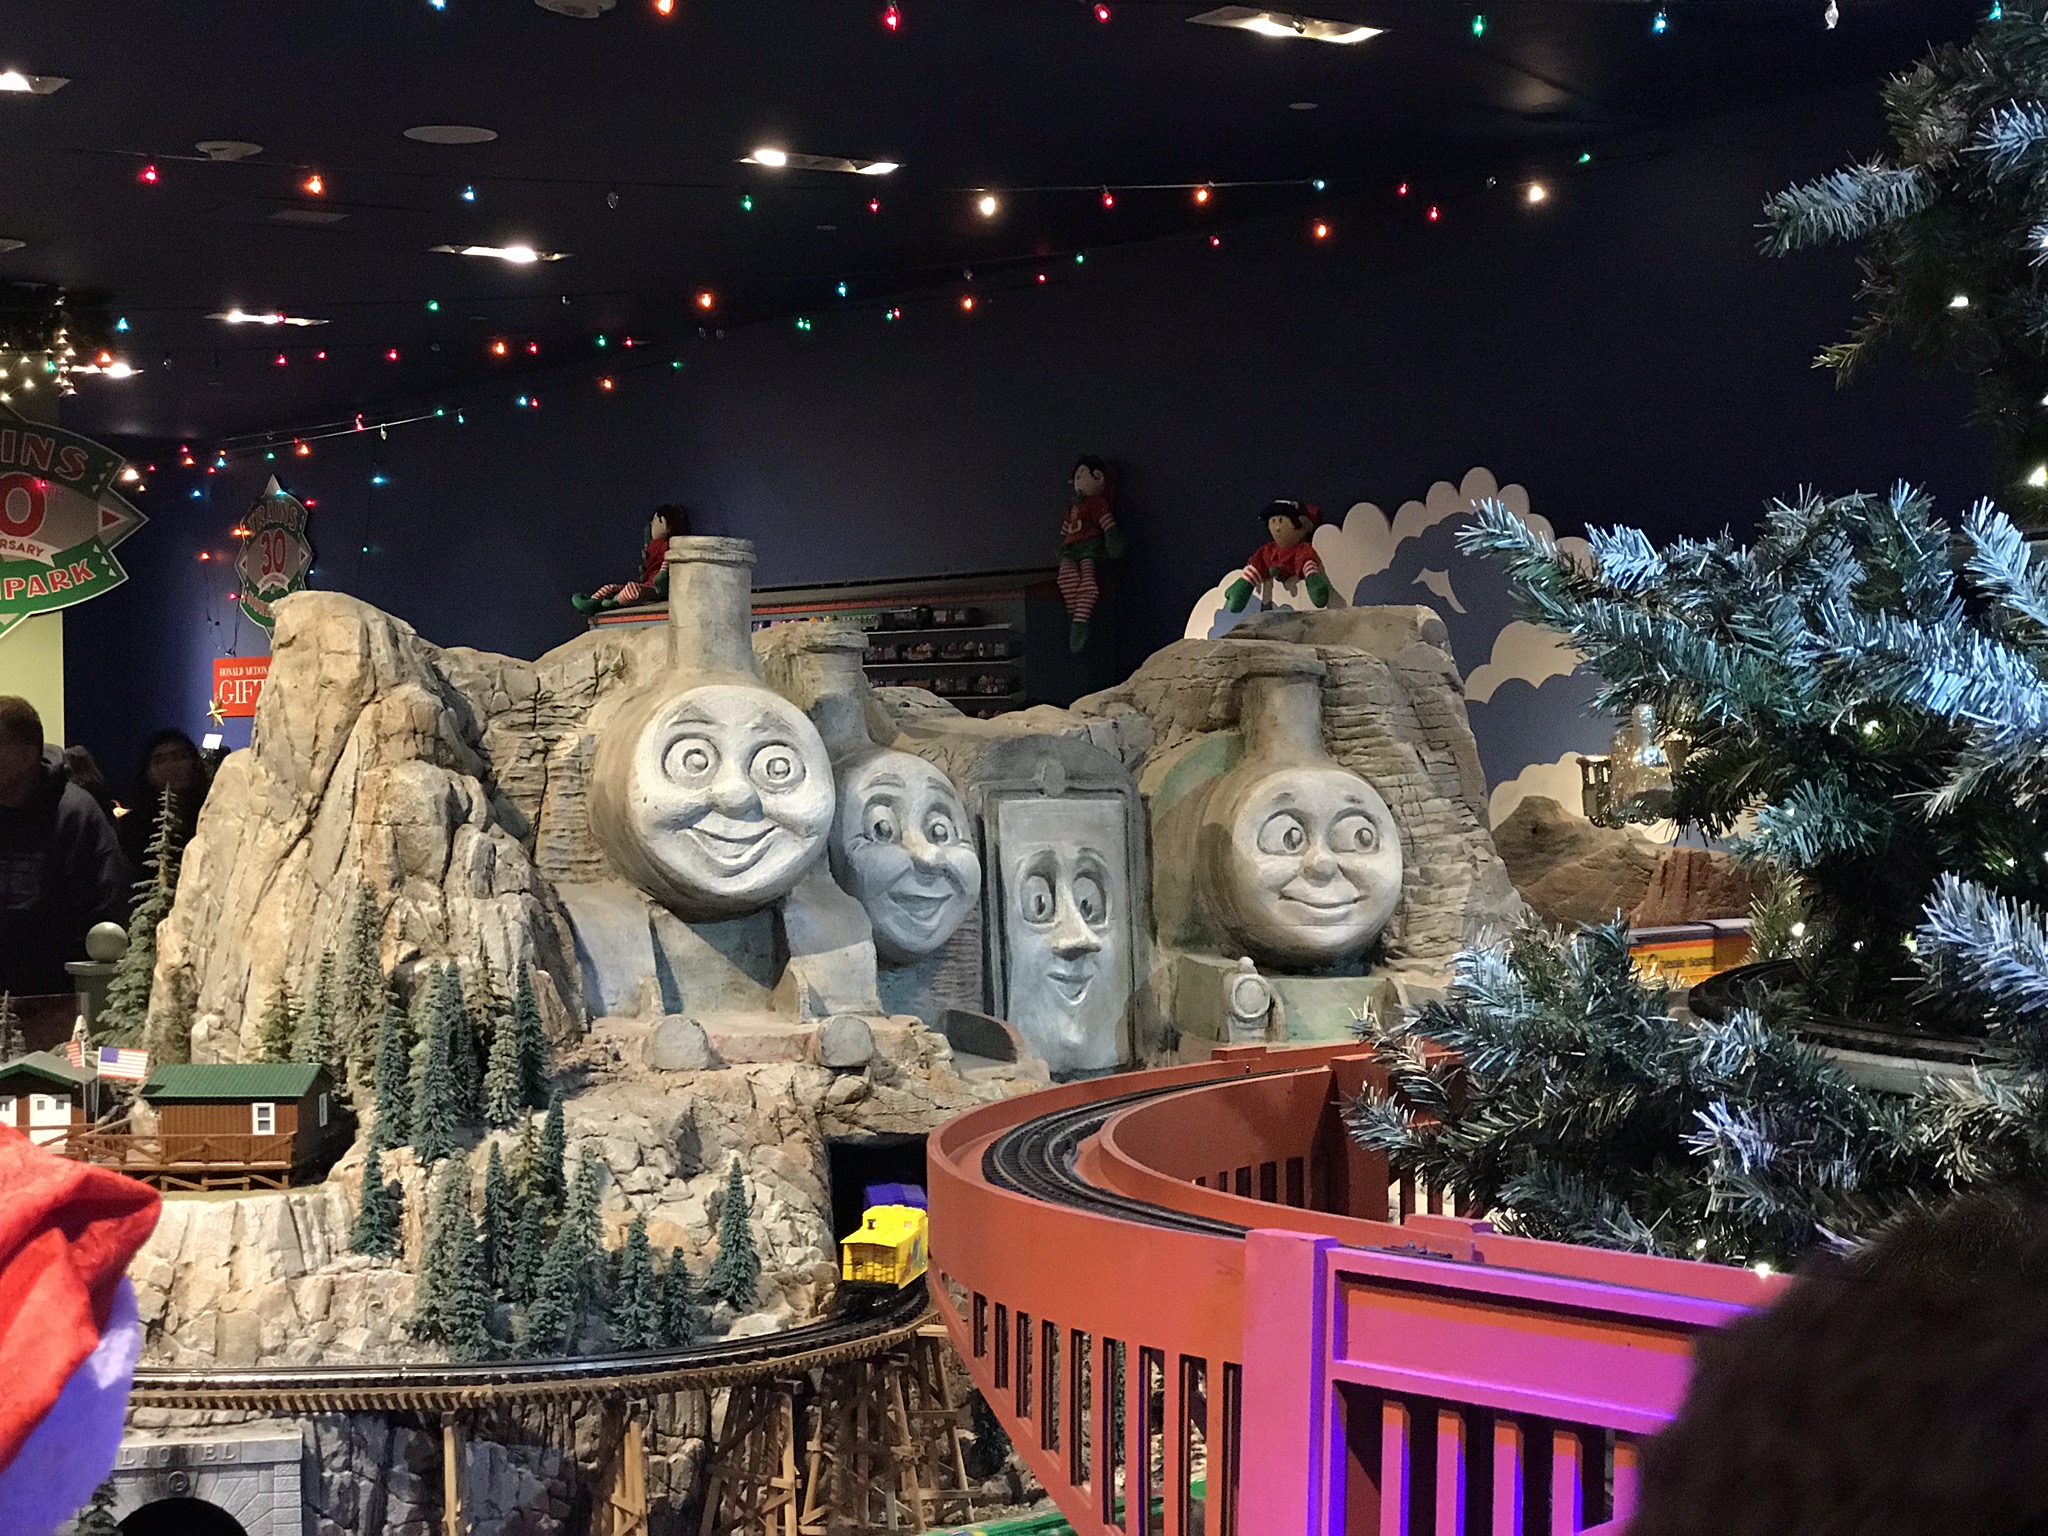
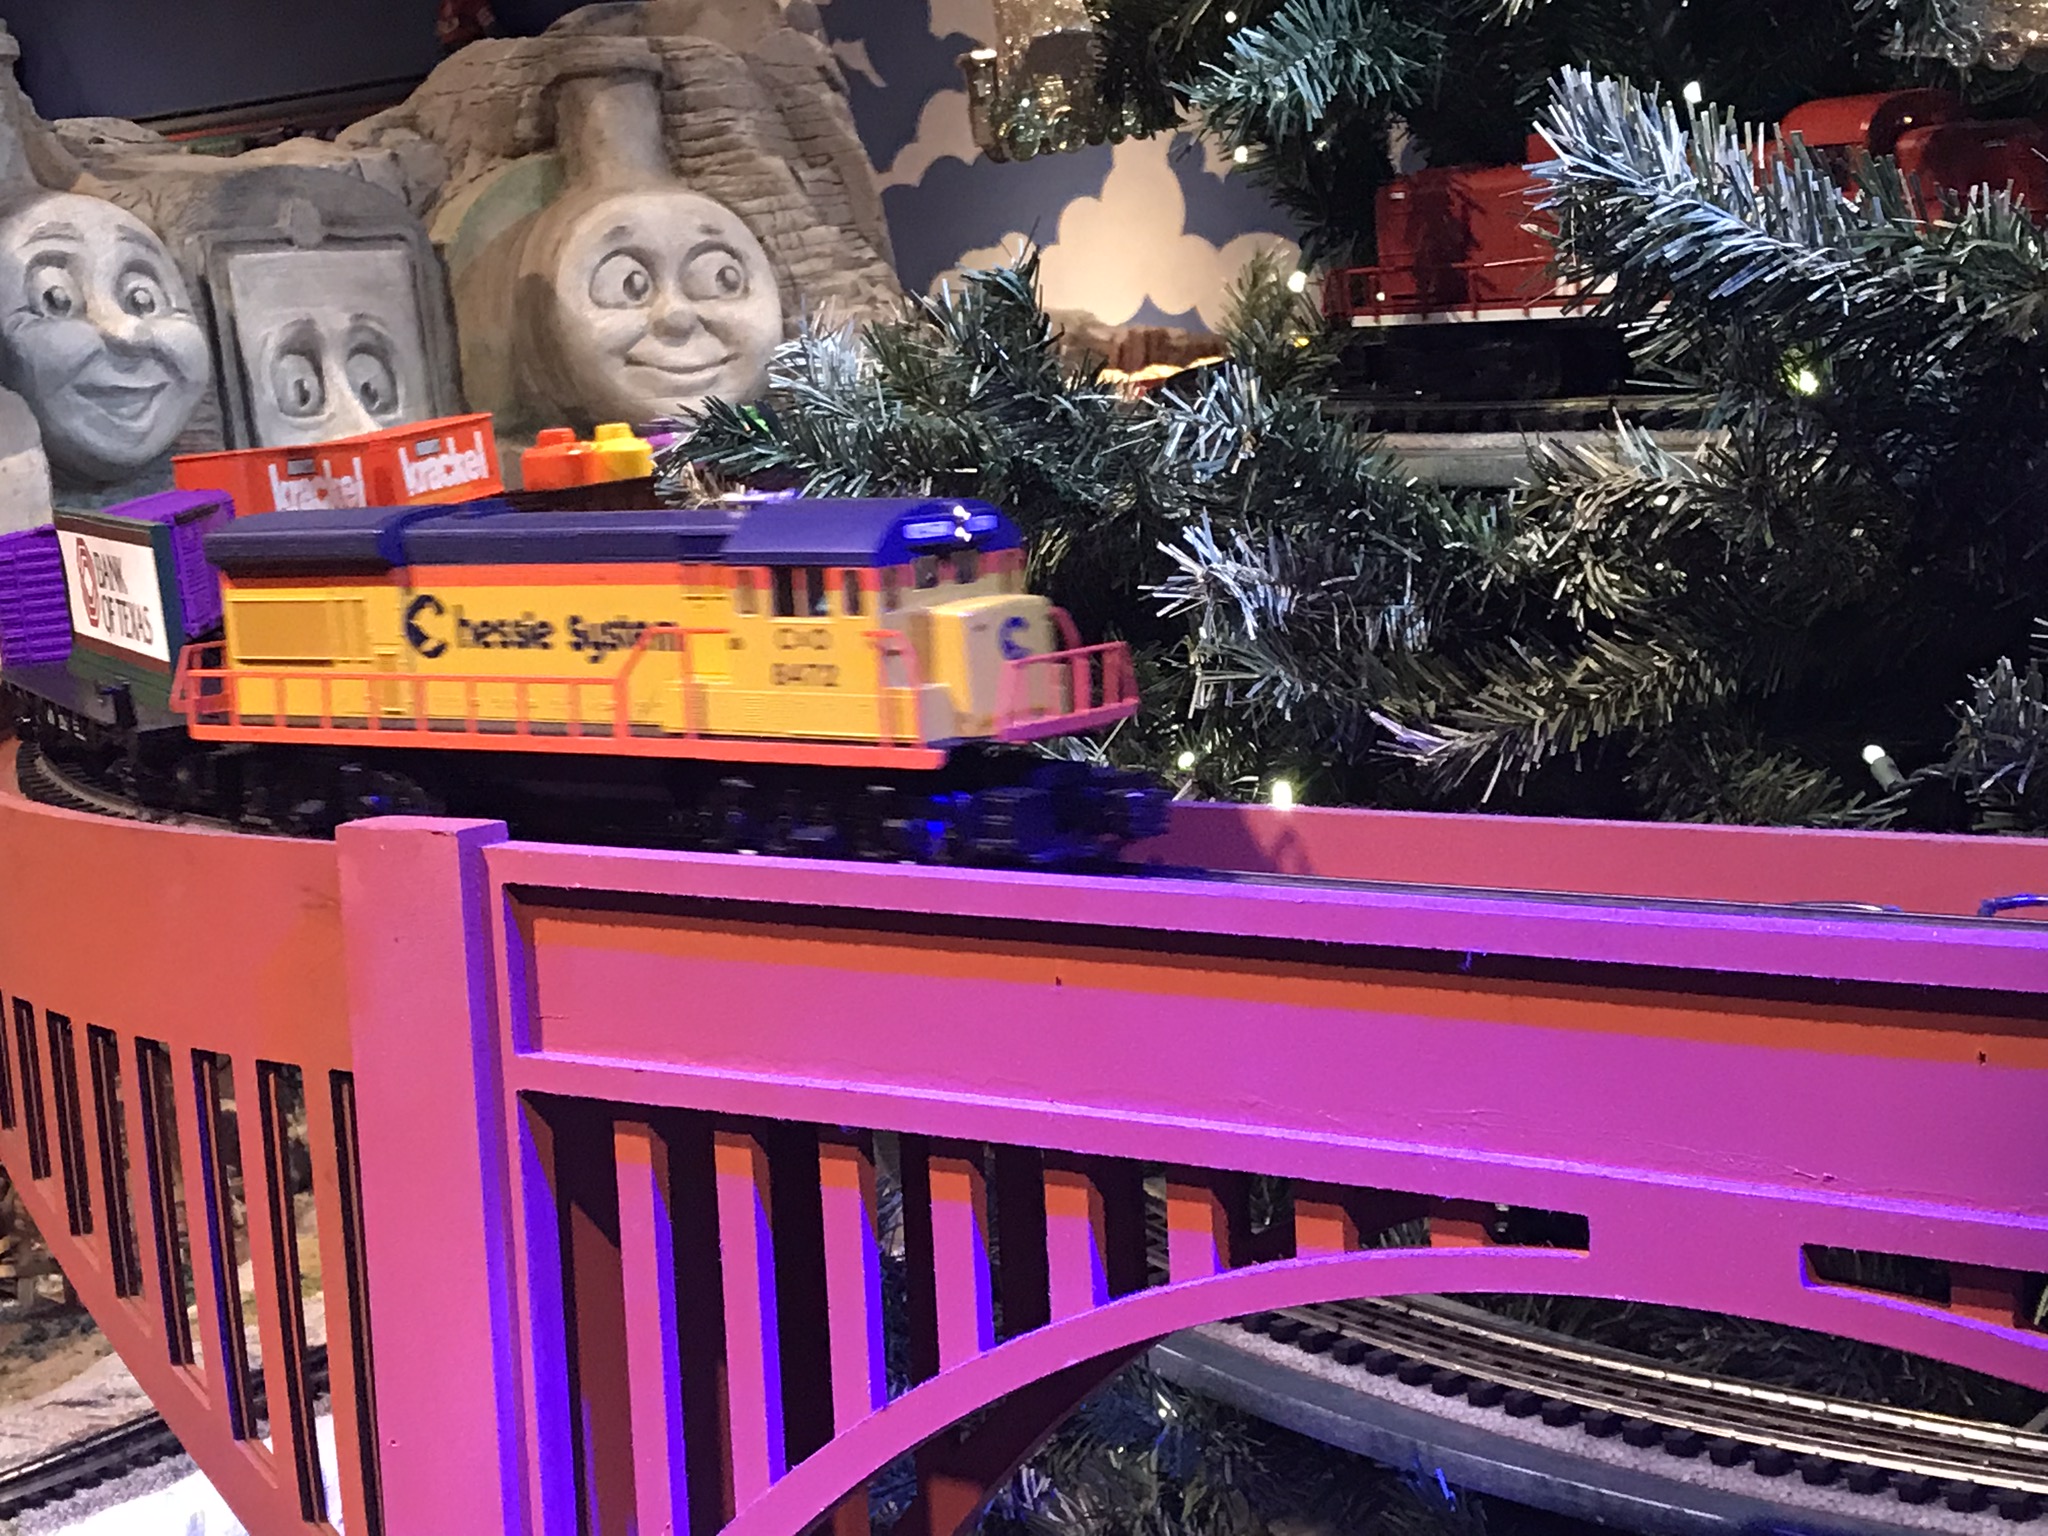
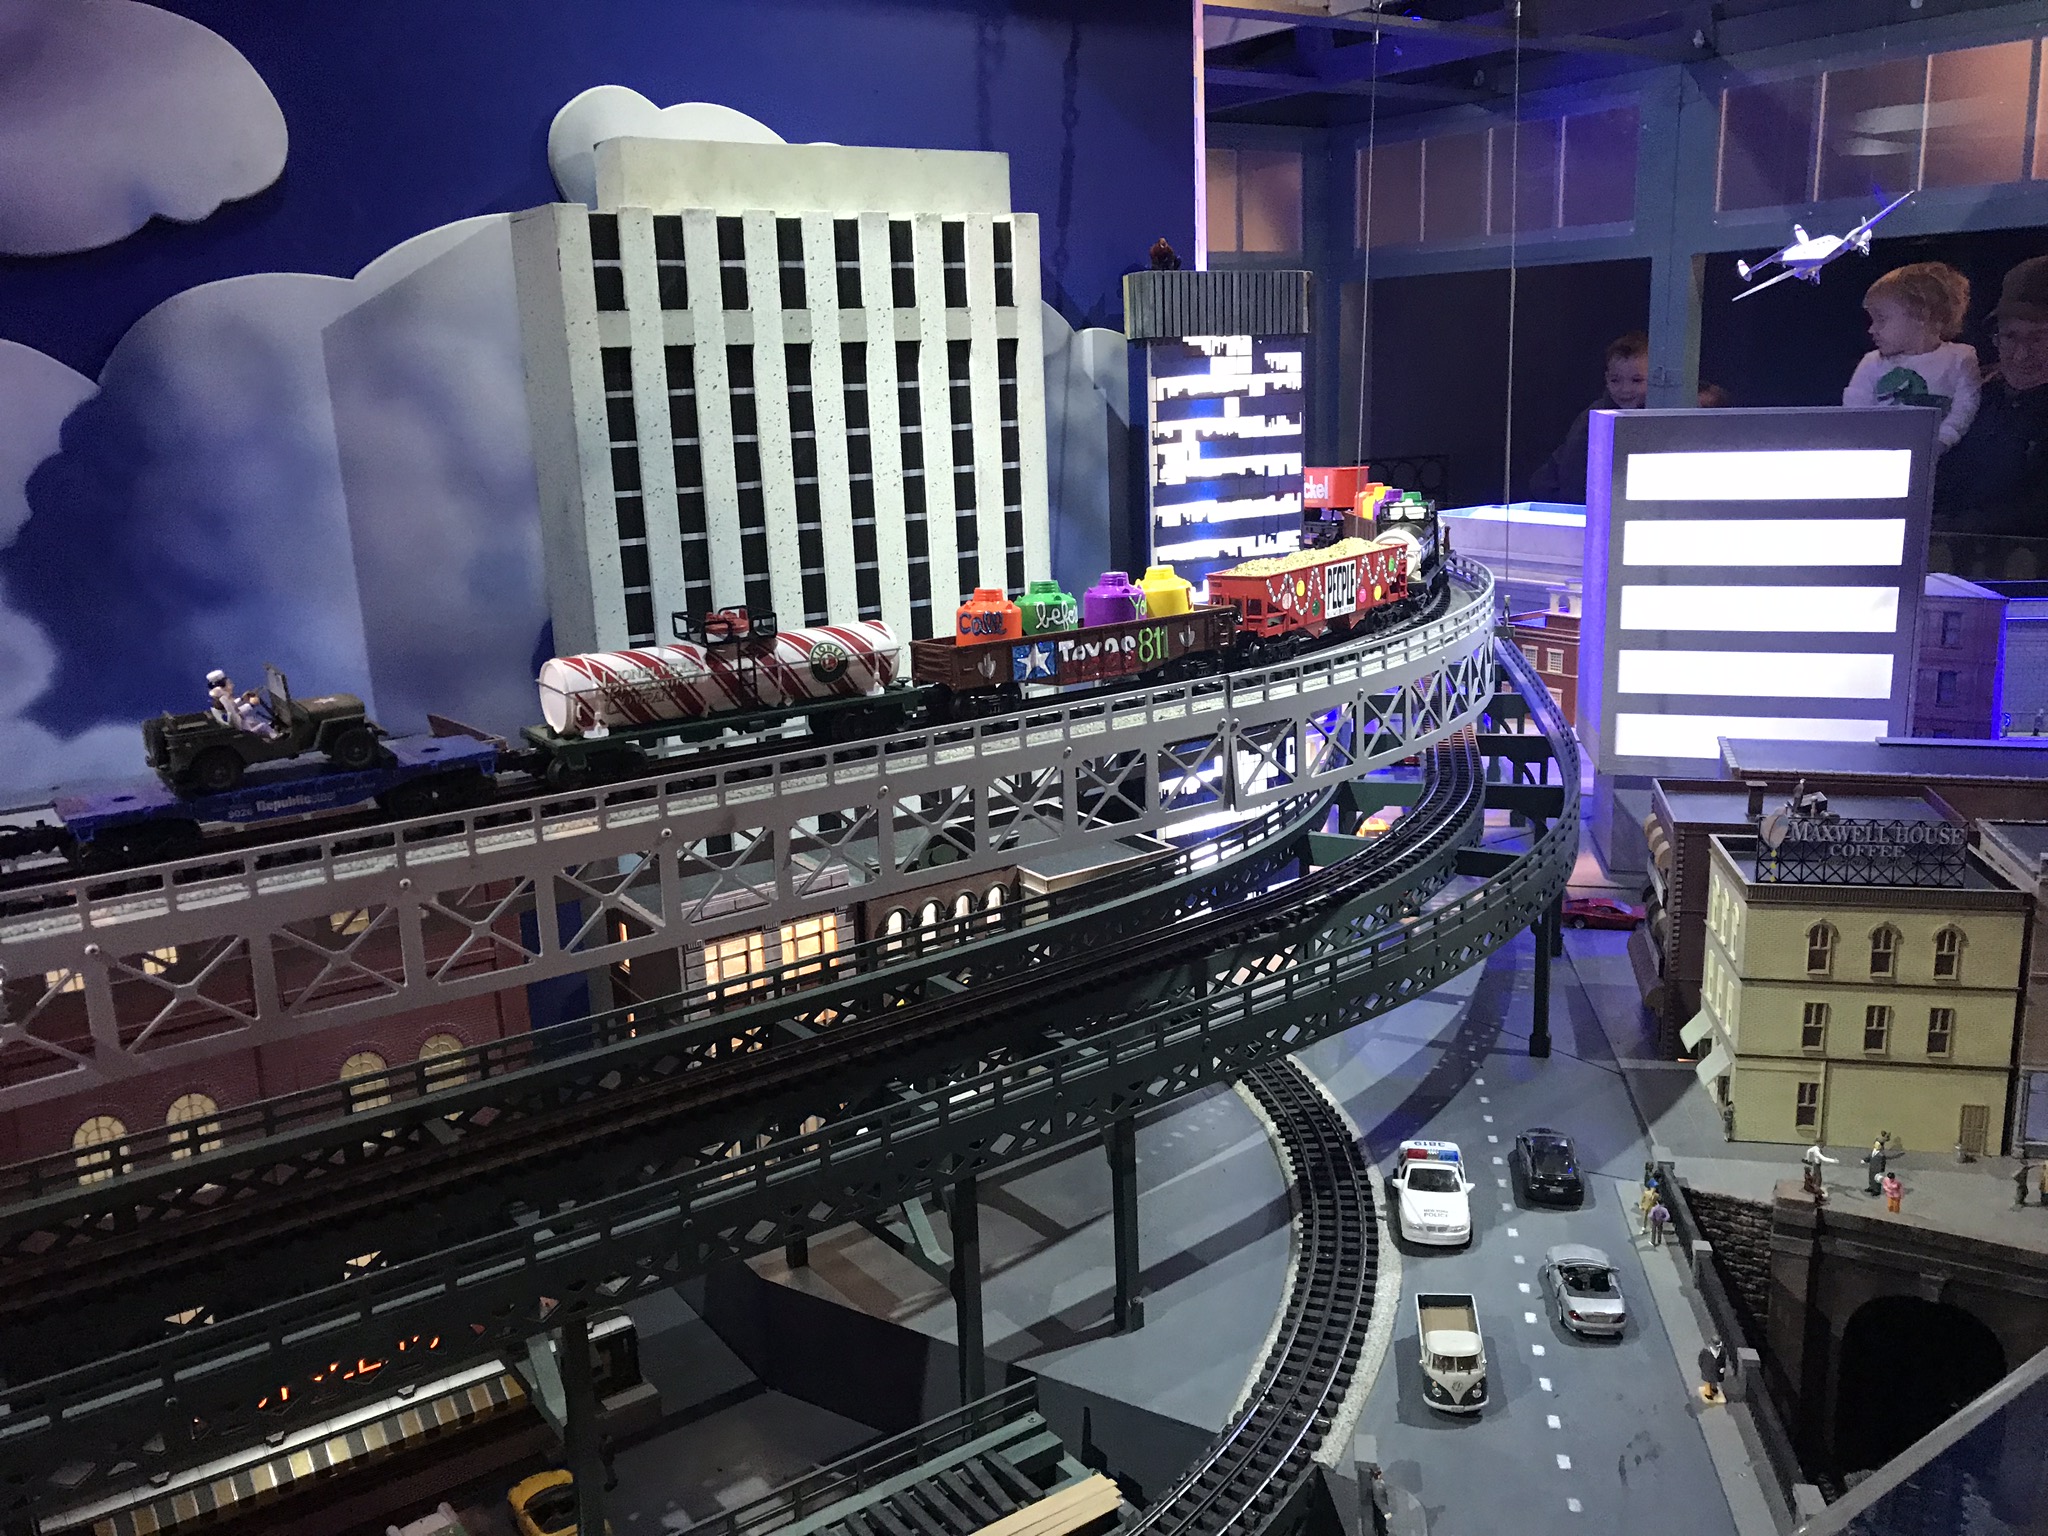
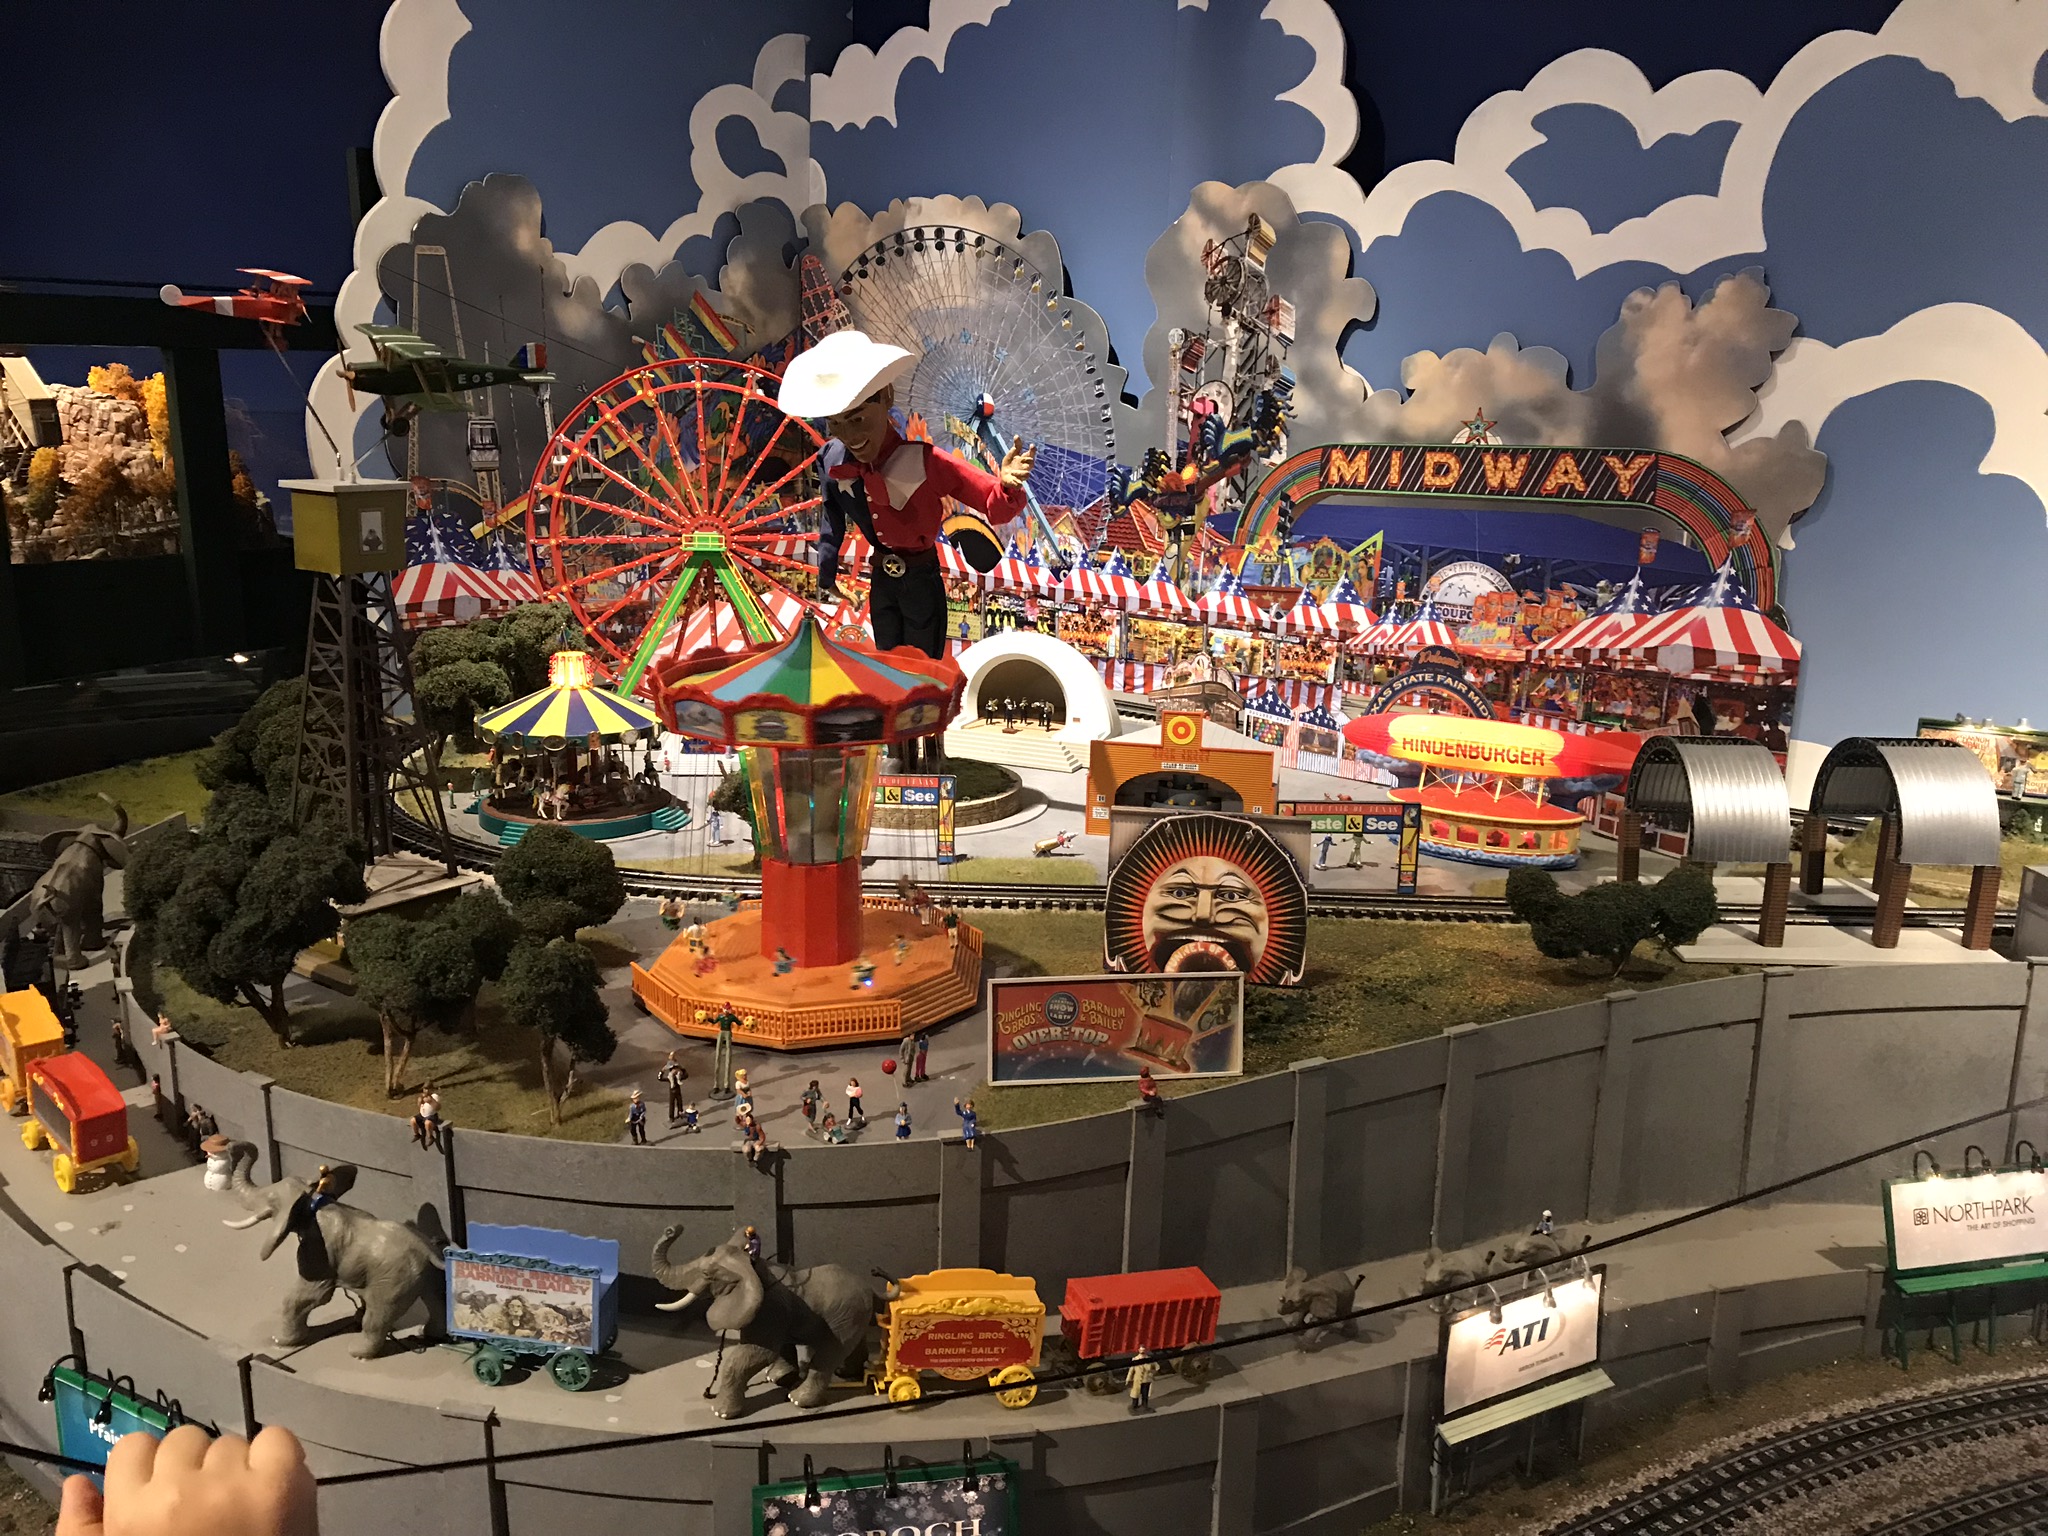
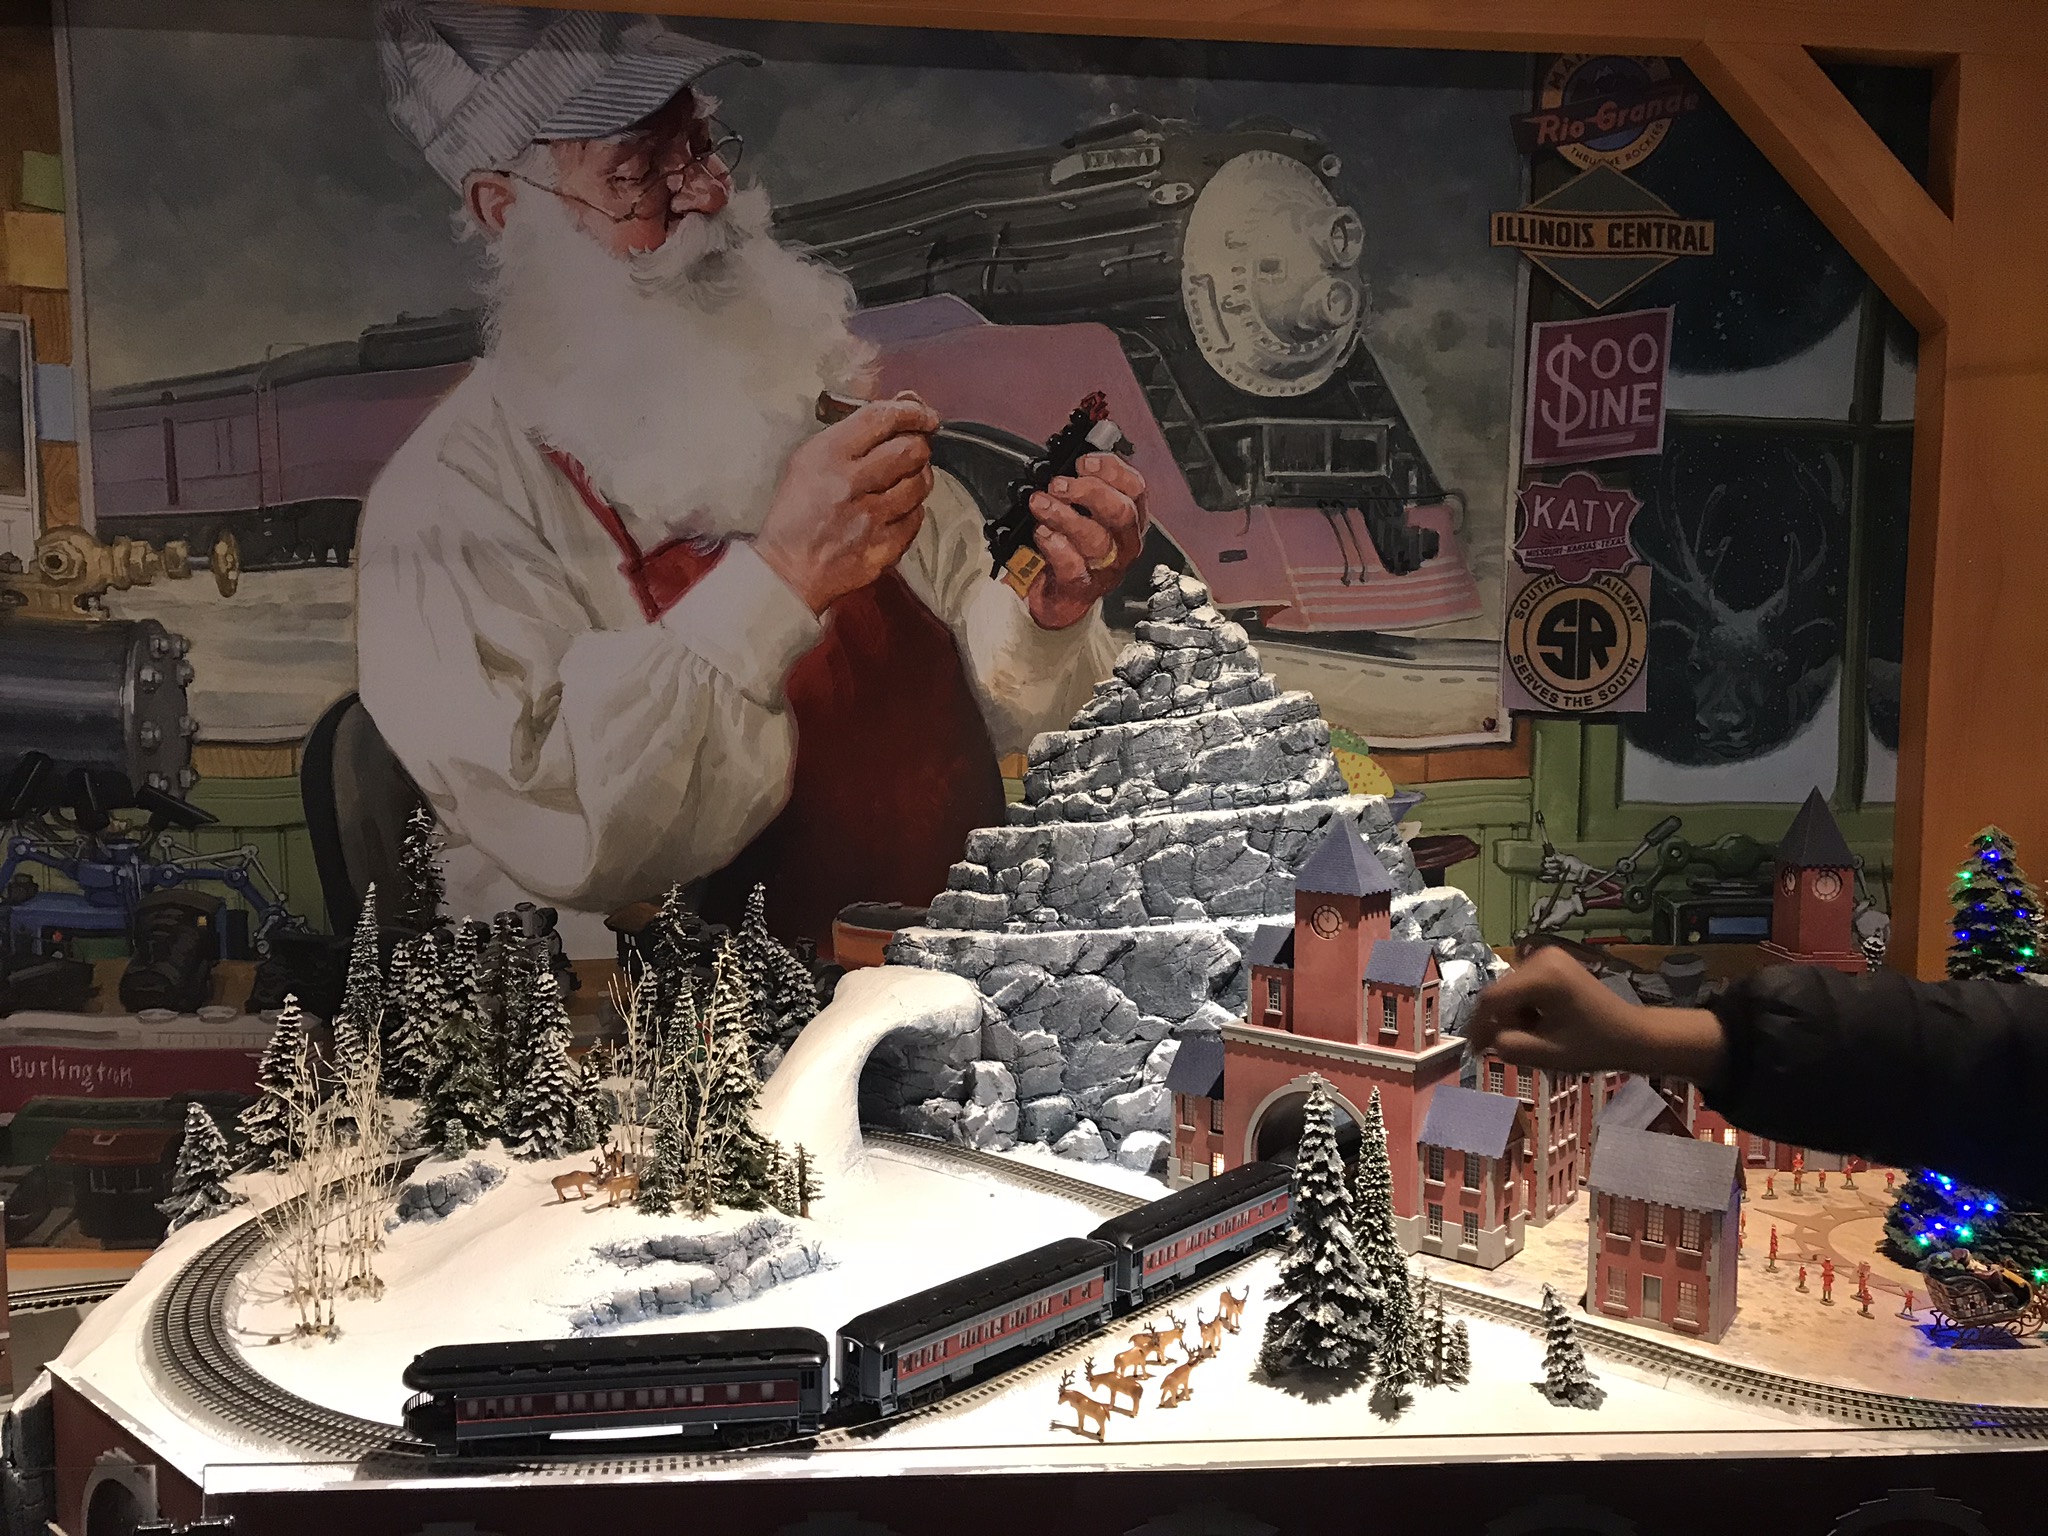
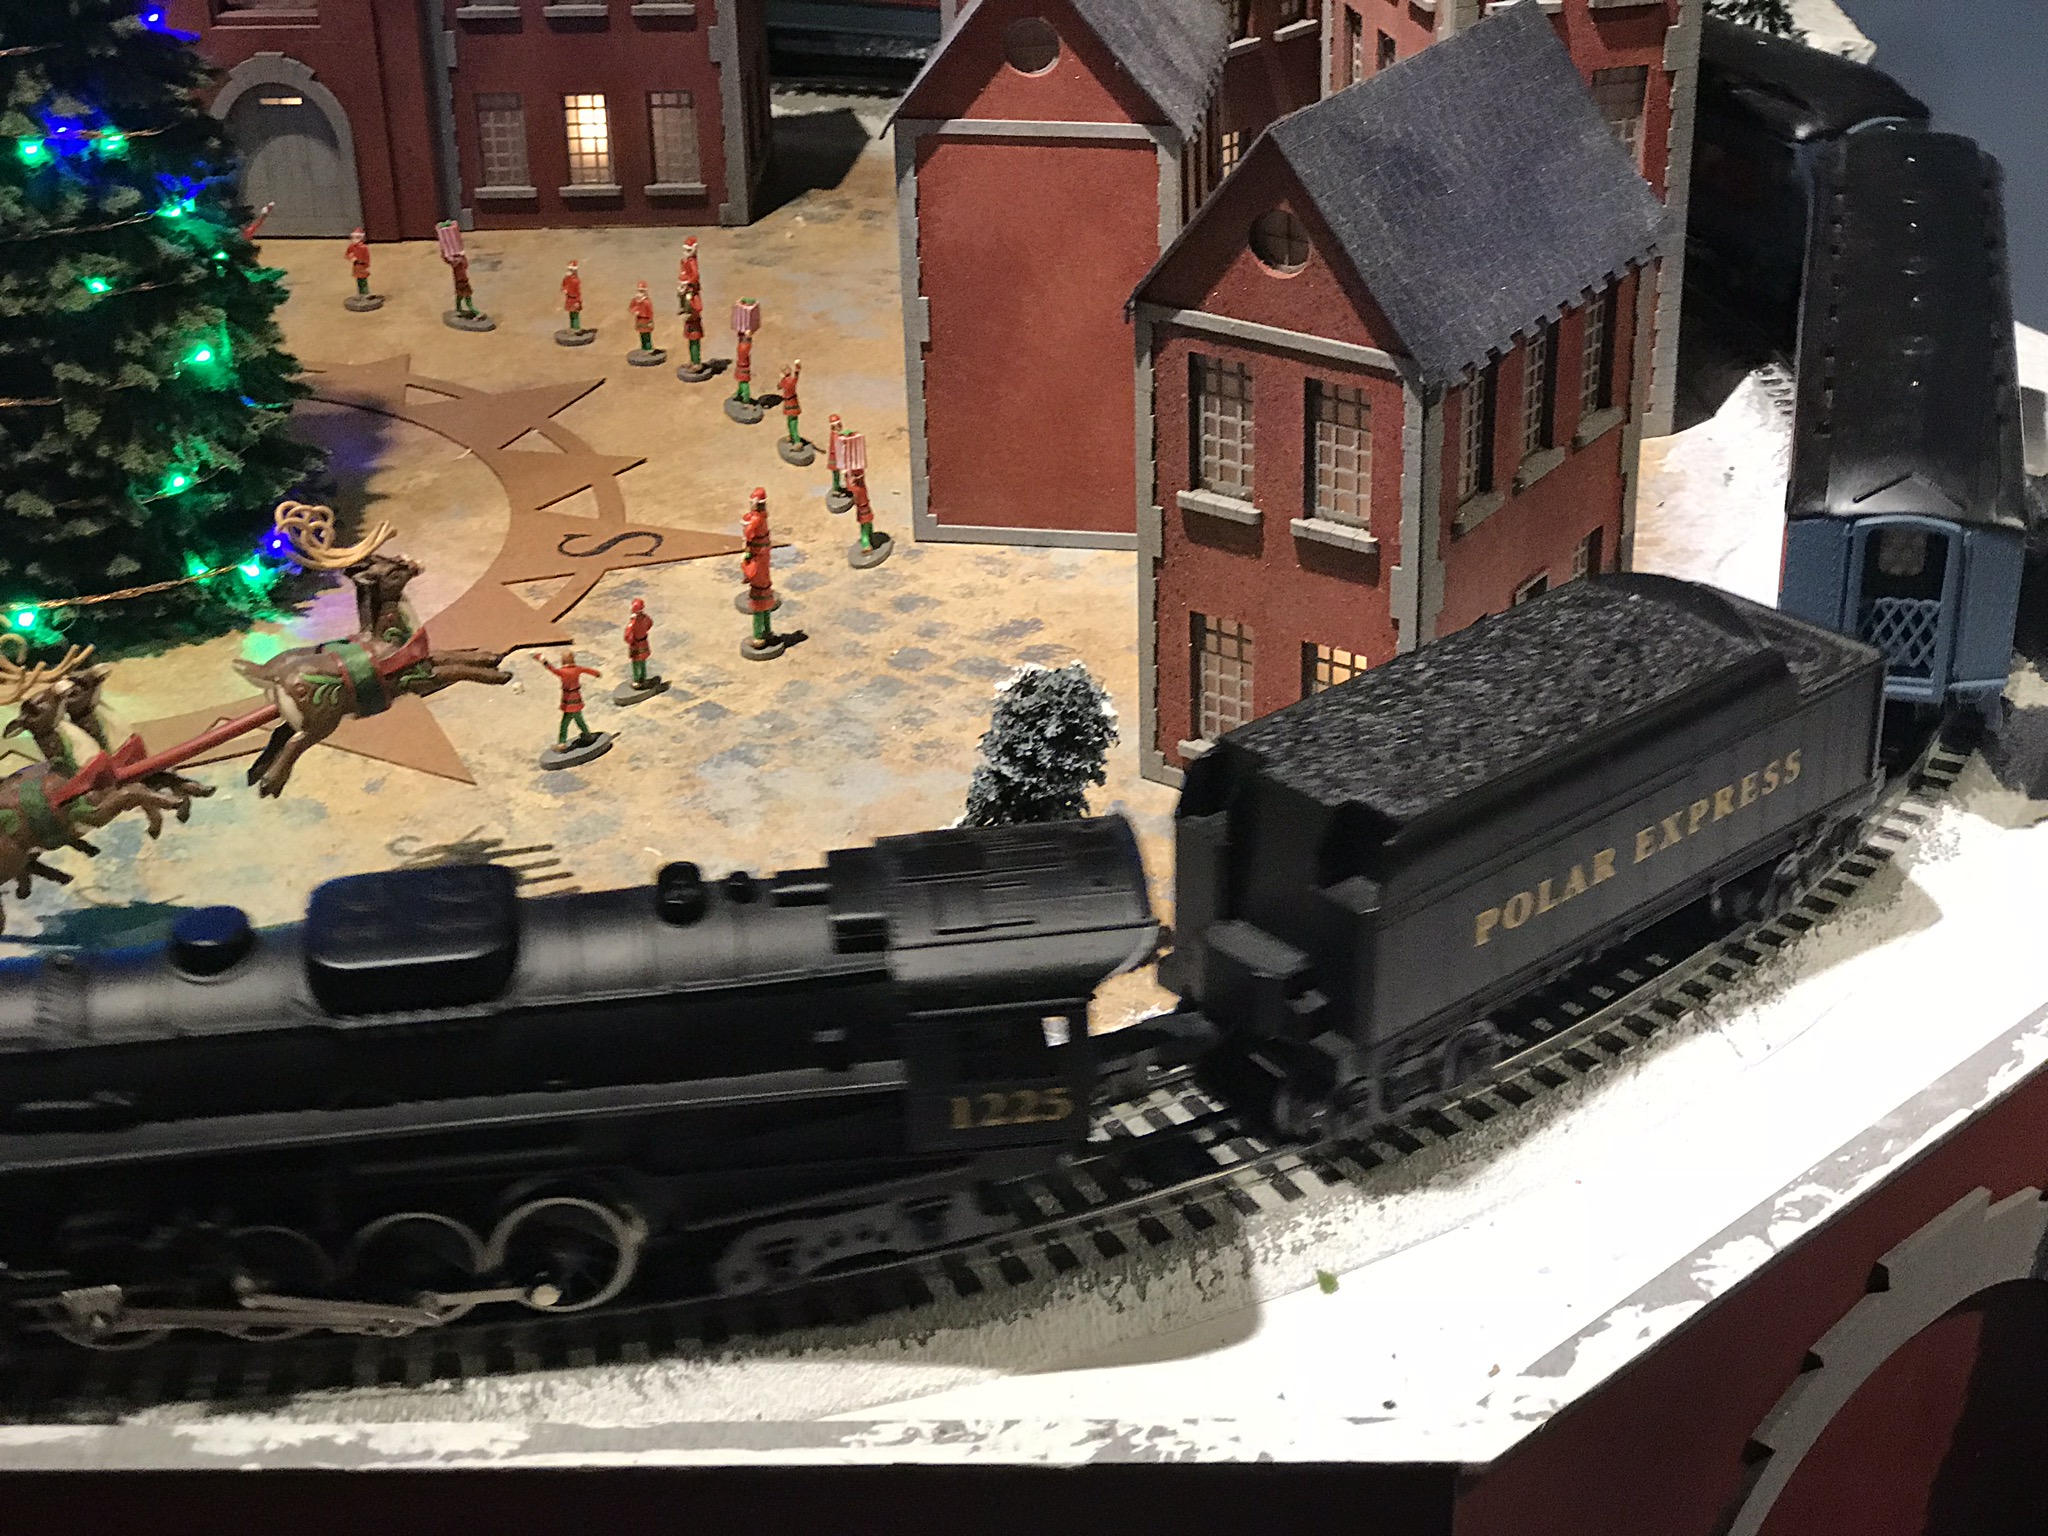
Here begin some photographs of the Ronald McDonald House of Trains at North Park Mall.  It was full of Lionel trains!IMG_0707IMG_0710IMG_0709IMG_0708IMG_0719IMG_0718IMG_0717IMG_0716IMG_0715IMG_0714IMG_0713IMG_0712IMG_0711IMG_0757IMG_0756IMG_0755IMG_0754IMG_0753IMG_0752IMG_0751IMG_0750IMG_0749IMG_0748IMG_0747IMG_0746IMG_0745IMG_0744IMG_0743IMG_0742IMG_0741IMG_0740IMG_0739IMG_0738IMG_0737IMG_0736IMG_0735IMG_0734IMG_0733IMG_0732IMG_0731IMG_0730IMG_0729IMG_0728IMG_0727IMG_0726IMG_0725IMG_0724IMG_0723IMG_0722IMG_0721IMG_0720

Building Up Steam

I’ve never been much of a beggar, but it doesn’t hurt to try something new at least once.  I have begun a GoFundMe campaign to boost my train repair business.  I have no idea if it will do much good, but the worst case scenario is I don’t make anything.

Still, I would like to point out that an engine can’t go without fuel, be it steam, diesel oil, or electricity.  I have the skills, tools, and direction for success, but I have a long consist behind me.  Getting started on my own without a little external push is going to slow and hard.  Even the largest of engines sometimes need a little help climbing a hill.

Here is a link to my fundraising compaign.  Every dollar helps, and I appreciate every cent!  https://www.gofundme.com/livingston-lines

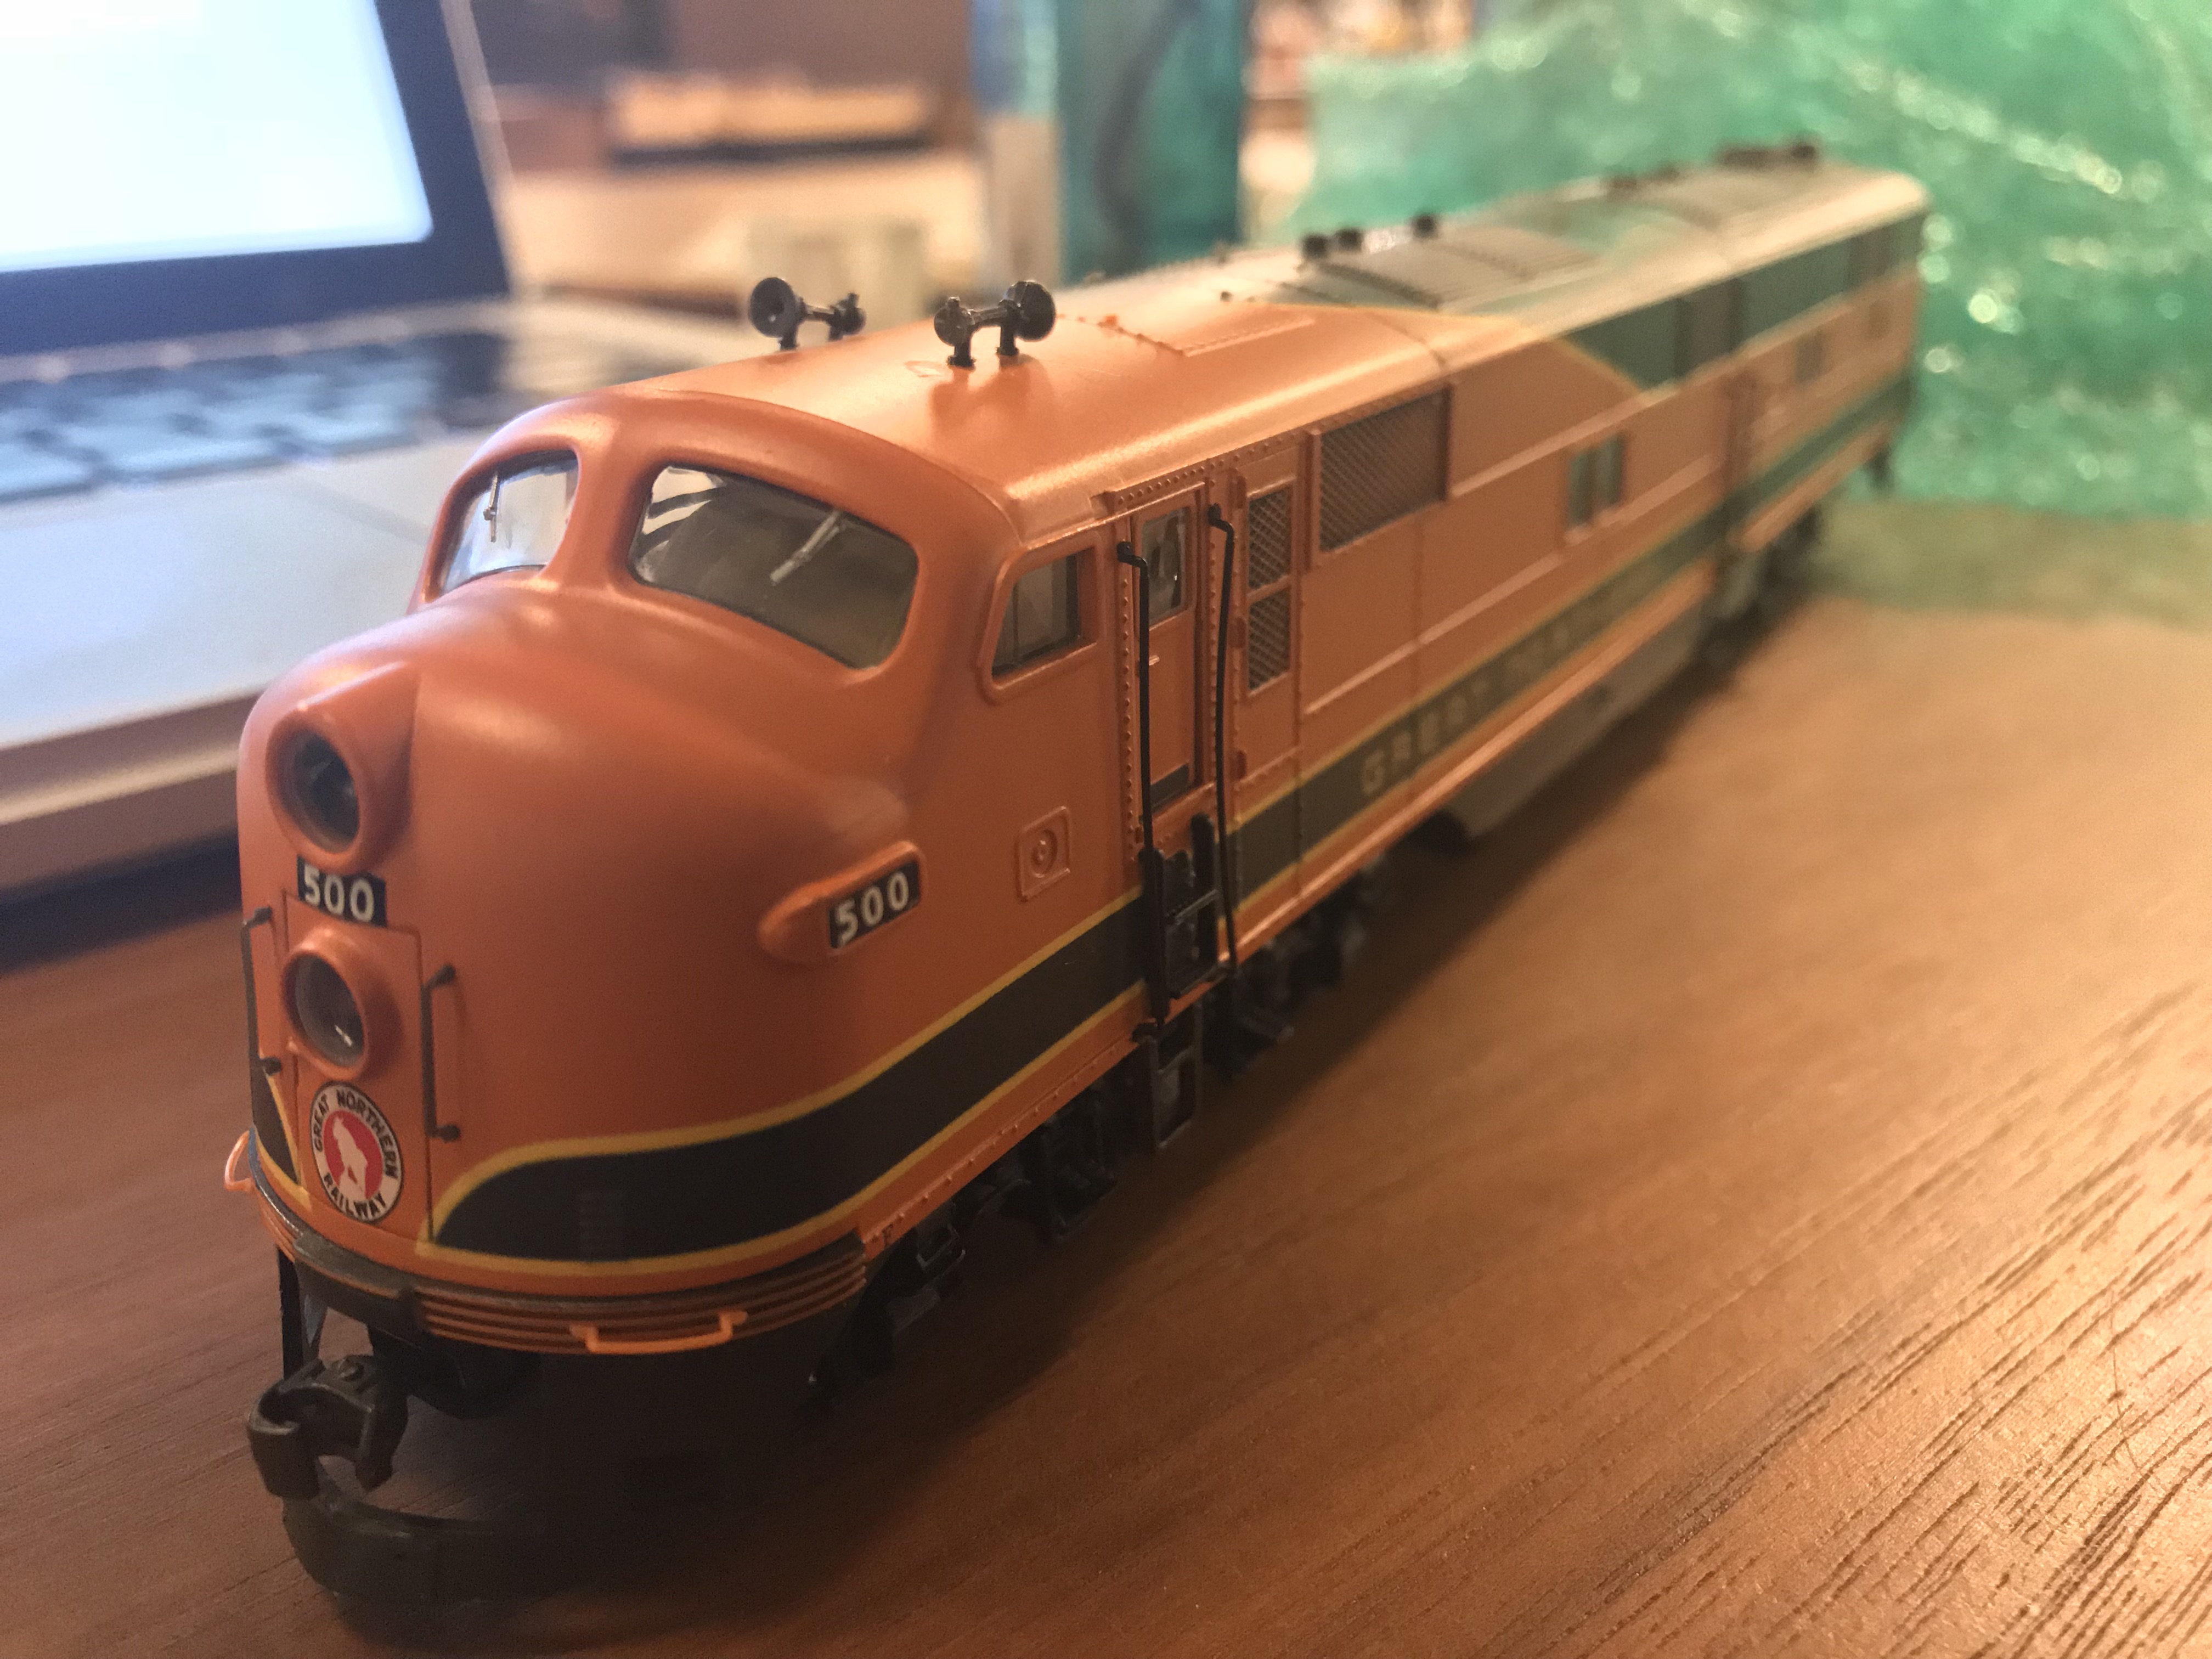
In the meantime, here are some photos of my latest aquisitions from the Plano Train Show.

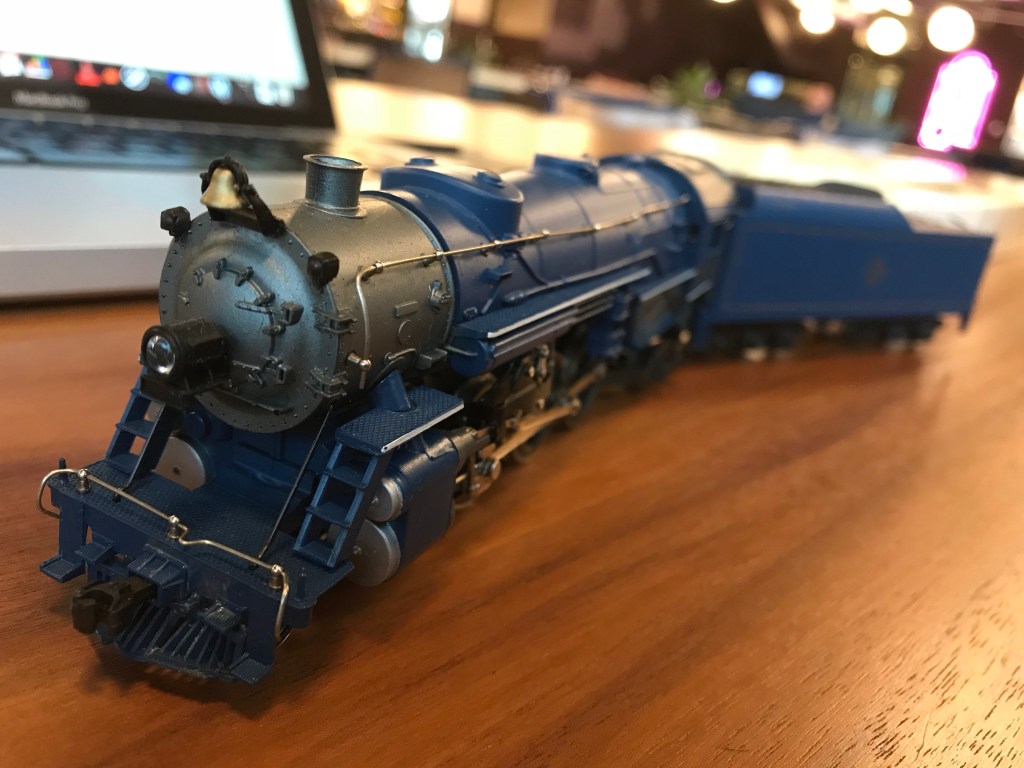
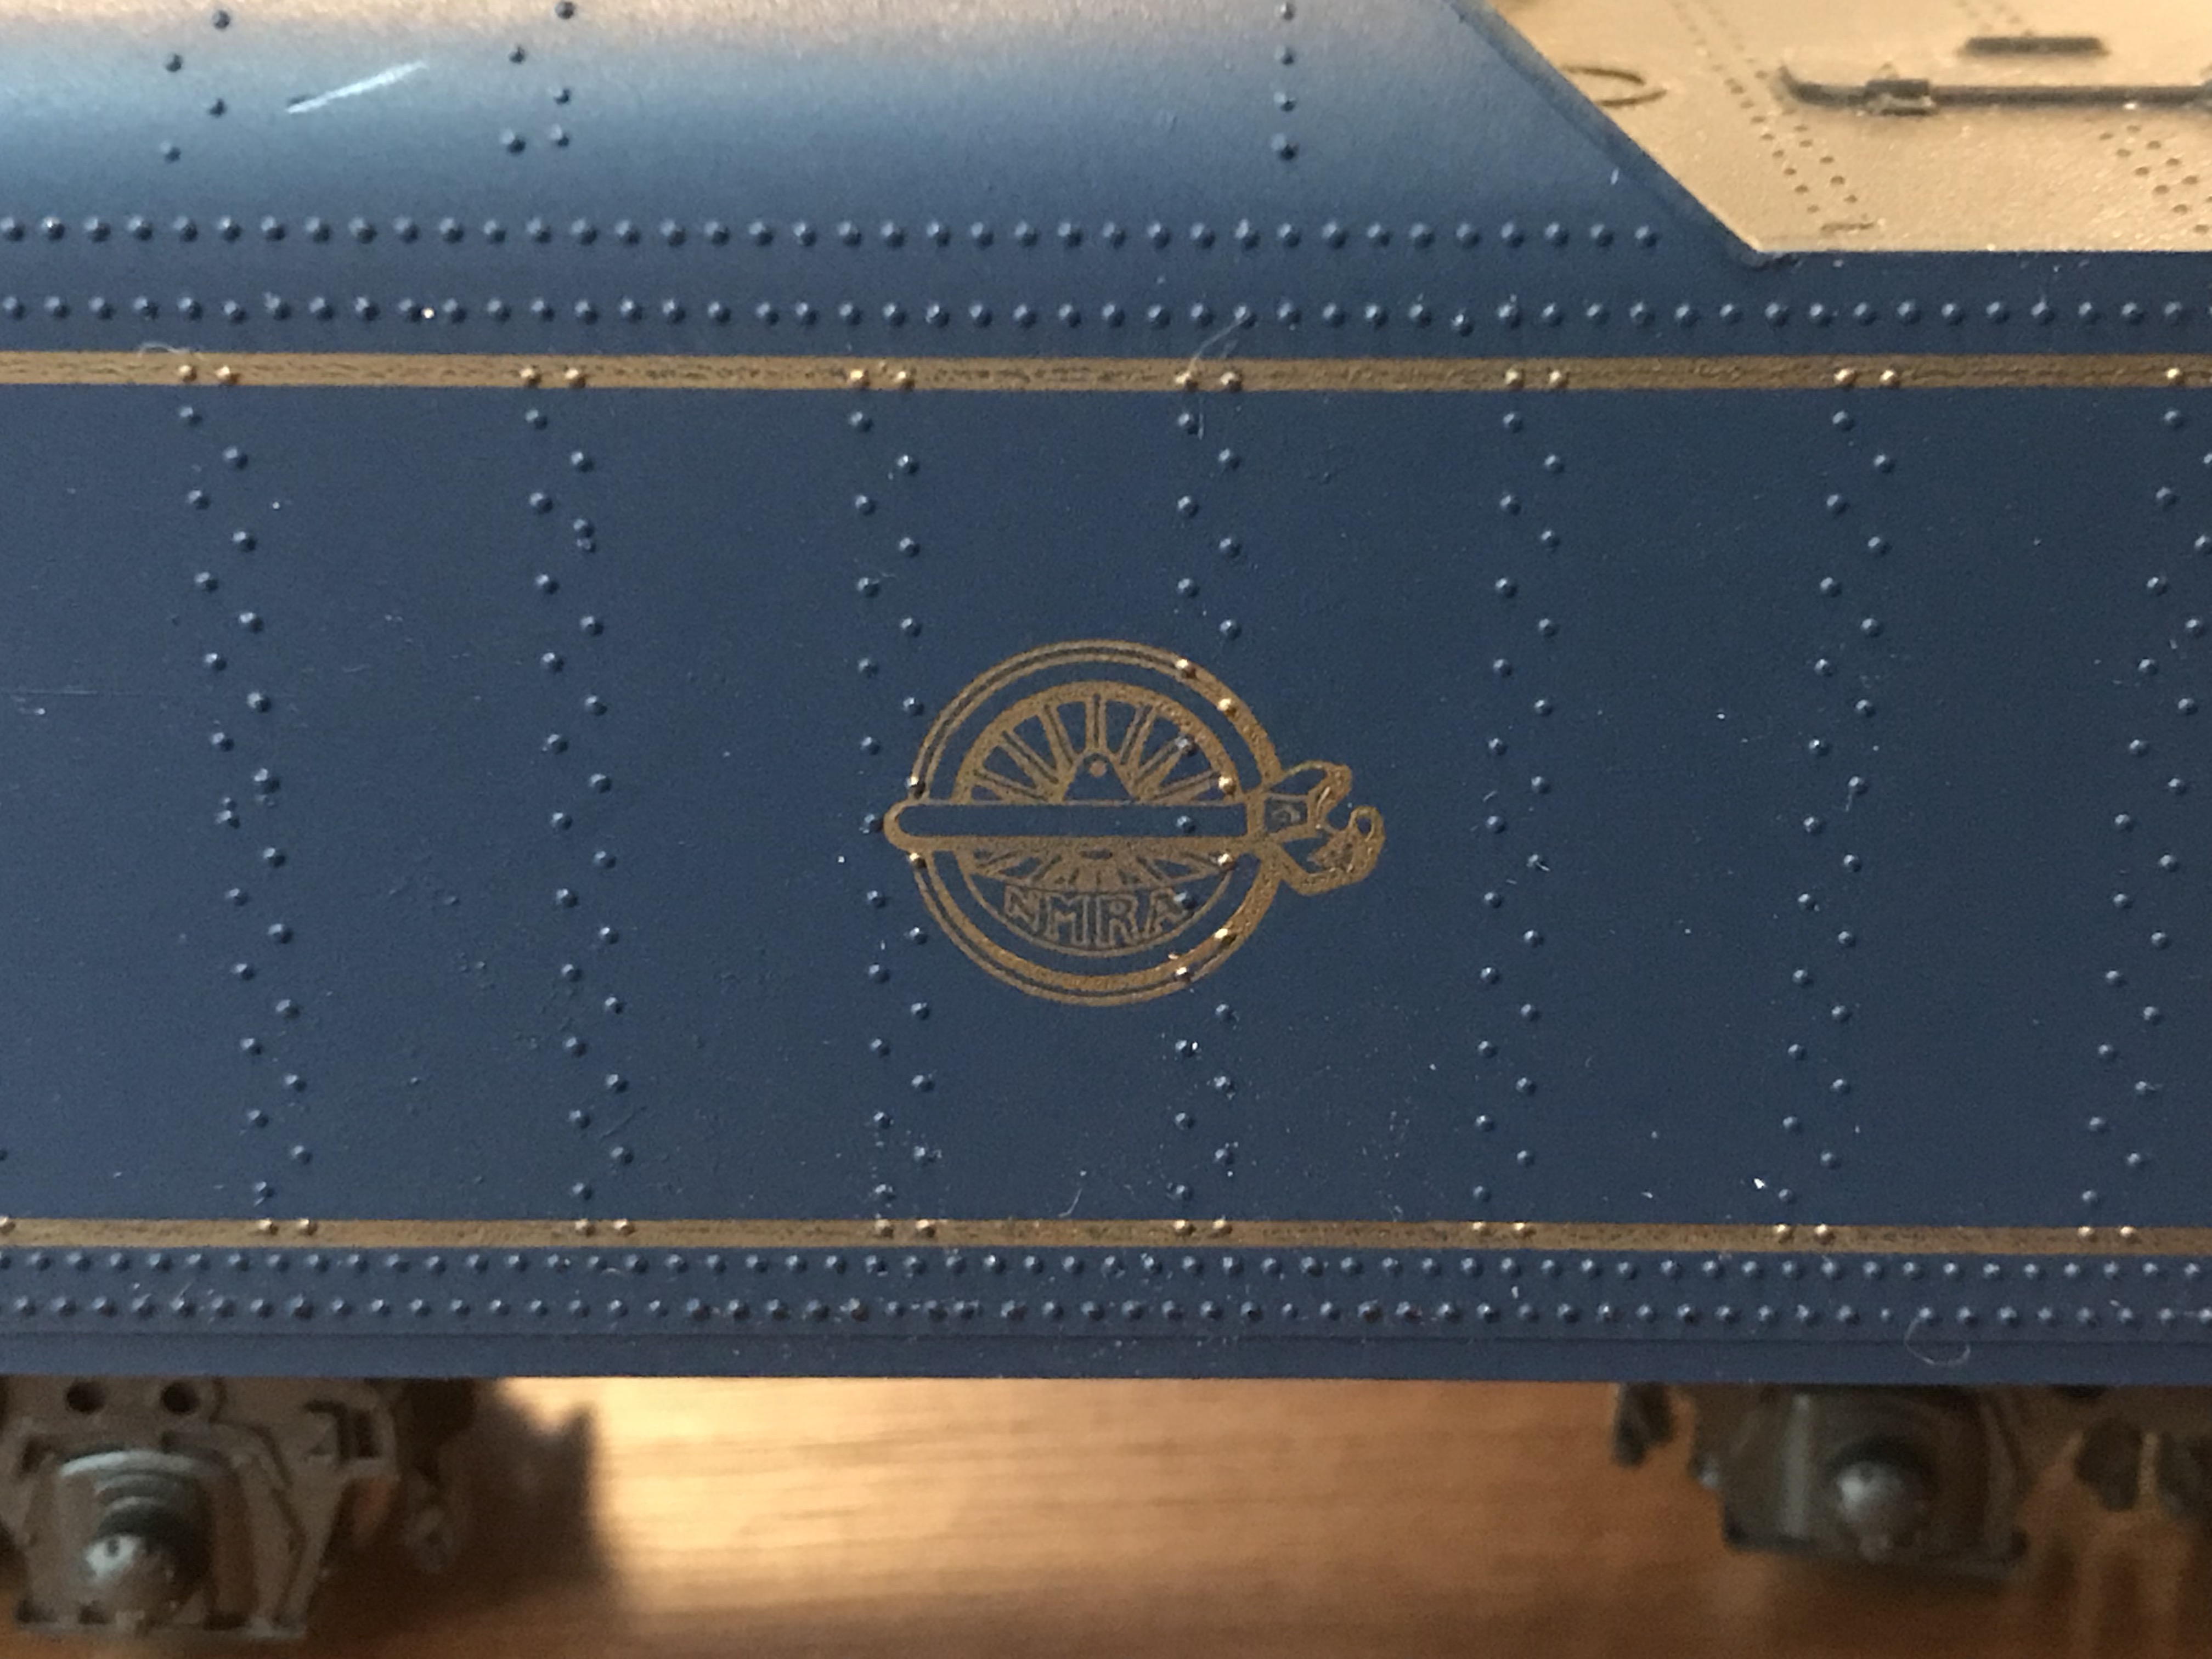
I was surprised to find an official Nation Model Railroad Association theme set of locomotive and five passenger cars.  Upon first glance, I thought the logo was that of the Baltimore & Ohio Railroad.

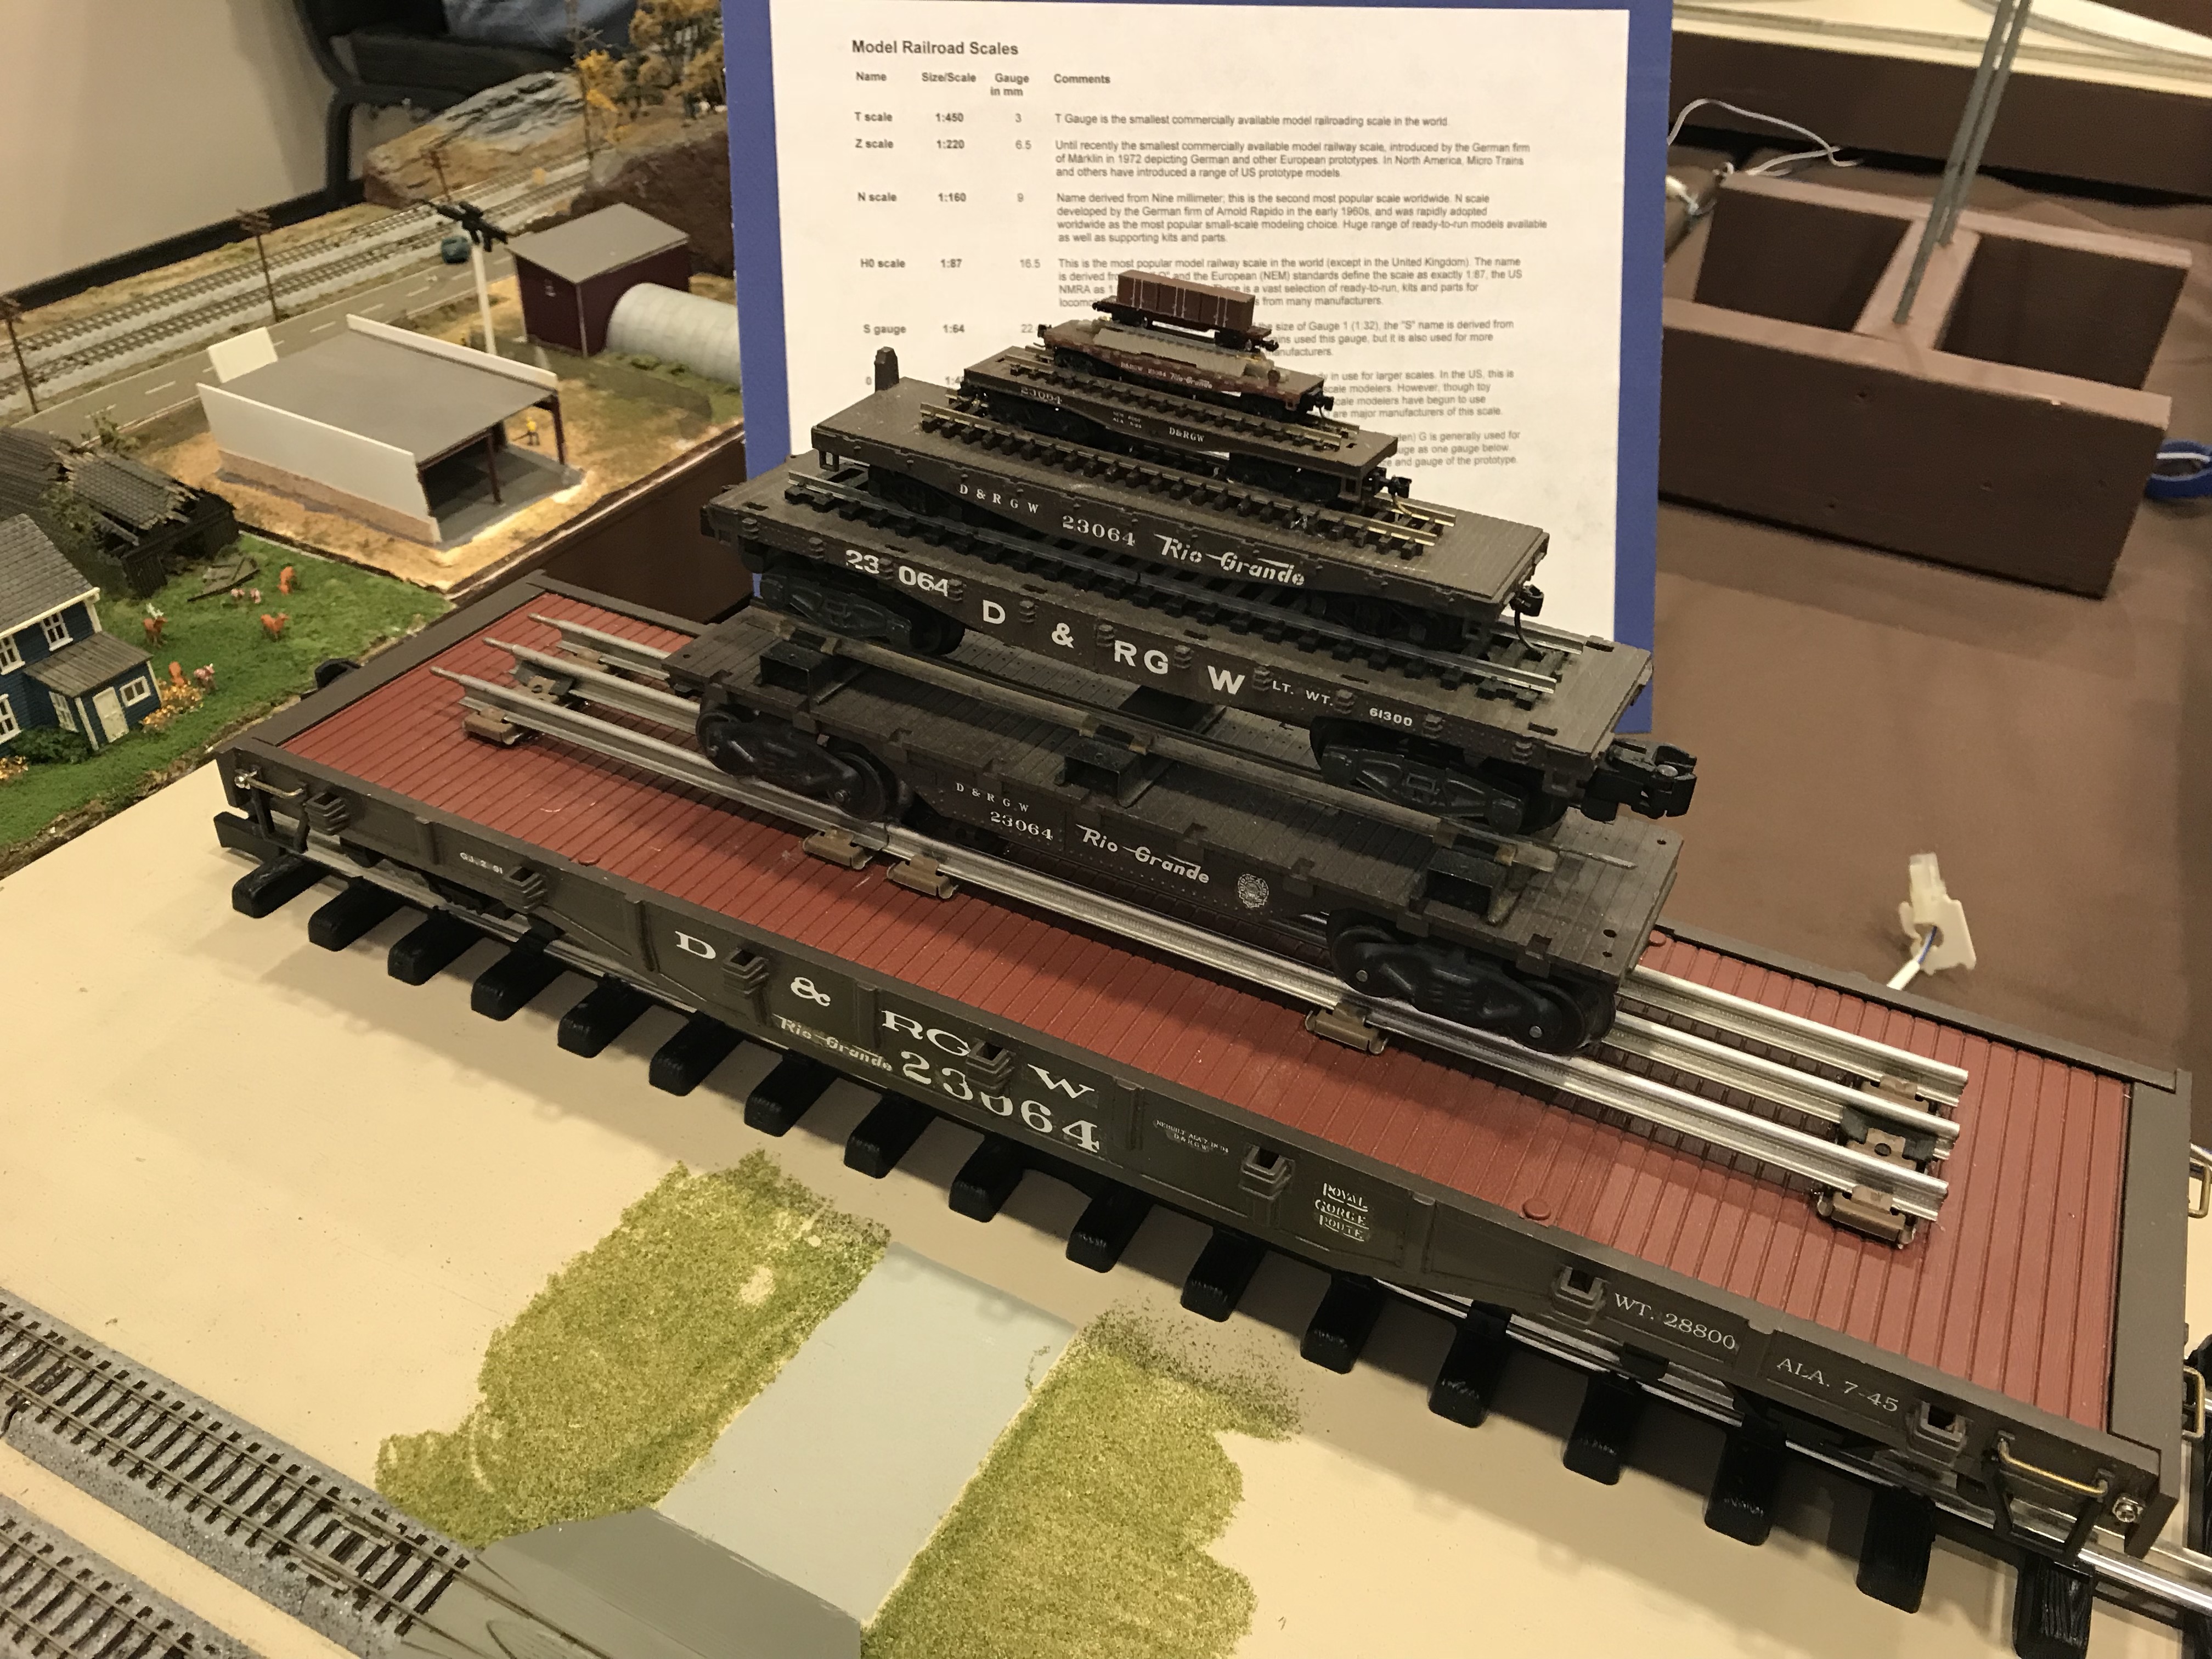
The following photo is of an excellent visual comparison of the different scales.  Bottom to top are:  G, O, S, HO, N, Z, and T.

Train wheels are big……fullsizeoutput_27a9


Lights! Camera! Action!


There are these things called cameras.  They can be installed on or in locomotives, flat bed cars, or whatever you want!  Lately, I have made a project of installing a long-distance capable drone camera into the cab of an HO Amtrak diesel and the boiler faceplate of a G Lionel Rail Scope steamer.  So far, I am very pleased with my work.

IMG_3161

I initially considered installing the camera in my Chessapeke and Ohio BL2 diesel, but there was not enough room.IMG_3158IMG_3157

The camera fit very well in the front of my Amtrak diesel.  It looks weird, as if the engine has a big nose, but it works very well.  I may paint over part of the camera lense encasing to make it blend and match the color scheme.IMG_3160Not in the photo is a makeshift wooden sprung bumper that I installed for the camera’s safety.  If this were to fall any distance and land face first, the camera would surely be ruined.  The bumper extends about an inch from the frontmost point of the engine shell.  I dismantled a couple of mechanical pensils and used their lead casings, springs, and a piece of basla wood as buffers.
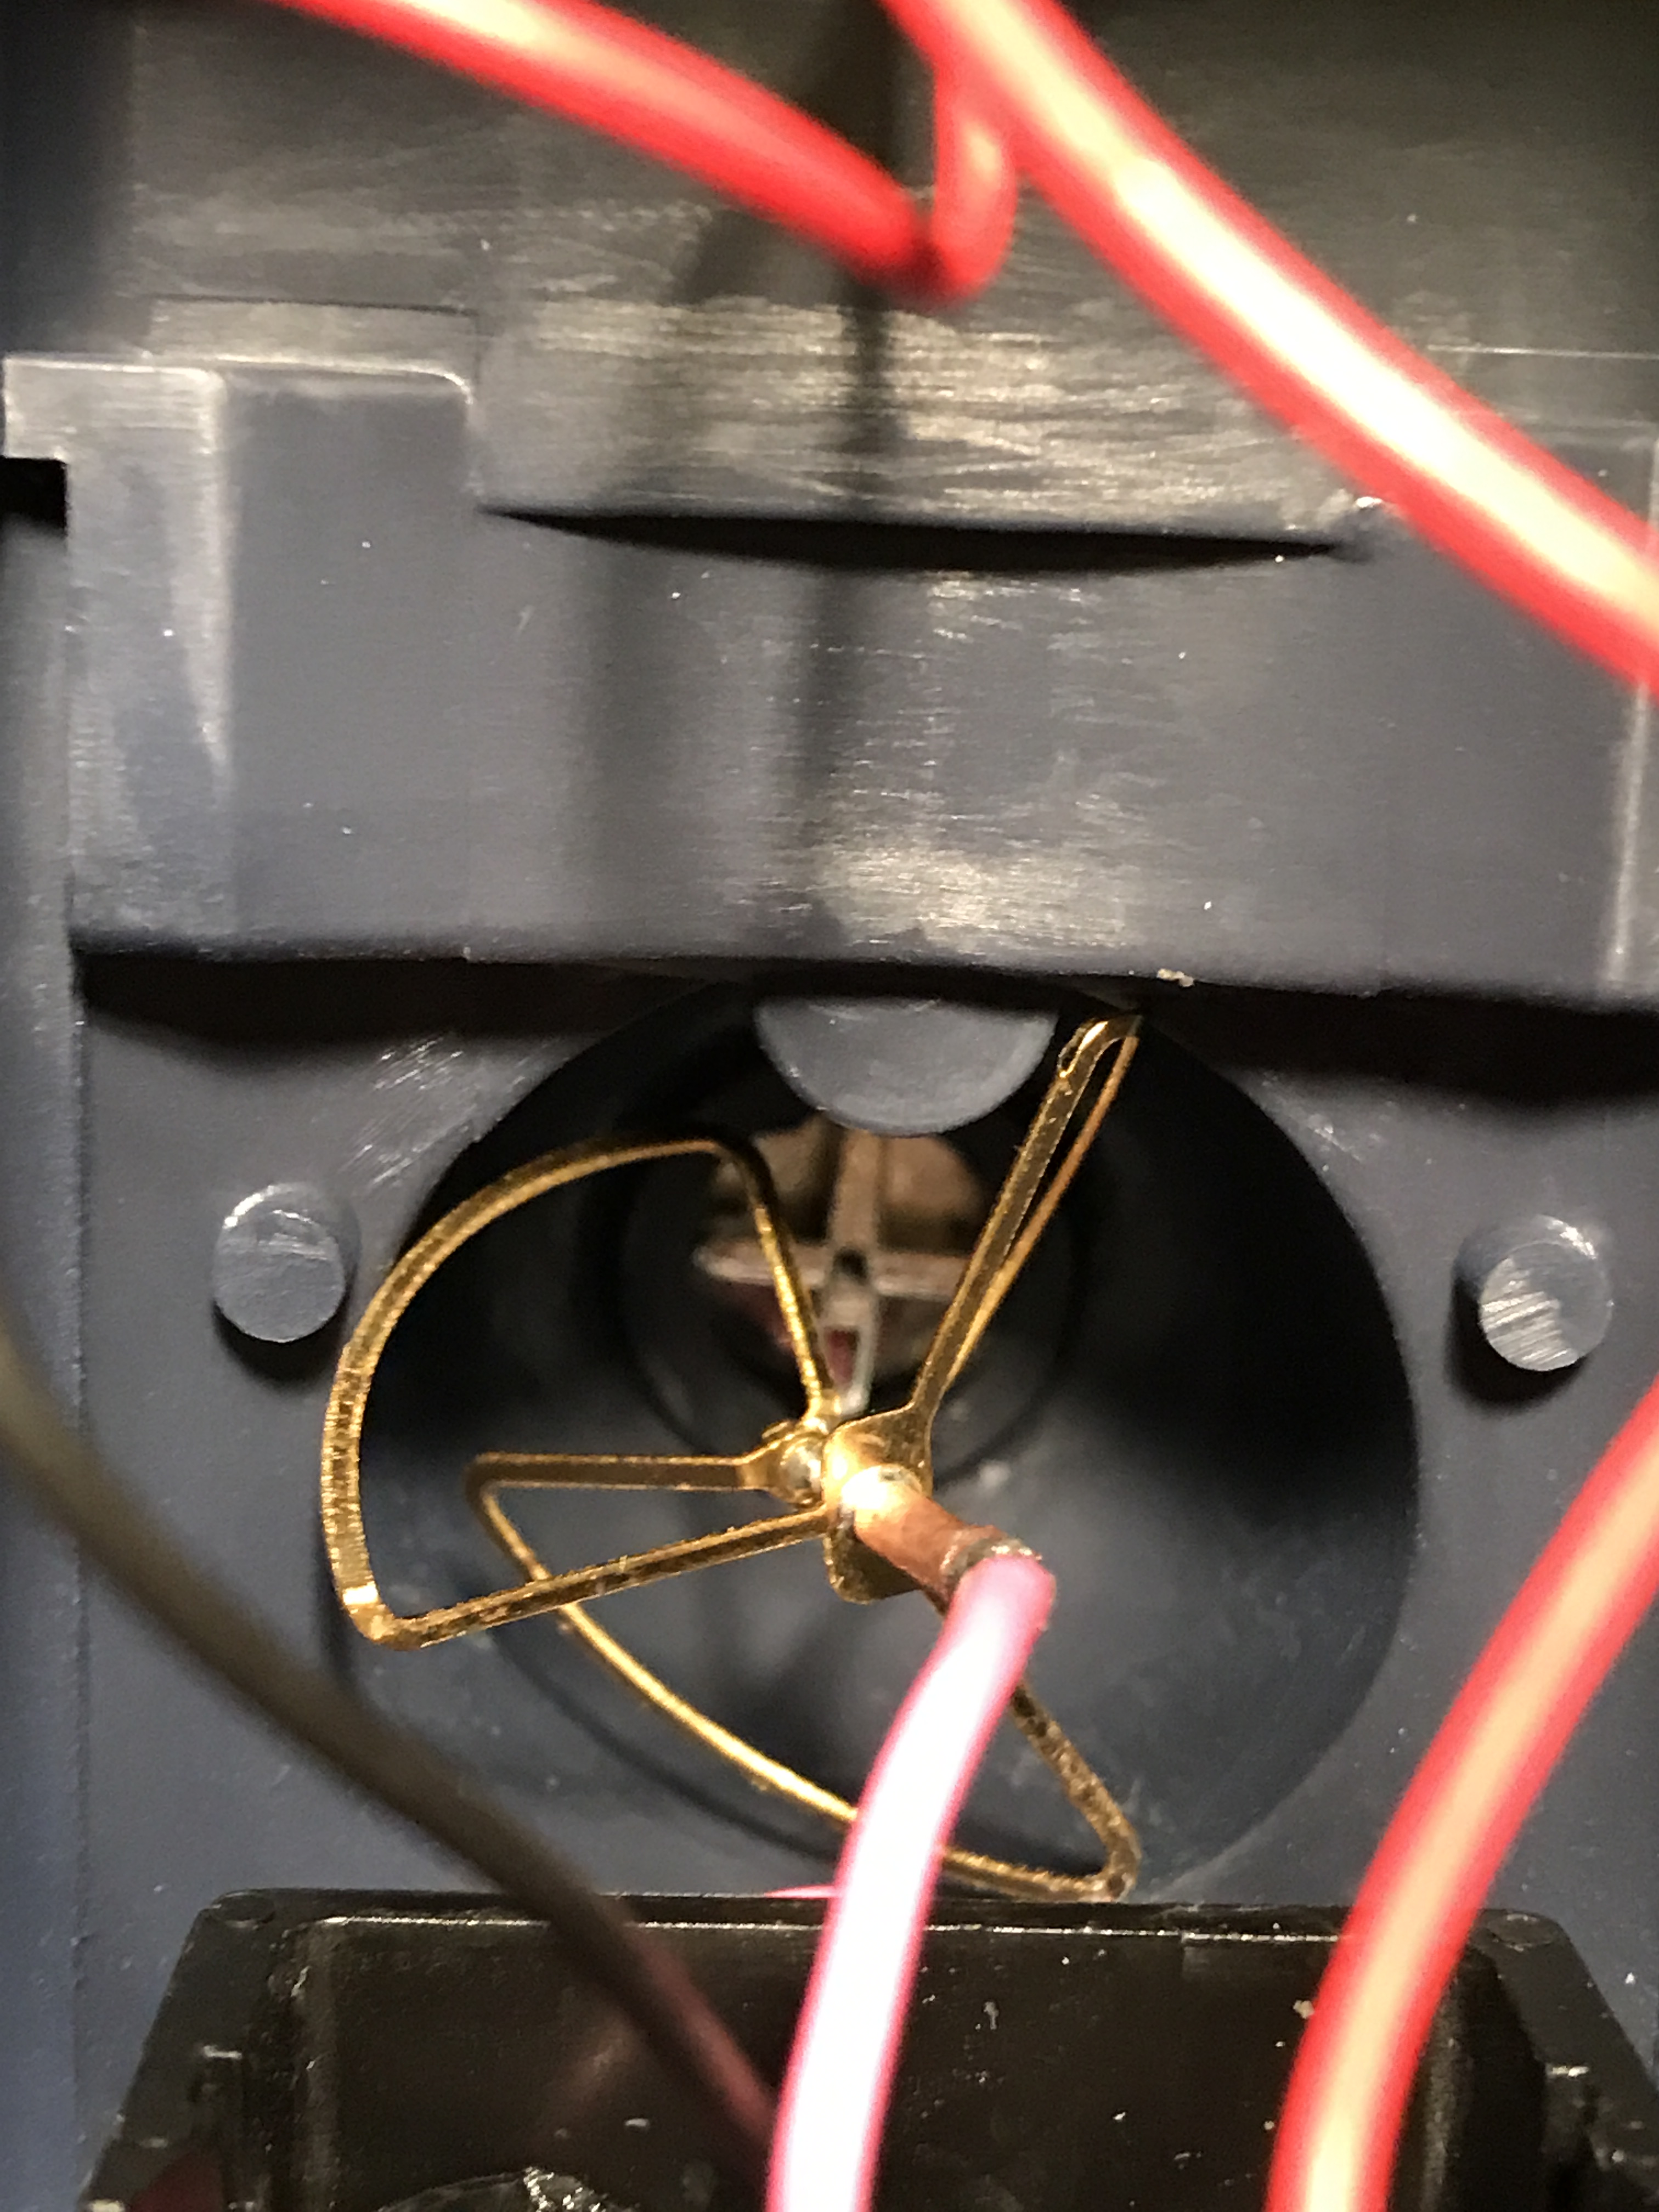
 

IMG_3156It just happened that the propogating antenna was the perfect size to fit in the steam locomotive’s dome.  I was going to run wiring through the cab, but this saves on wiring going every which way.
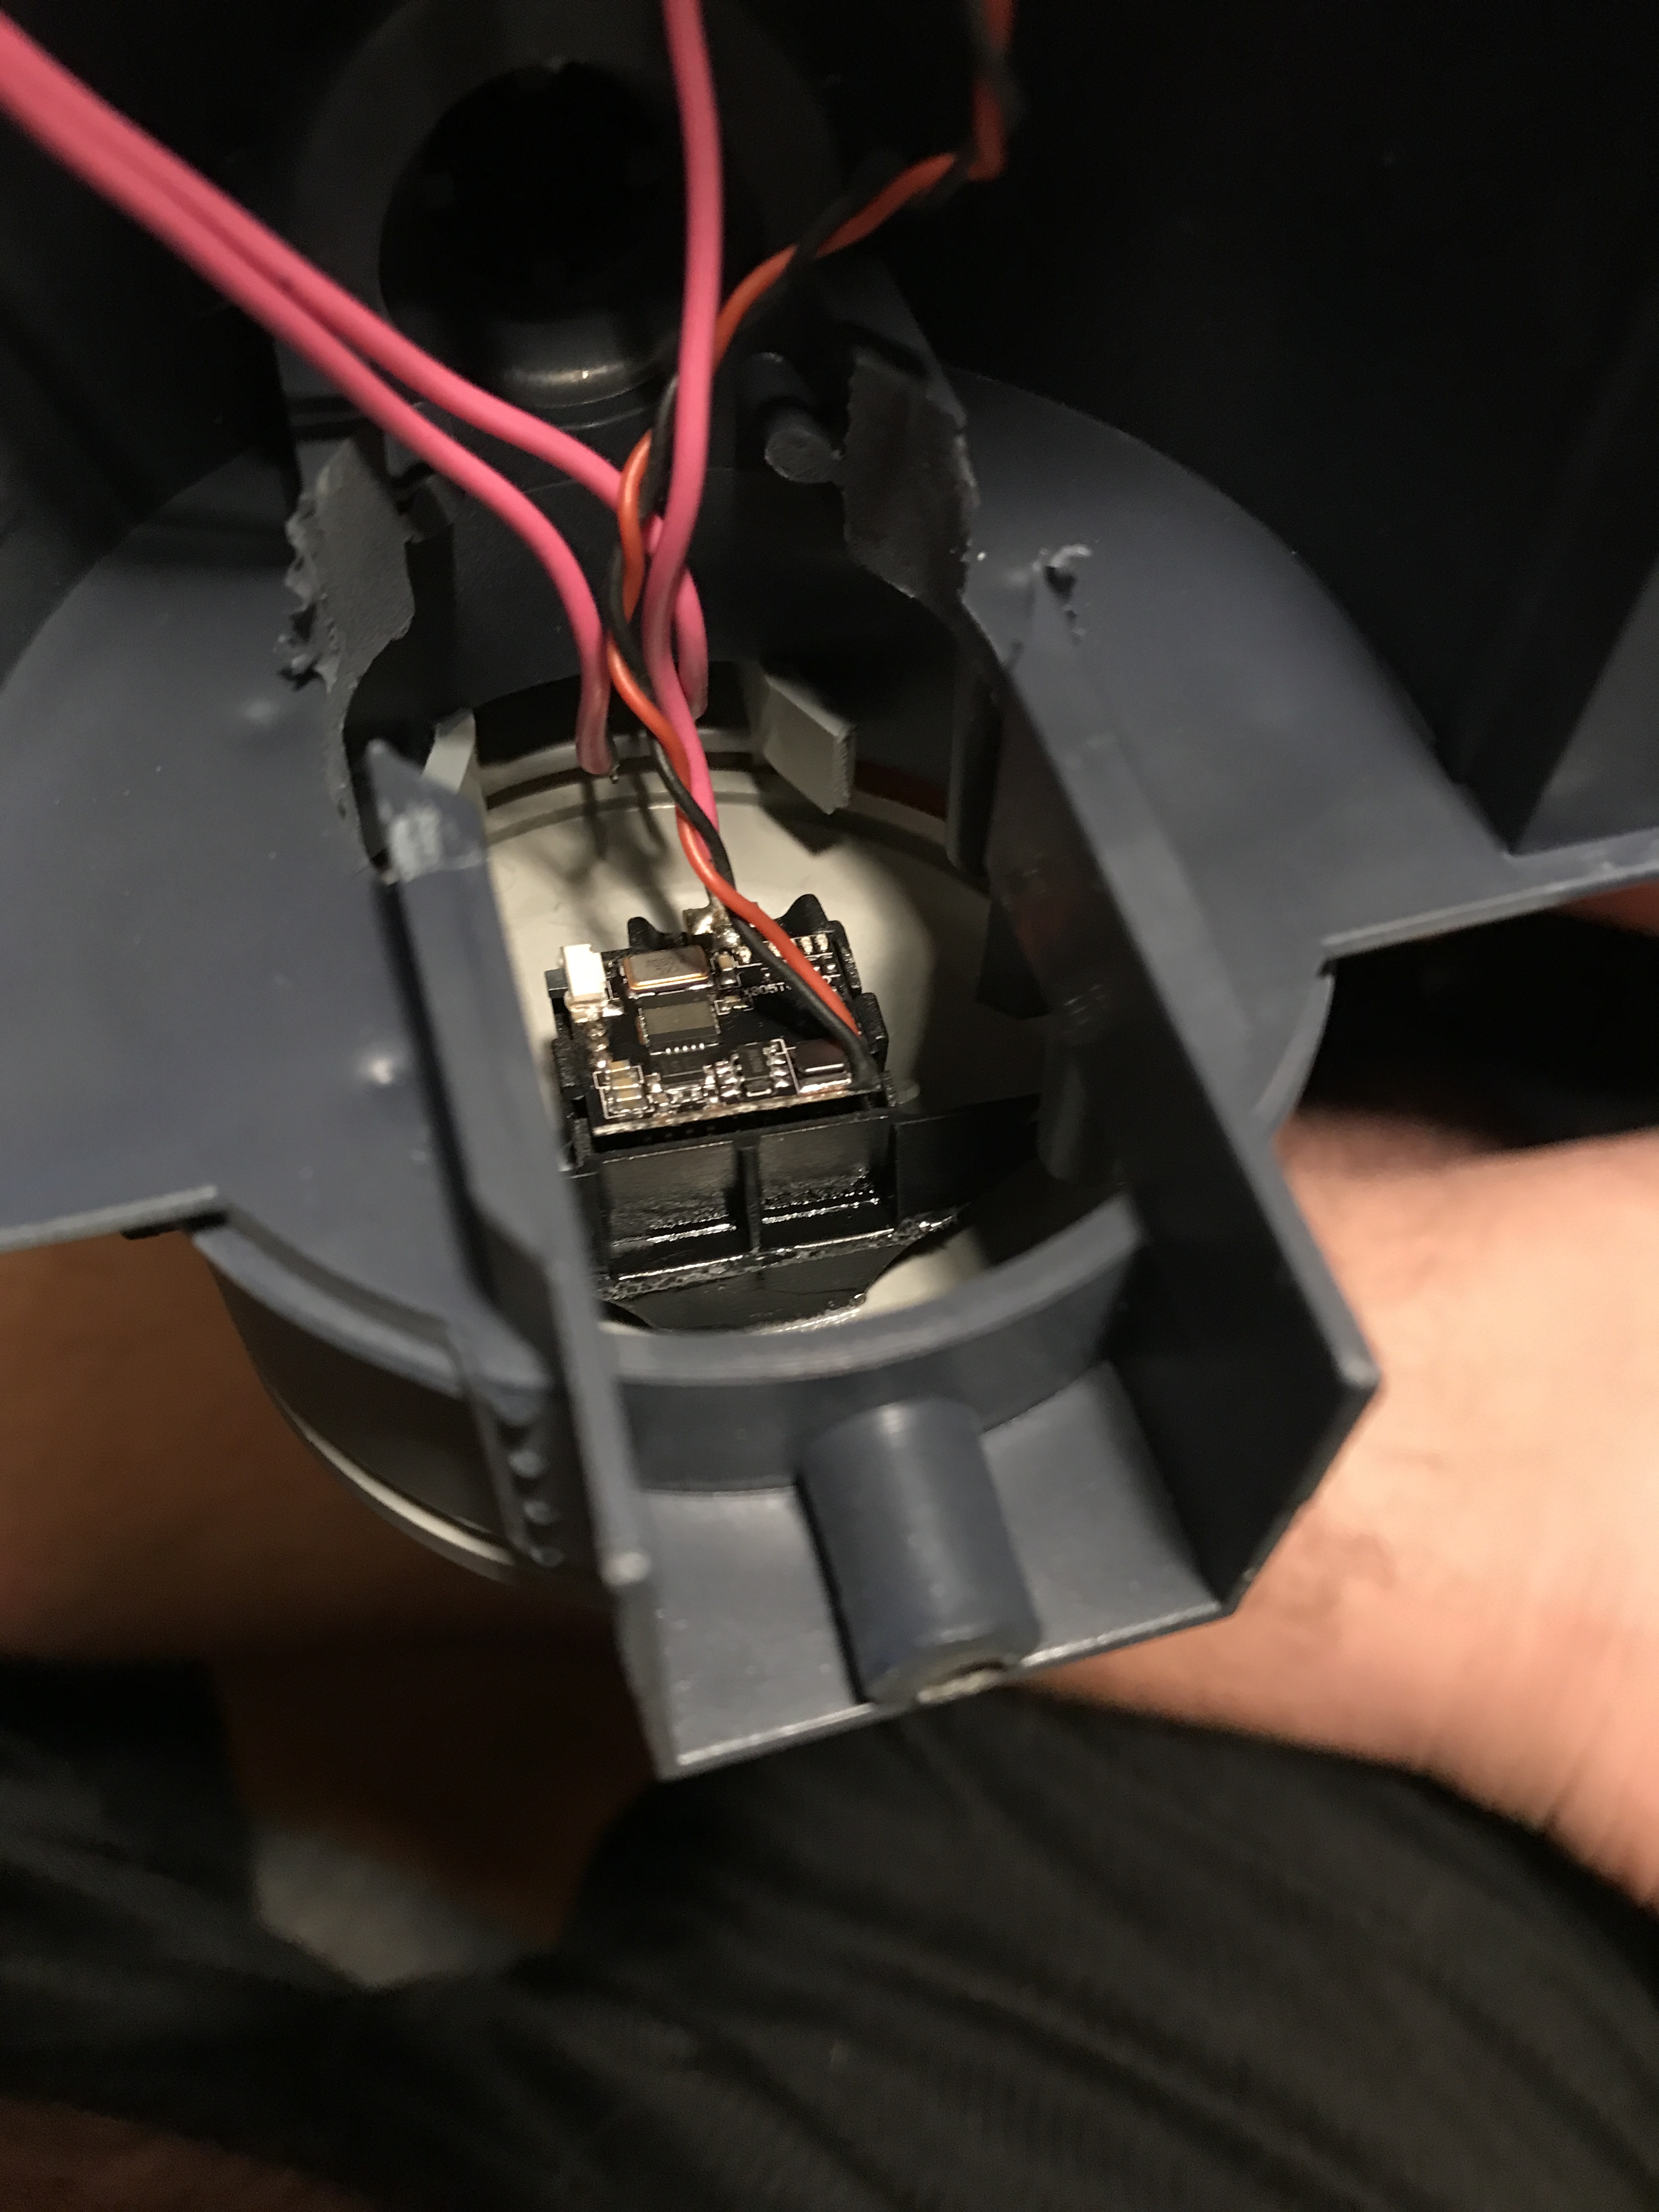
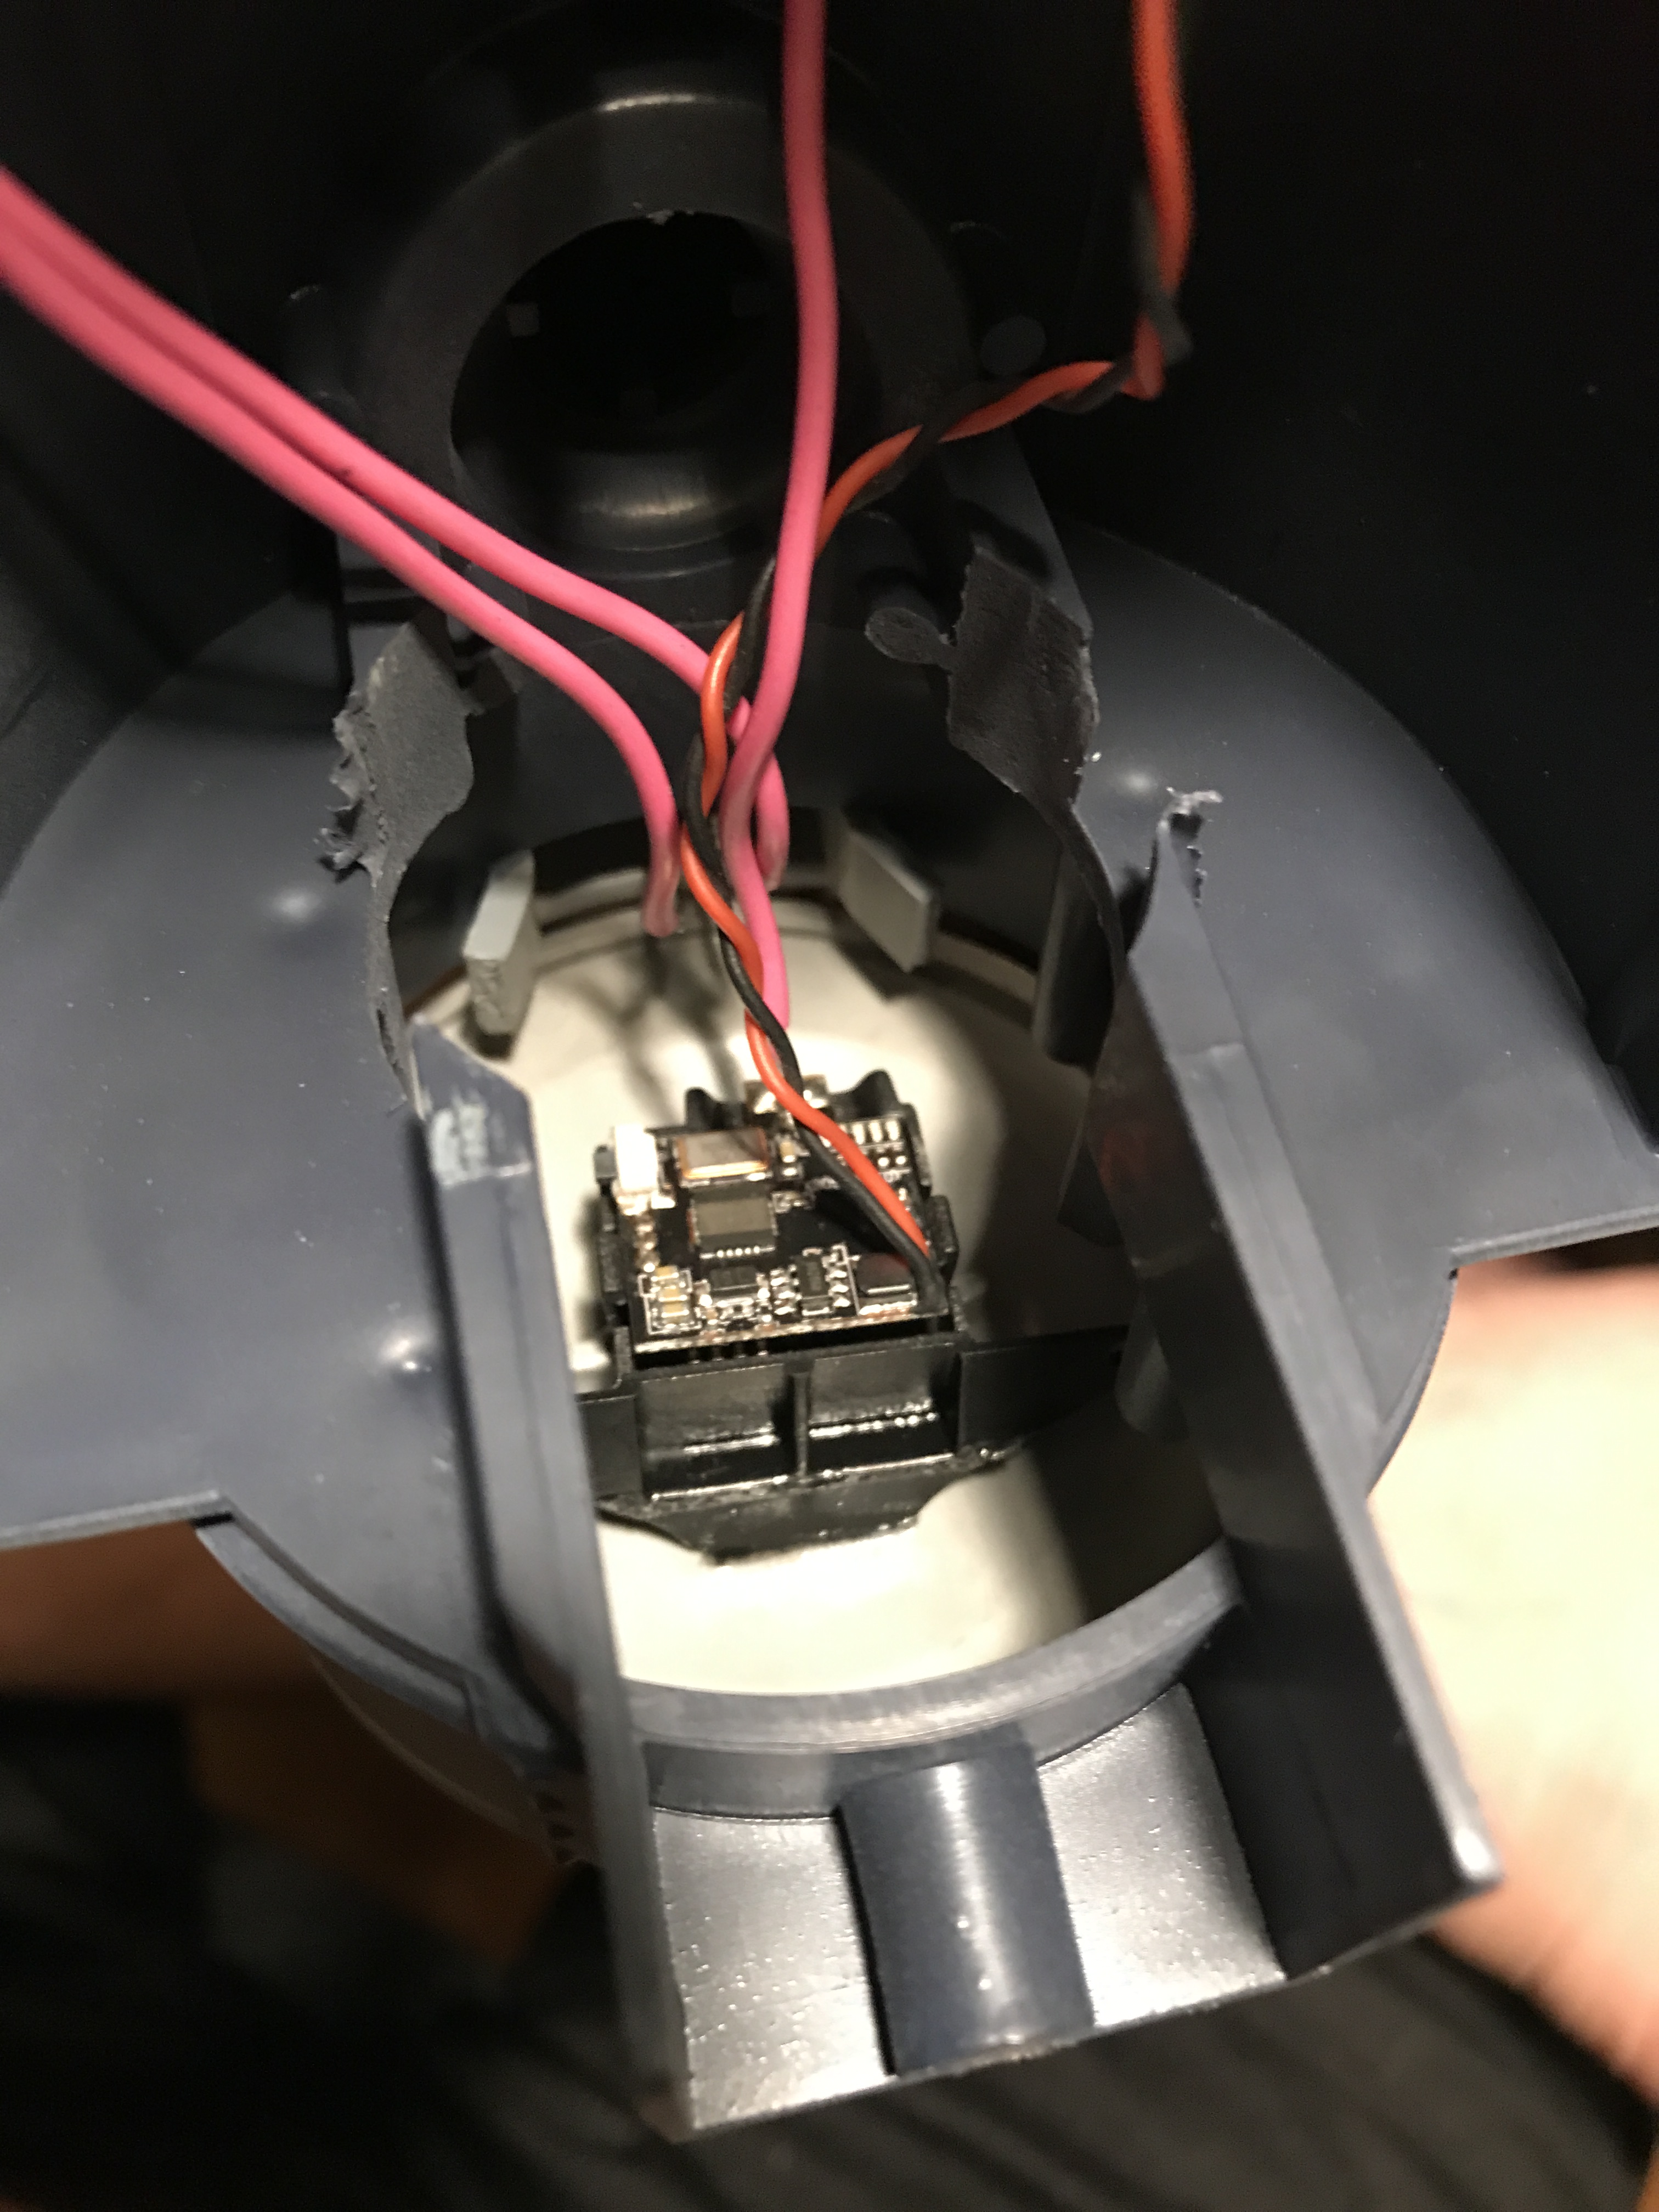
 

IMG_3155IMG_3154IMG_3153IMG_3152

I was super pleased with how similarly sized the old and new cameras were.  The new one took some form fitting to fit the frame of the faceplate, but it came together very nicely.  I am still working on extending the camera power supply wiring back to the cab.  I am also toying with varius LED bulbs in and around the locomotive.  Who knows?  I may even install a smoke unit and sound decoder.  The more I think about it, the more I realize that I am going to have one souped up little tank engine.

Don’t mind my hairy stomach.  It’s Texas.  It’s hot, and a singular window air conditioning unit doesn’t always cut it when the room is attached to an oven of a garage.


One very new development in my train goings-on is my parting of ways from HobbyTown USA.  I am now my own boss and run my own model train repair business!  It is appropriately named “Livingston Lines” to match this blog.  I am very excited to start this new endeavor, and I look forward to serving my model railroading community!  My Facebook business page is searchable via @livingstonlines, and my business e-mail address is livingstonlines@gmail.com.

Good change is afoot!!!

N: Nine Millimeters

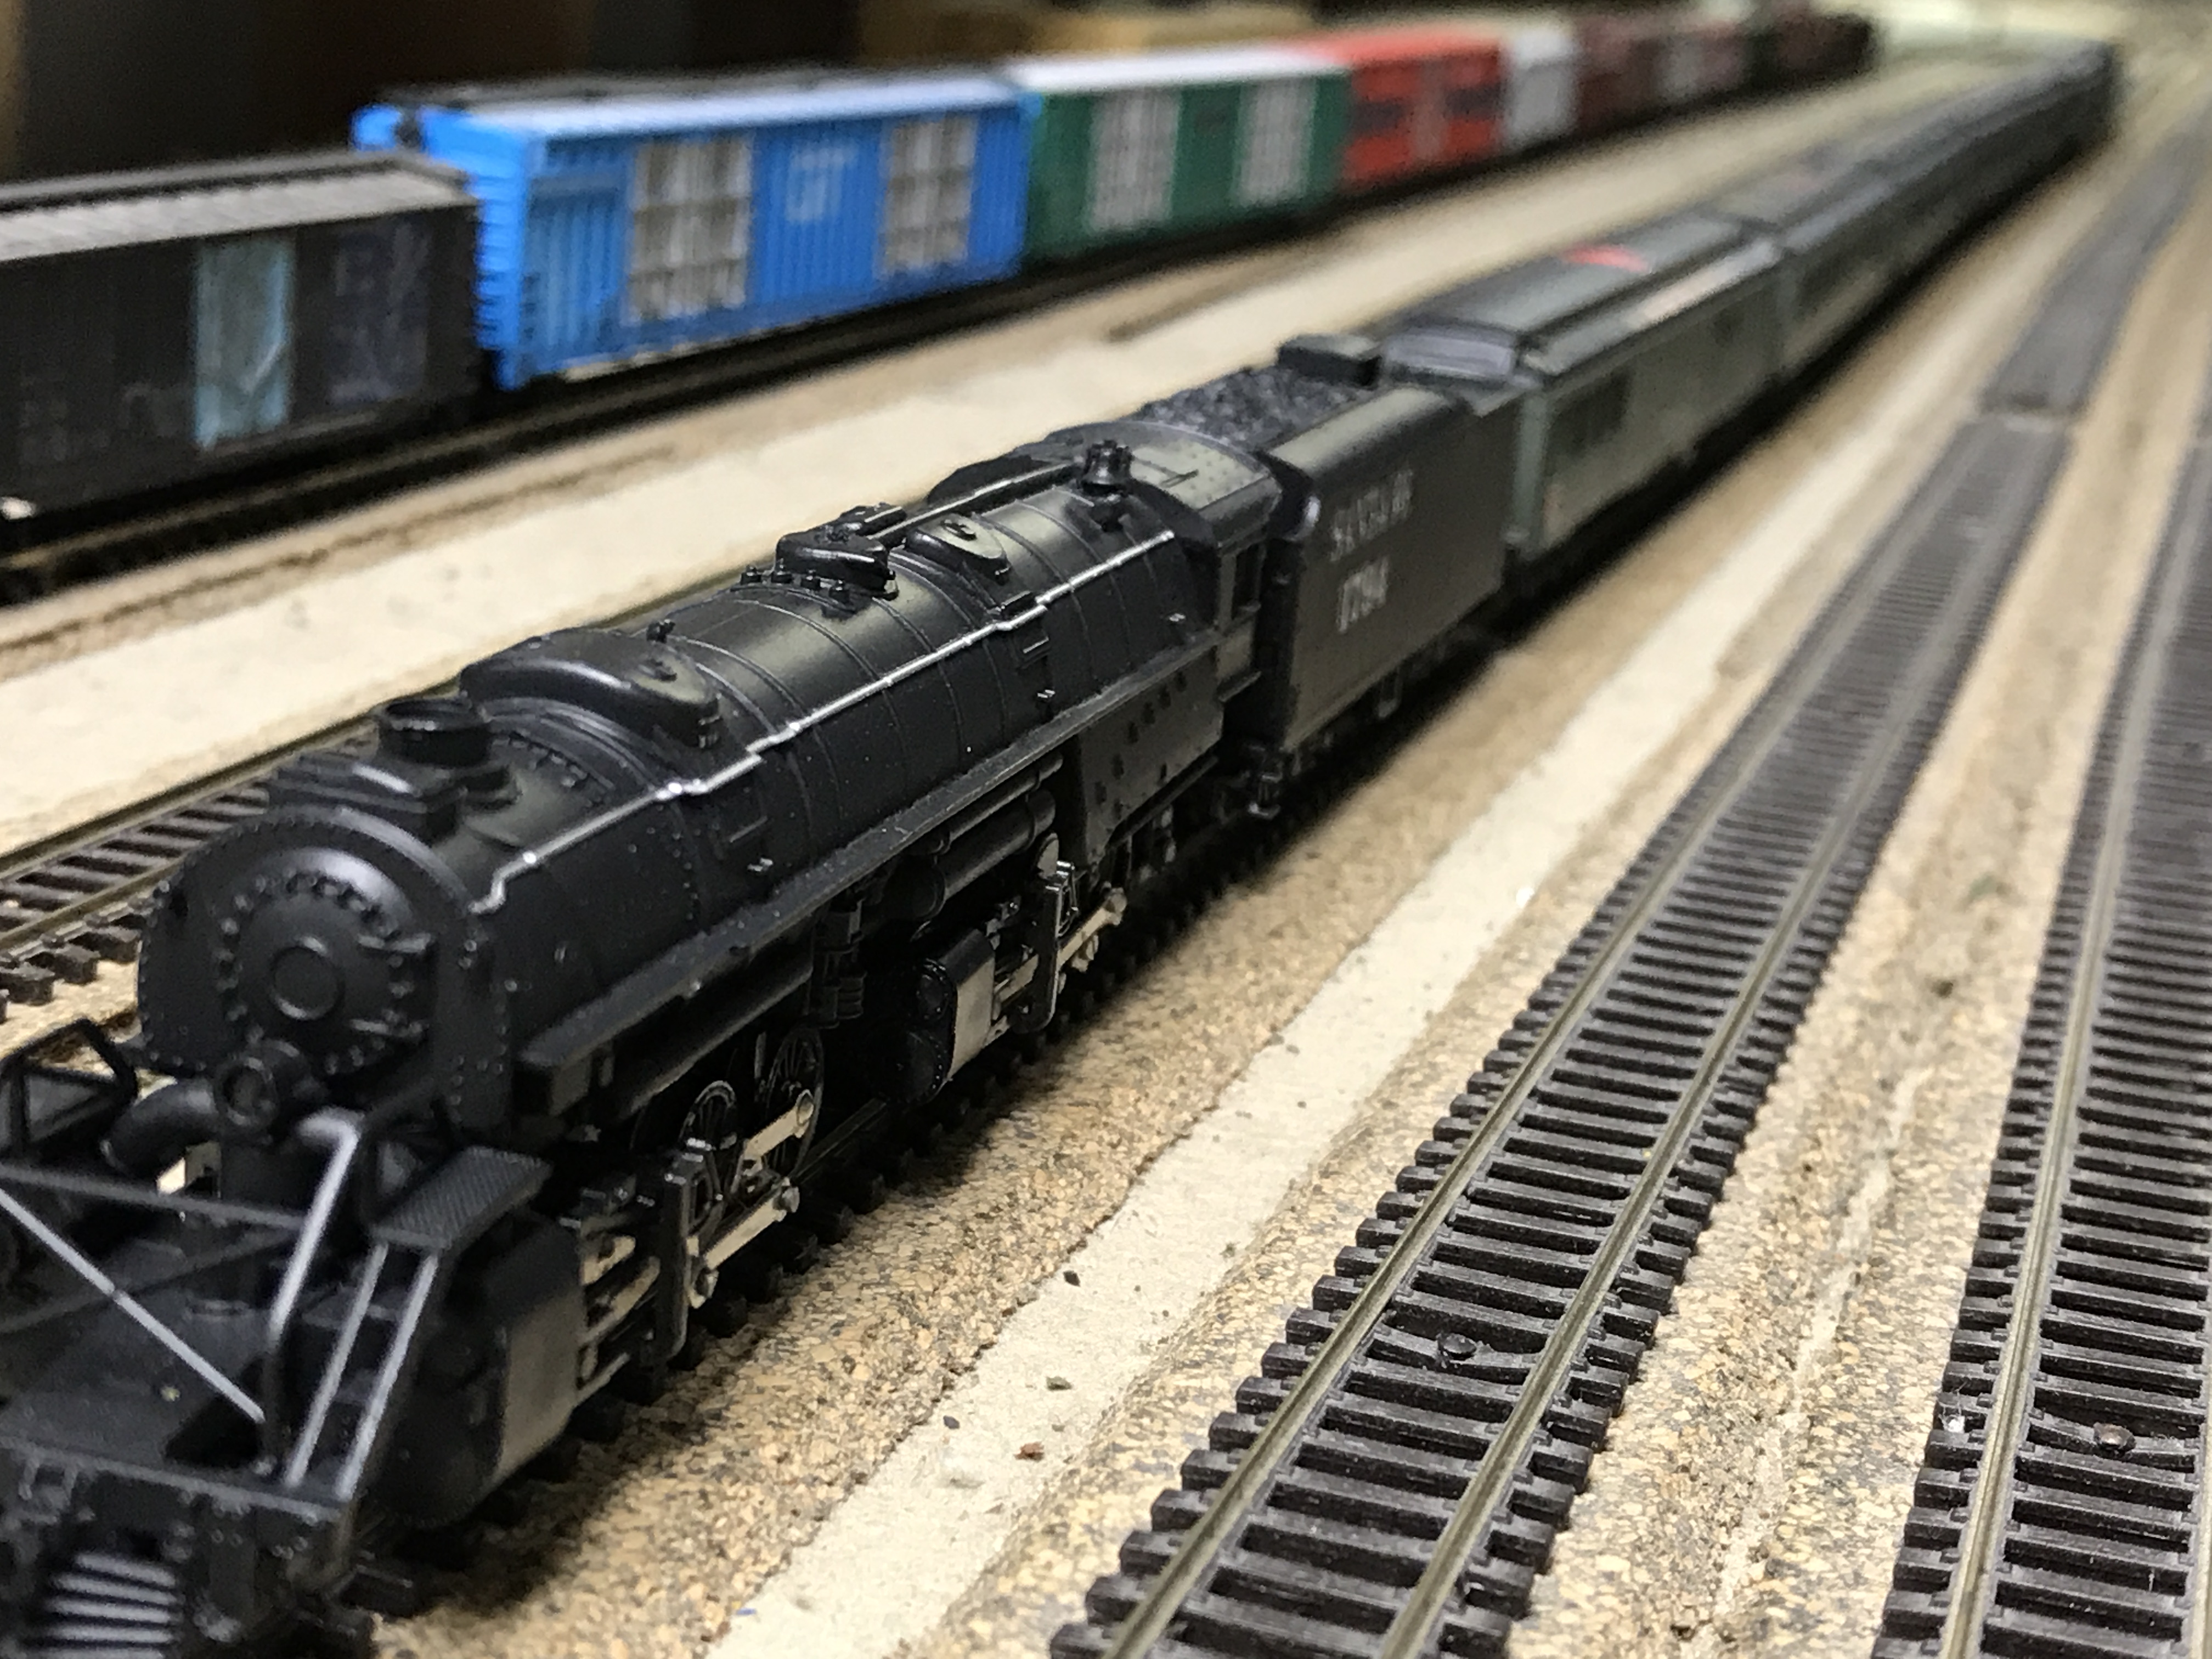
An N scale customer told me about a railroading club in Irving, TX, and I just had to check it out!  The North Texas Ntrak Dallas club has a two-part layout.  One loop is designed to run DC locomotives, and the other is designed to run DCC locomotives.  I brought a U.S. Army hospital steam set with a 4-6-2 (Prairie?), a Santa Fe 2-8-8-2 Y6B Mallet, and an Alco PA/PB diesel set.  I remembered the Army engine had problems and wasn’t sure if it would run, so I brought my Y6B as a backup.  I am glad I did.  The Mallet took a little nudging and encouraging, but it slowly woke up and took to the rails beautifully!  Even though the Army engine did not run, I still enjoyed coupling its cars behind the Mallet.  I didn’t get my Alcos out because I was limited on time.

I like how the NTNDC’s control system works.  It uses radio controls for each line or set of two lines of track for speed and direction control.  The layout is continually being built and redesigned.  There is a whole section of tunnel that is still undecorated, bare plaster.

My taste for the different scales is still changing and growing, but visiting the NTNDC layout has certainly bolstered my enjoyment of N scale.  While I am still less tolerant of the three-rail set-up, I whole-heartedly LOVE the Lionel Big Boy locomotive that came to the store for appraisal.  It has synchronized double whistles, lights, operating sounds, and it is in beautiful condition!  I am very tempted to make an offer for it if the customer declines the store’s offer.  Three-rail or not, I have a very soft spot in my heart for articulated steam.  As of today, I see decision between the Big Boy and a contrabass bugle that I want for marching performances.  I am a tubist, and I have my local LGBTI Pride celebration parade coming up in a month.

Below is a video of the Mallet.


Below is a myriad of photos.  Most are from the store, but the last few are of the NTNDC layout.

The next two photos are of an S scale diesel engine that ran across the workbench.  I learned early on that it is always a good idea to take photos of wiring if I think I might have to undo more than a few at once.  It is also nice to have photos of how everything goes back into place.  Of all the scales of engines and cars on which I have worked, S scale engines–be they steam or diesel–have the most wiring and removable parts.  They sometimes have lots of gears, rods, and shafts.

In one steam locomotive, the gear set operated the driving wheels and the puffing mechanism for the smoke unit.  The engine had been in storage, presumably exposed to atmospheric and temperature change, and many of the parts were badly corroded.  The main drive shaft was basically rusted to it pinion and frame.  It took much hammer tapping, but I finally knocked and wiggled things loose.  I soaked the old parts in a mixture of electronics cleaner spray and tile floor cleaner to get rid of as much corrosion as possible before taking my rotary tool and a wire brush to everything.  After everything was cleaned, oiled, and greased, the engine ran magnificently.  I cleaned every other aspect of the engine before finding the corroded gear, and it turned out that that singular gear was the only thing that kept the engine from moving.  It was a very trying job, but it was very rewarding when I saw how smoothly the engine ran in normal condition.IMG_2921

IMG_2920

I took this when I rewarded myself for climbing about twelve feet in the air, servicing an elevated G scale set.  I was too lazy to walk to my Pathfinder and deposit the car, so I just took it to Subway with me.IMG_2919

IMG_2913IMG_2910

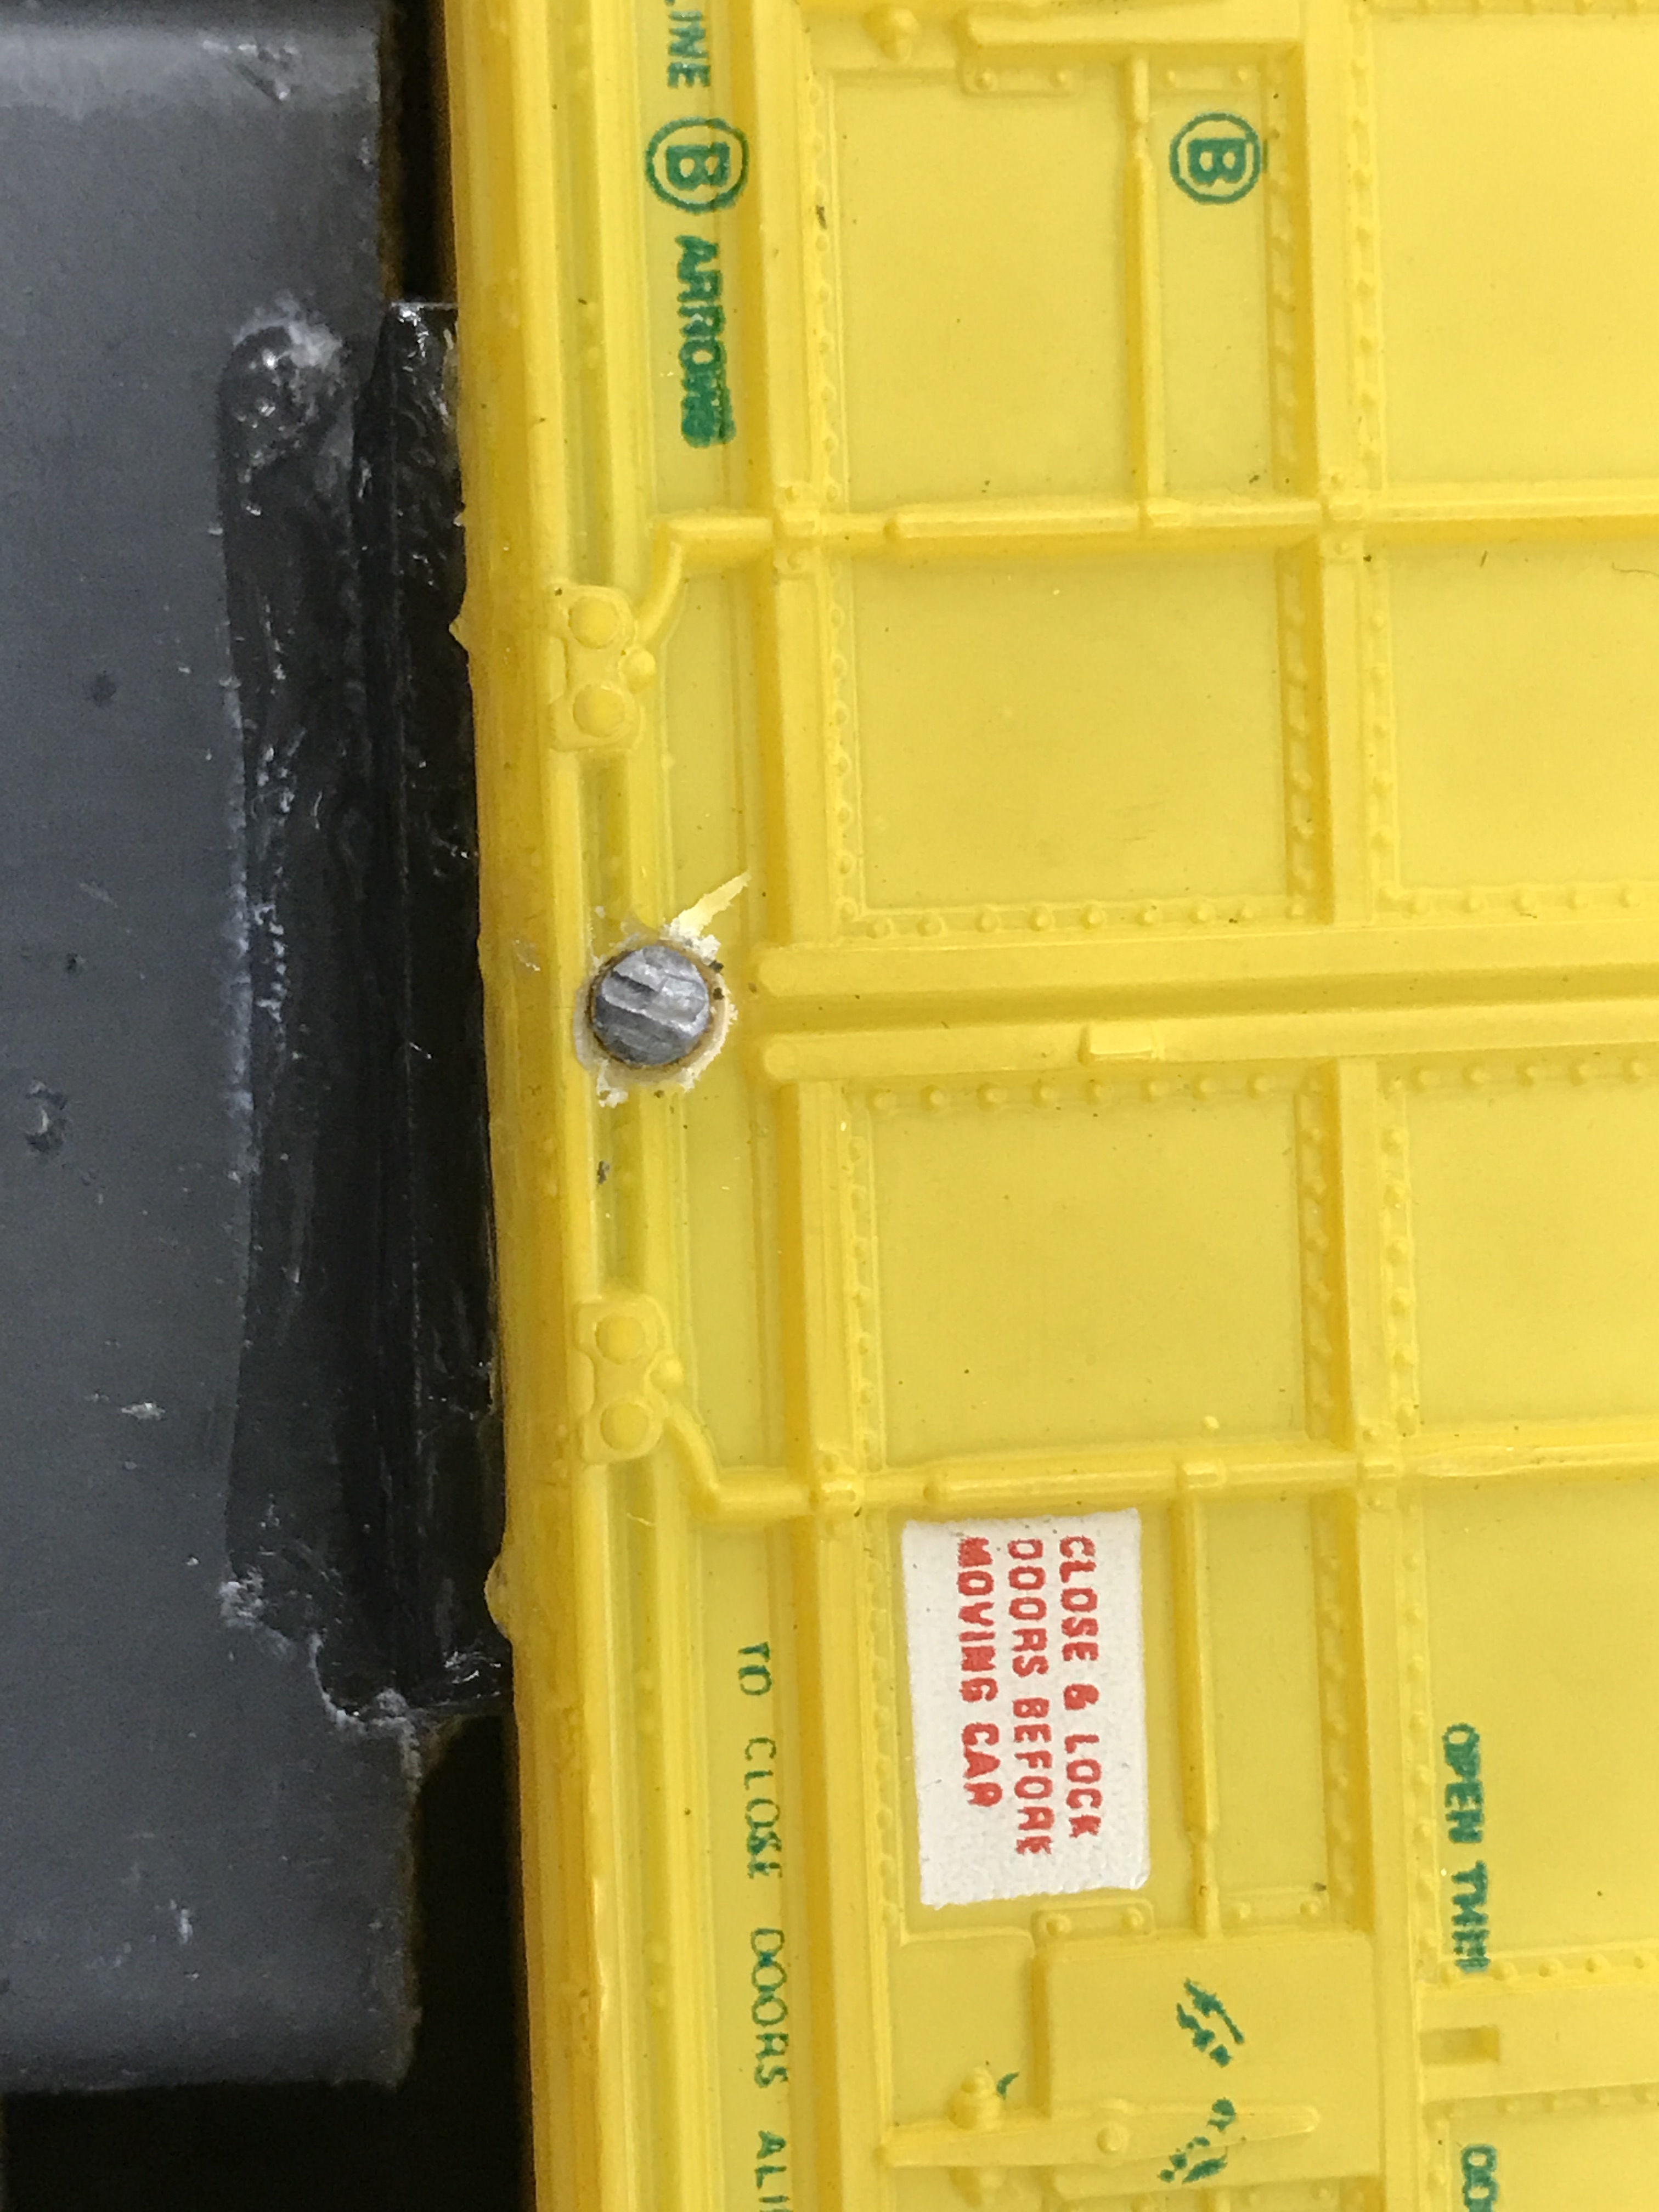
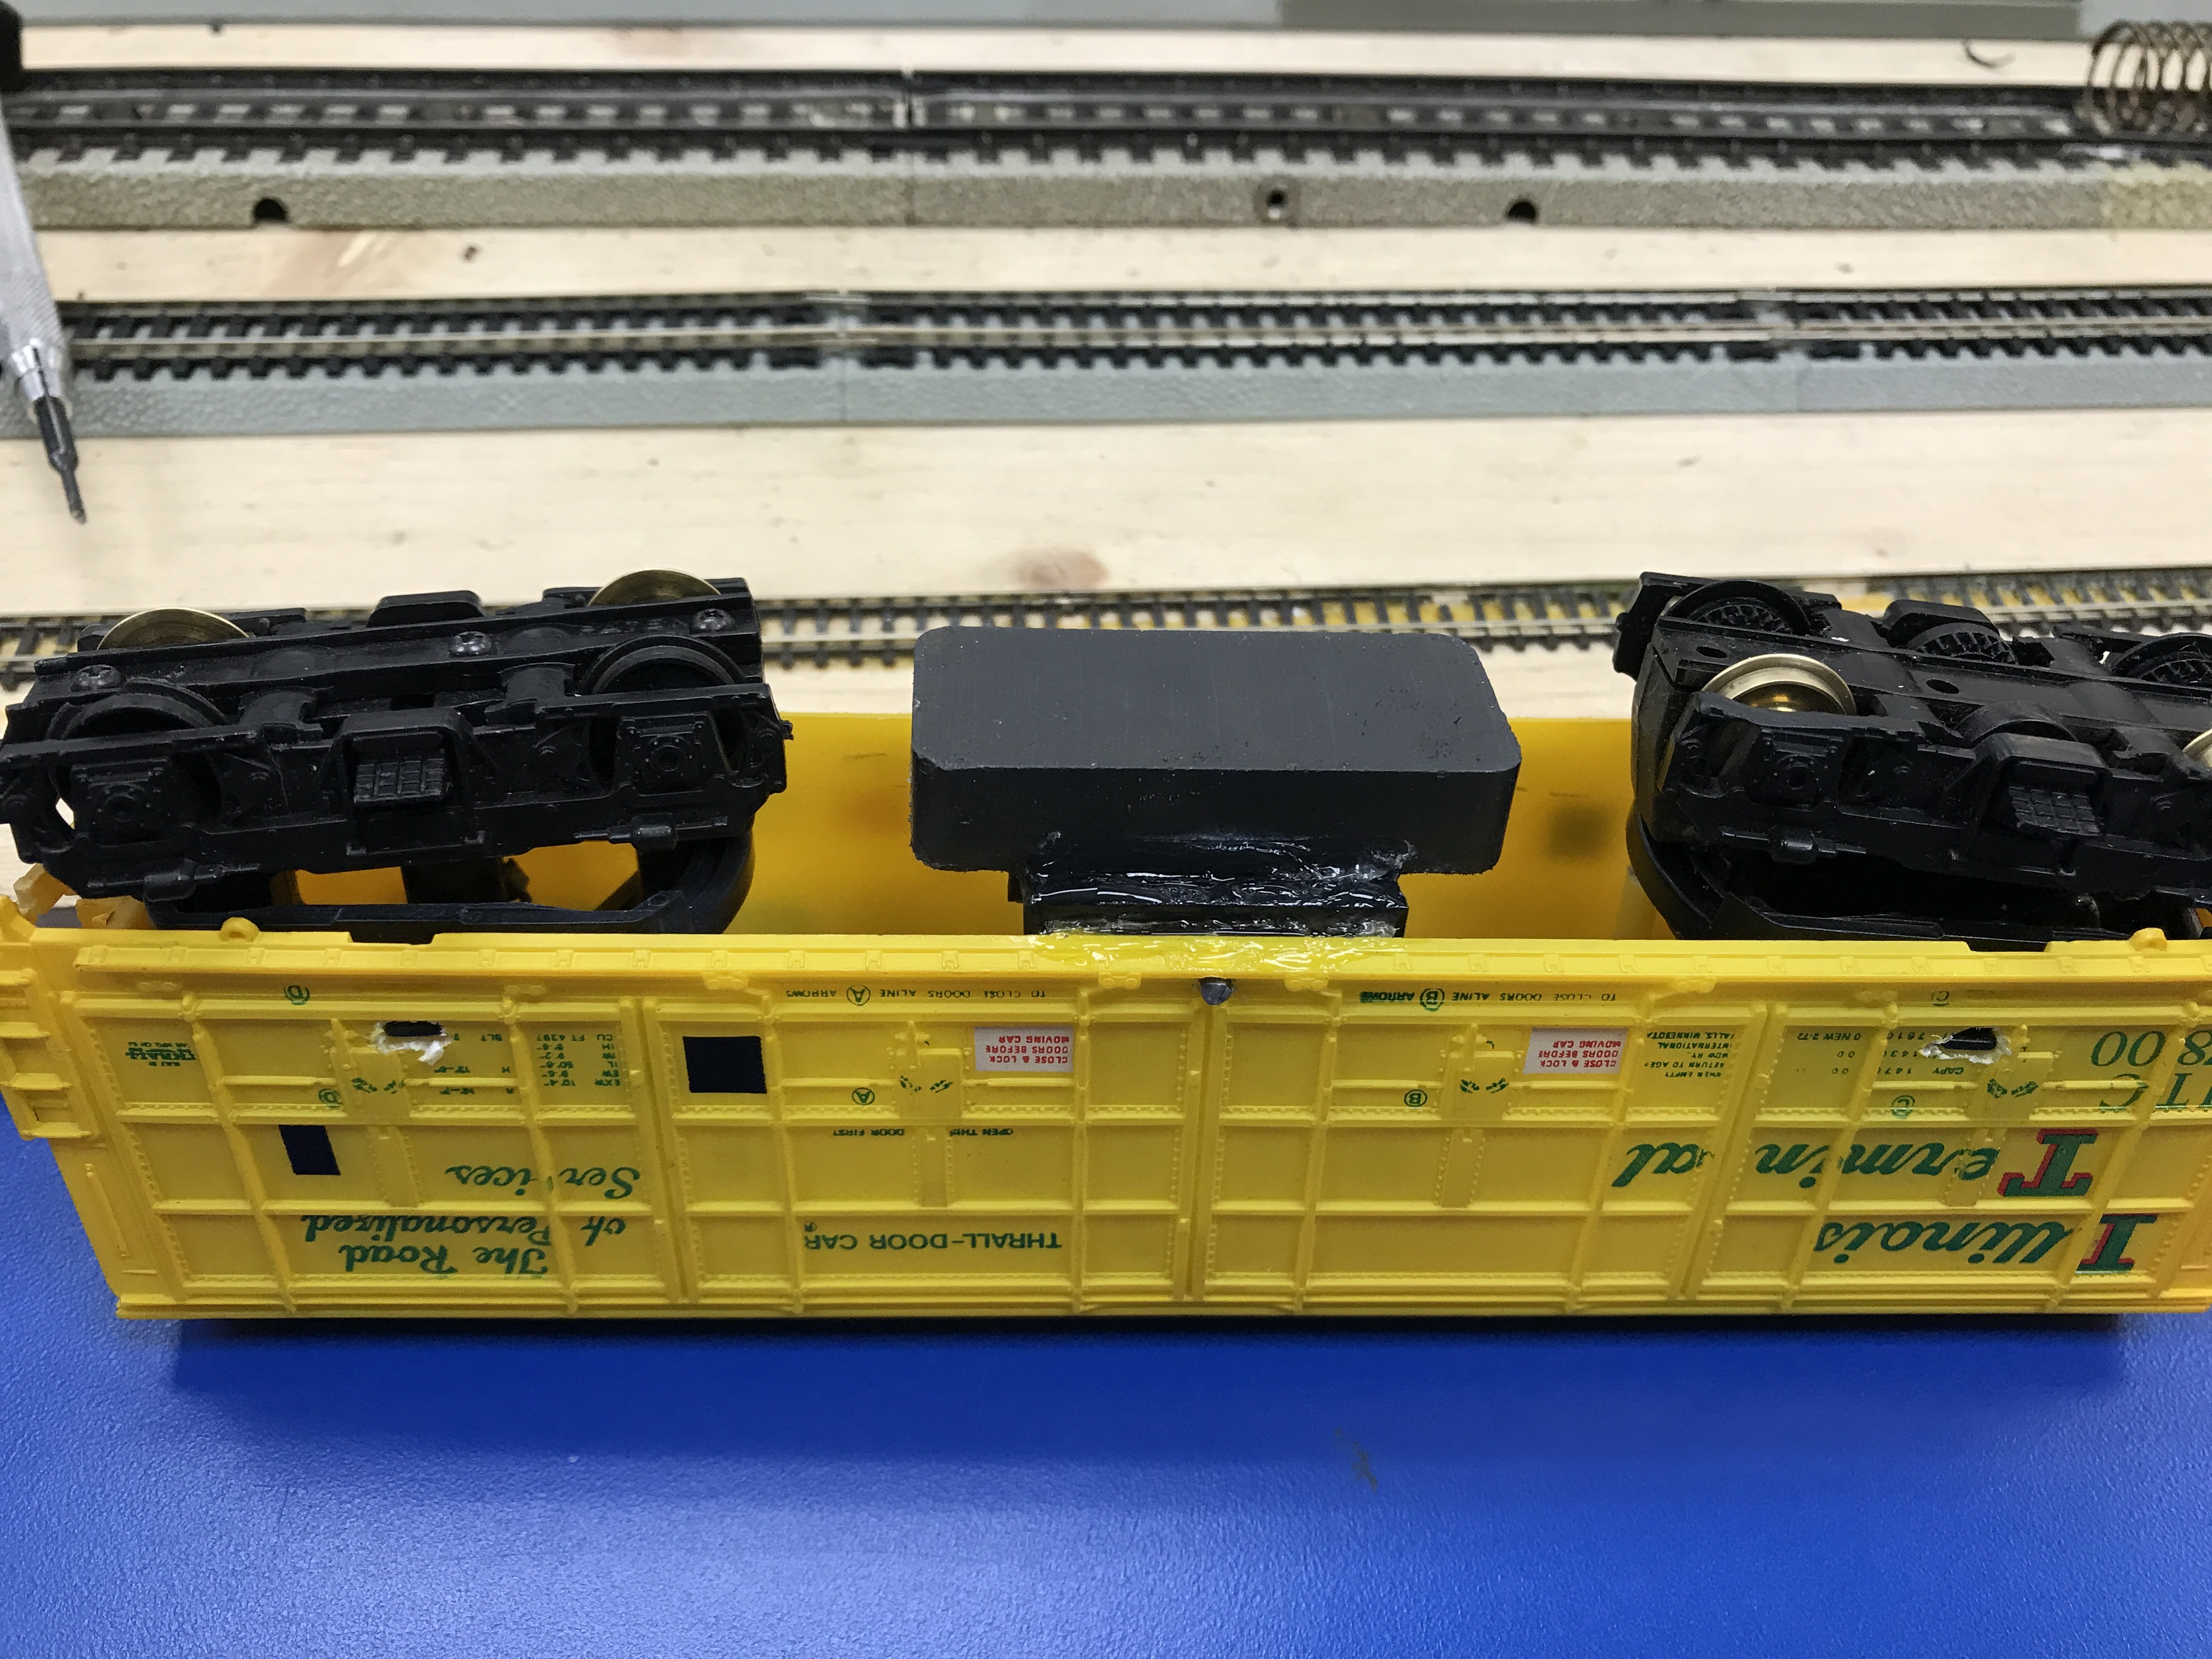
These next few photos are of a special project I took on for one of my coworkers whose grandson is very enamored with model trains.  I took the trucks out of an old engine to use in a boxcar.  I removed the boxcar chassis and weight plate to make maneuvering room for the rotary cutting bit.  I had to cut away part of the inside of the car to make the weight plate fit in the top.IMG_2894IMG_2893IMG_2892IMG_2891

These last photos are of the North Texas Ntrak Dallas Club’s layout.  The final photos is of my Milwaukee Road GG-1 electric locomotive.  I meant to show it to a friend, and I happened to have it in the car with me.  I thought it was worth a photo.  It is heavy, strong, and smooth.  IMG_3020IMG_3018IMG_3017IMG_3016fullsizeoutput_2775


“Big Things Have Small Beginnings”

As the line from Prometheus says, what started as a little plastic train set around a cake has become four sets occupying the better part of my apartment floor, and it keeps growing.

I believe I mentioned this in a previous post.  I am absolutely fascinated with Z scale.  It’s so much fun to look at all the detail that goes into this miniscule scale of such mammoth behemoths!  My modular layout is very nearly complete in its basic form.  All I really have left to do is adhere rare earth magnets around the edges of the foam boards.  The magnets will keep the boards from shifting when the layout is displayed, and it will keep everything together when it is folded up and in transit.

Pay no mind to my messy apartment.


I experimented with different ways of setting the ballast beneath the rails.  I tried spray-on adhesive, but the acid ate away at the foam.  I mixed ballast, Elmer’s glue, and vodka to make a sort of paste, and it sort of worked.  The traditional ballast spreading device was okay, but I think it would have worked better on uniformly level surfaces.  Oh, well.  One thing I did really like was using a dropper to soak the curing ballast with more alcohol to help the glue run more along the outline of the ties and trails.  I never intended this layout to be very detailed.  I can’t have too much to it, or it could make a mess if it were all knocked to the floor or broken.