Of all the different sizes of model trains, I find the most fascinating to be Z scale. It’s so small and minuscule, but it is also so mighty! The little engines are so tiny, but they are deceptively fast and strong. My first Z set was a Micro Trains Line Desktop Railroad Set with a New York Central F7 diesel. I also bought a Western Pacific four-car wreck recovery pack. I really enjoy my little train set.
I’ve noticed something about how the whole consist pulls. It may be due to the angle of couplers, or merely the size of everything, but it seems that there needs to be enough weight to everything for the couplers to catch one another. If they are not taught, they release and come undone. The lack of weight is good for long loads and going in reverse with a lessened chance of derailment, but not so great for staying together.
From little to not so little, I am excited to get into two-rail O scale. I have only one such item–my Rivarossi 0-8-0 Indiana Harbor Belt steamer. I’ve heard from several that the two-rail O scale models look more like models than the those of the three-rail variety. Based on the details I have observed in my engine, I am inclined to agree. Even so, the track seems to be quite expensive. It will take much saving to build my little railroad, but the time and money will be well worth the effort.
Let’s move on to bigger things. A customer brought in two O scale locomotives. He wanted one to get some regular maintenance as well as have a smoke unit installed. I wasn’t quite sure if I could make one fit, but I did! I just happened to already have two smoke units in my spare parts dish. I was sure I would have to do a lot of form fitting, cutting, molding, possibly melting, and major rewiring to make it work.
As it turns out, all I needed to do was shim the whole frame of the engine. The smoke unit just fit. There is absolutely no room for any movement, jostling, spare wires–it could almost be air-tight. But it fits. It works. And I didn’t have to do ANY drilling or filing. The customer is sure to be happy.
Oh, and the engine, itself, works good as new, too. Not that that was the whole point of bringing the thing in, or anything…………..
As for the other engine, it seemed to be much more of a challenge. Fitting a new unit in the body was easy. It even aligned with the smoke stack. However, getting the mechanism to puff the smoke in equal and consistent puffs was more than adverse. The new smoke unit fit, but it wasn’t shaped the same way. The empty air reservoire that actually pushes the smoke up and out was offset in the old one and directly center in the new. The lever that operates the reservoire column was too long and not correctly shaped to properly work with the new unit. I tried flexing the lever and form filing the reservoire, but everything caught and stuck.
I was fidgeting with the old smoke unit, trying to figure it all out, when I dropped the thing to the floor, and the burner element fell out of the loose end cap. Then, it hit me. All I had to do was swap out the old wax melting element for the oil boiling one. After much scraping and digging, the new element fit perfectly. I soldered everything up, slapped the cap on, fit the rest of the engine back to the frame, and crossed my fingers.
’twas most awesome.
That same engine had a funky reversing unit. I cracked it open, and everything was pretty dirty. The funny thing about a reversing unit is the number of parts it takes to make an engine simply move. The inner drum is lined with metal belts that are shaped to alternately contact metal flanges. Each flange is soldered to a different wire that either provides electrical flow or redirects it somewhere else. If a single one is bent out of shape or contacting the wrong belt, nothing works. It all just sparks or sits dead. The flanges took some flexing and sanding, but I got it all back into shape. Pulling the drum out is easy. Putting it back in is a pain. The two walls that hold the drum in place have to be close enough to contact it, two flange boards have to fit into slots of the unit walls, the flanges have to be spaced wide enough to allow the drum to fit back into place, and the clip that rotates the drum has to be out of the way. Much in the fashion of re-assembling steam engine drive rods, everything has to fit in just the right way at just the right time.
I really wish I had had the sense to take photos of the things I’ve been mentioning in this particular post. Oh, well. There will be plenty more photogenic opportunities.
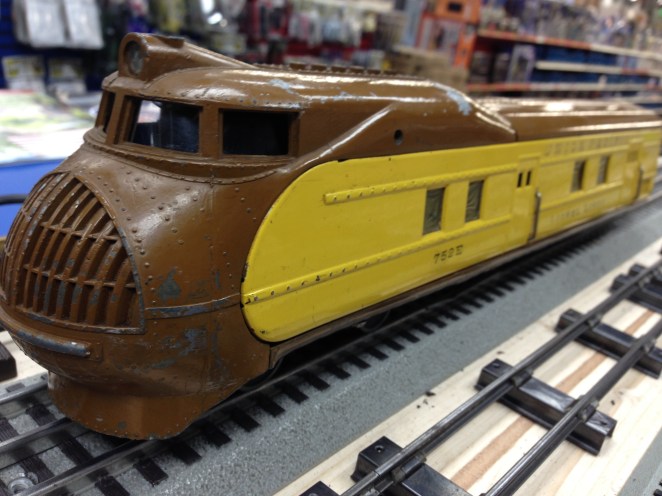
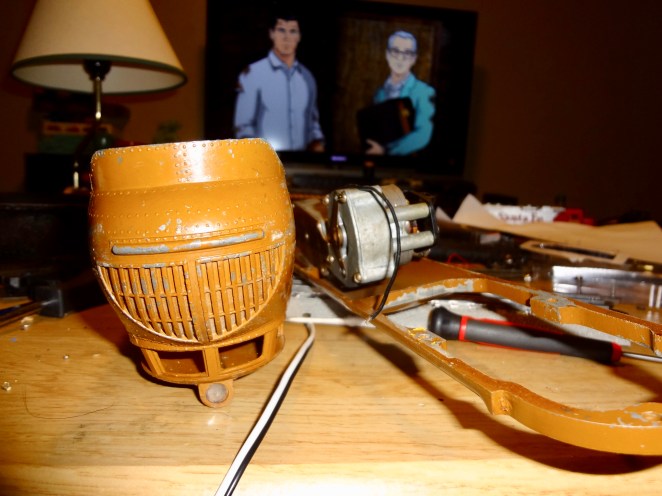
In the meantime, here are some photos of other things.


I thought the pics and info were excellent. I auctioned-off all my American-flyer tin-plate and old brass power. ERROR! I can’t recover those items and haven’t seen them on e-bay either. I was stupid.
LikeLike
We never really know what we have until we don’t have it, do we?
LikeLike
that’s so true. I auctioned-off nearly 1/2 of what I owned, sold my “pretty little house” and moved to the ‘big city.” never again. I blame those regretful moves on the epilepsy I contacted in 2011, 6 mos. after retirement. and now? what retirement? I have none.
LikeLike
Terry, do you run a blog, too?
LikeLiked by 1 person
I only comment on Facebook.
LikeLike
no further comments.
LikeLike